Damaged Desk Major Repairs
This damaged desk was in our shop for round 2. I have an affinity for old desks & this one was damaged for the second time during it’s shipping adventure from Ca to Ma. My husband told me to toss it when I got it back, but I just couldn’t. A well used desk smells of poetry, of literature, of education, and of creation. To me a home desk is a luxury. We can get by with a kitchen table, or even a hard cover notebook on our bed, but to have a place to hold your instruments and spend time focused on creating is special. This specific desk does have an air of romance, the scent of old papers, and has been given a makeover that makes her a true one of a kind piece of furniture.
Her Journey, round 1
Our damaged desk has had a journey that was anything but ordinary. I actually have had to make her over twice now due to some chaos on her last adventure. We will start with her first stay in our workshop.
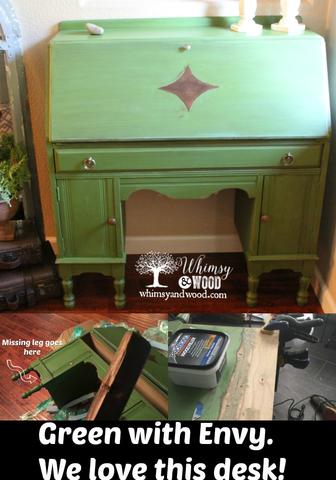
In her small cubby drawer is stamped the name of the original owner. I just couldn’t sand it out, if a stamp were left on her heart then it seemed it was not mine to remove. I was drawn to her size, taller and longer than many I have worked on. Estimated to have been made in the 1920’s. The front legs were beautiful & the diamond detail on the front of the drop down desk top was a beautiful touch that allowed me to highlight some of her original finish. It just had a warm, sophisticated feel to it.
I brought her home & chose a shade of our Pure Home Paints green called Dublin. It was what I had imagined when I first picked her up. I got to cleaning & prepping. The original hinge was being held together with a bent paper clip. So I began my search for a replacement hinge. There are generally plenty of original pieces that have been harvested from broken down furniture, or reproduction hardware available to match certain types of antique furniture. Of course the universe had a small lesson to teach me on that. This specific Secretary Desk hinge was not average.a I could not find a match anywhere.
[Tip: When purchasing pieces for refinishing, get an idea on the cost or replacing hardware before purchasing. Sometimes replacement handles, hinges, etc… will push you beyond your budget & you may need to reconsider the purchase.]
The hinge repair needed a professional blacksmith… it was a $70 repair. I am a girl of my word & I kept my promise to this piece and to her integrity. The original hinge was fixed.
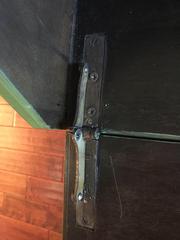
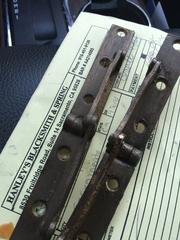
While the repair was being made I went ahead with my painting, distressing, glazing, and staining. New hinge in place she was listed for sale on our website and had immediate response from Boston. She was indeed a stunner and slotted to be a Christmas gift.

A cross country trip was not what I had imagined, but this was for his wife for Christmas. I am a sucker for practical romance and loved that he was willing to pay for cross country shipping and to surprise his wife with a desk from California. Awe nice story right…
Get ready for the plot twist
Post contains affiliate links, you may read our full disclosure here
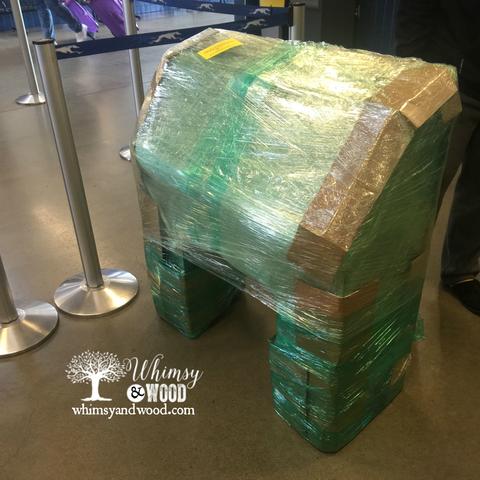
Bundled for her journey. The receiving agent thanked me for an excellent packing job.
Unfortunately we did not ship on Santa’s sleigh…The carrier dropped our desk en route. This was a serious bummer for me & for my client! The carrier did honor the insurance policy which was for a little less than the sale price. (Due to the distance they would not insure for the full value) Now we know why. They were kind enough to return my broken desk to me back in California, but would not refund the shipping fees since they did actually deliver it. I was kinda fuming. That’s a story all in itself. All in all we were out a considerable amount for this fiasco.
She’s coming home
The desk traveled back across the country and back to our workshop. Feeling a little down as she could no longer stand upright, and I was feeling a little over my head with life. Owner/Operator of 2 businesses, Girl Scout Cookie Mom with an overachiever for a scout, in charge of our class auction project. (it was a pretty amazing auction project & my girl did sell 850 boxes of cookies) I may also be an overachiever.
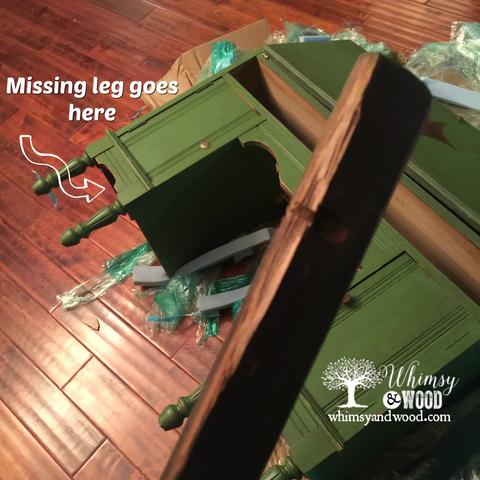
What we did, after procrastinating
It is now January, a year later that I am writing about this incident. I wanted to repair the desk, but I had to work up to it. I was a little afraid of ruining it beyond repair if I made a mistake. The leg section that was broken was not like a leg that just gets screwed in. Nothing we could order and replace 1 or even 4 of. The rear legs were cut into a section of desk that reached all the way to the top of the desk. This was something new to me. It made me a little nervous & I spent a year hiding from it. My New Year’s resolution included completing any pending projects before starting any new ones…I couldn’t let this one be my failure. The desk was basically ripped where the leg was broken.
The Plan
I spent some time and decided that the safest way to proceed would be to cut a strip from the bottom of the desk to more than half way up the side.
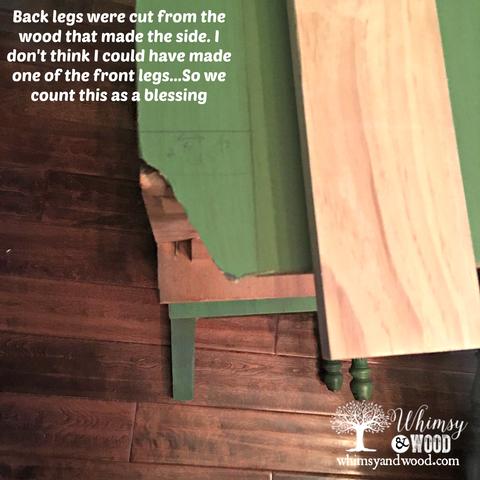
If you look closely you can see the section I drew in for replacing a portion of the side. I went much higher than the break to provide as much stability as possible.
I was going to be using a 1×3 to recreate the section & carve the foot out to match. this was little terrifying, but worst case it was already broken. Best case I worked on my skills and salvaged the piece. I marked the section that I had planned to cut and used my jigsaw to cut it out. Making sure not to cut the shelves that ran across in 2 sections. [If you are buying tools for your garage, I highly suggest getting a jigsaw! It will help with so many projects]
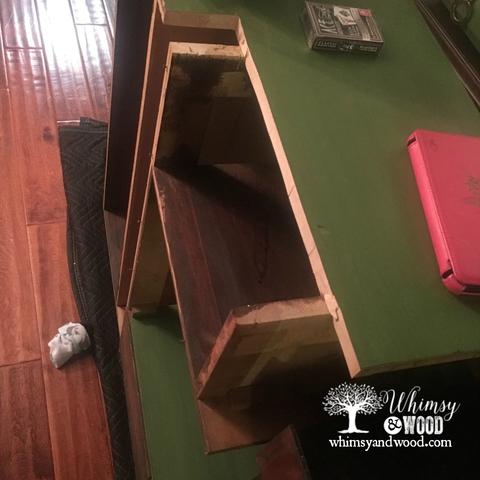
This is the cut section, looking from the back of the desk with the rear panels removed.
Let’s do this
Next I took my 1×3 and used the unbroken leg to create a template. Using my jigsaw I cut out just outside of my cut line & then used my sander to sand back to the cut line. This prevented the jig saw from cutting into the piece we were building. It is the safest way I have found to not have to repeat the process.
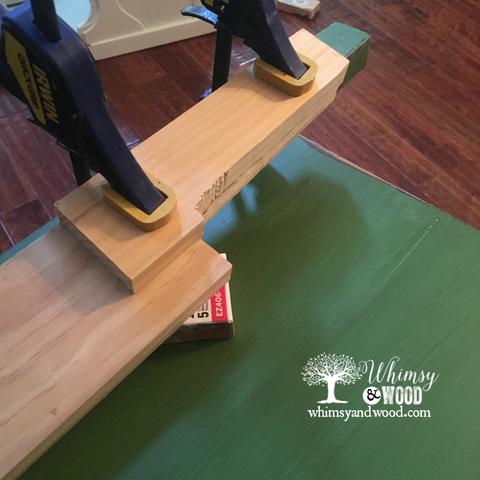
One long section, and a second shorter section were cut and sanded to match the existing leg. This is exactly how the other side was made. Two 1×4’s glued and nailed together. The bottom shelf of the desk is notched into our longer board, and also rest on top of the smaller board.
Our power tools save the day
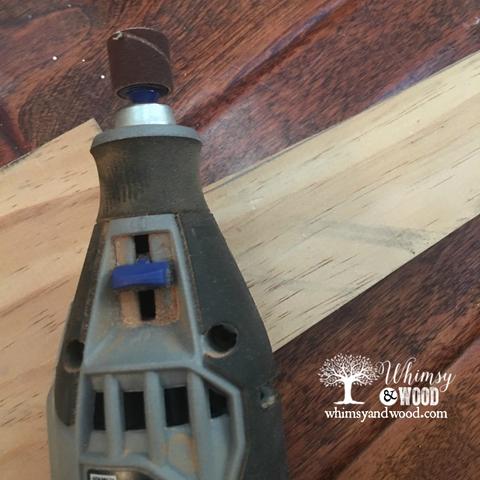
Once the leg pieces were cut, they were sanded back to our pencil line, Our Dremel was used in the curved area to sand it smooth & our Random orbital to sand on the flats.
I used my Router on my router table and a specific 3/4″ bit that notched the areas where the desk shelves were built to lay into the sides.
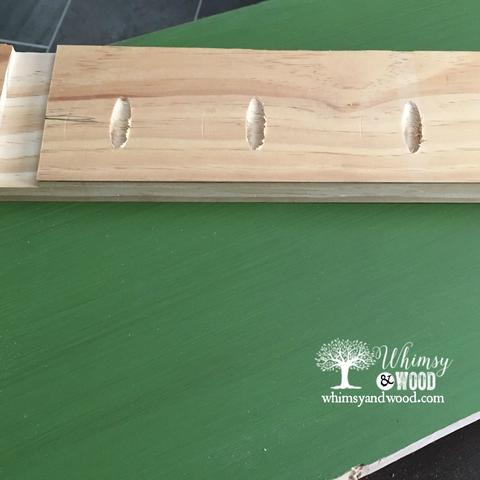
I used my pocket hole jig & my drill to create the screw holes that would join the new to the old. I applied this wood glue to all section that would join wood to wood & proceeded to screw the piece together. While the glue dried I snapped some pics to send to my dad in So Cal. Kids still need to brag when we do a good job. 🙂
Blending the repair
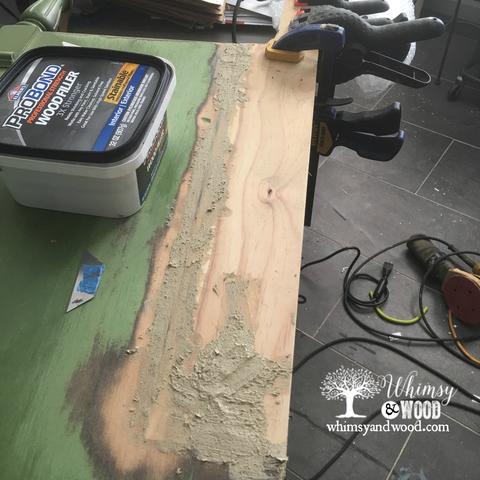
After it dried I sanded the glue line, and filled the nail holes. The space where we patched it all together was filled in with my favorite wood filler. This filler is great for indoor, outdoor, paint and stain projects. then we sanded again with a 120 grit paper on our orbital sander.
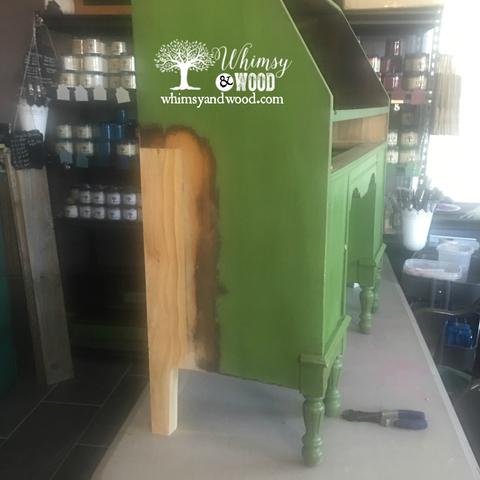
Not gonna lie, I was doing the happy dance that it all was coming together so well. Any time you do a patch, you are trying to conceal the area as much as possible. This new section was a very new, unstained raw wood. The old desk was a different species of wood and had a very dark stain. To combat this I painted the entire side first with our Tanner Brown paint, 2 coats. Then I did a light sanding of that to create as even a surface as possible. Next I painted as normal with our Dublin Paint 2 coats, and proceeded with one coat of our Matte protective finish. When dry, 1 coat of our Sable (brown) glaze added the antique look & tied it all in with the existing finish.
Holy moly she was looking like nothing ever happened.
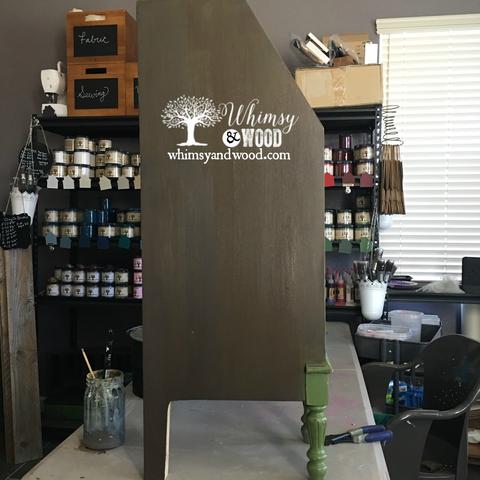
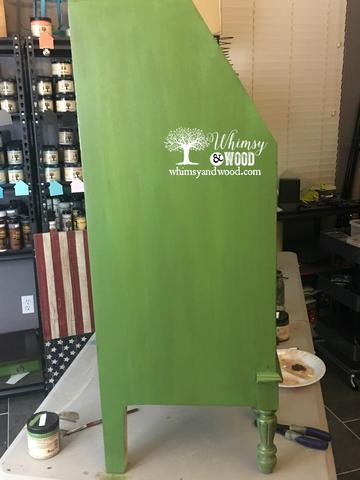
I have no idea why I waited so long. I let the fear of failing at the things I had never done keep me from just doing it. Funny how life took a bad experience and used it to teach me several new skills, and remind me of what I already knew. You will fail at 100% of the things you never attempt. All mistakes are learning steps & I was able to take small steps and pull together the solution. All of her hardware is back in place. and she has gone from an ordinary makeover to a spectacular piece with one more story tucked in her drawer.
Thank you for reading. I would love to hear what you think, how you deal with fear or procrastination, or just say hi below.

I really appreciate the time and effort that you put into repairing this beautiful desk. I totally understand why it took you so long to get started with it, though! I have done that sort of procrastination more times than I can count, only to discover it wasn’t nearly as bad as I thought it would be. Beautiful work!
Thank you Lisa! Isn’t that the truth!
I loved this desk the first time I painted it & really bonded with it once it came back broken. It is one of the projects that I am most proud of:) Thank you for taking the time to read my story and share your thoughts.