[social_warfare buttons=”Facebook, Pinterest, Twitter”]
I wasn’t even looking for an antique twin bed
Hi my name is Jennifer, and I scroll through old ugly furniture like a kid with the Toys R Us catalogue. There is always something to be found, whether I need it or not. But, this day turned into a Mama on a mission! Great pieces go quickly. This one was priced a little high…But, it was one I just had to have.
The seller of this antique twin bed actually had two (real twin twins, lol) & I almost bought them both just so I could have them…twisted I know! I contacted her and made sure it was just old & not broken. I don’t generally pay sight unseen, but we had a trip we were getting ready to leave for and I would not be able to pick up for a week. Rather than lose the bed, I paid & started dreaming up my daughter’s new room. I showed her the bed online, but did not share that it was going to be hers until much later. I like surprise gifts.
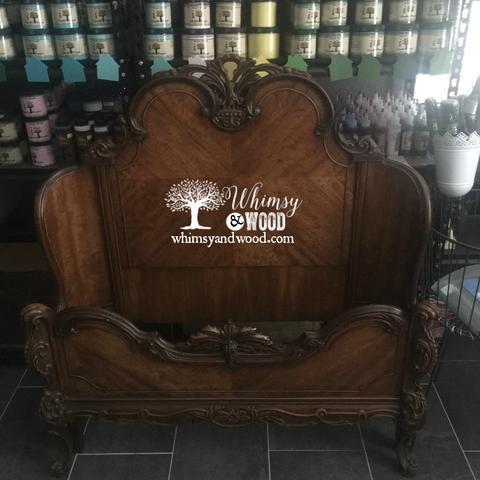
When I drove the 45 miles to pick it up I was almost giddy with anticipation. Sure enough it was gorgeous! I showed the little miss when she got home from school & she looked that the heart eyed emoji on your iphone. We chose colors. She is 9 & I was so afraid she was going to say teal…I might have said no way Jose…But, she was so reasonable. She picked my favorite Slate, a blue toned gray, & Tahoe, a very light icy gray white.
Supplies needed for this antique twin makeover
Krisit Kuehl Pure Home Paints products
Prep
- Vinegar Water mix in a spray bottle
- Magic Eraser
- Nylon bristle cleaning brush
Rails and Bedding
- Twin bed rails with center support
- This Custom Bedding was order from ETSY This bedding is AH-MAY-ZING!
Clean and prep
Cleaning and prepping are the most crucial parts of painting furniture. Over the lifetime of a piece there is no telling what products may have been used. I have shown up to find people “buffing” a piece with mayonnaise to hide scratches. I am not sure there have been any studies on paint’s ability to stick to mayo…But I am not taking my chances. We used the usual warm water and vinegar at a 1:1 ratio along with our scrubby sponge. As we cleaned there seemed to be a petroleum type product on the surface. It looked like vaseline, but could have been old wax. Paint won’t stick to either of those. So I got out a veggie scrubber that I use for furniture and got to scrubbing. I actually did a second scrub & went over all with a magic eraser after. No sense doing all that paint work to have it peel off.
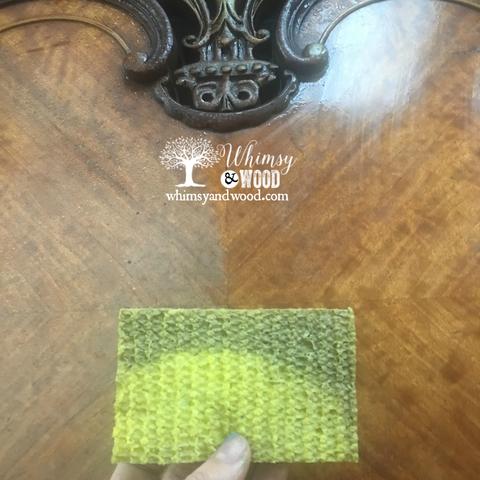
When painting over wood furniture, shine is often a sign of old cleaning and polishing products. You can see the difference from the 2 sides. Dull & flat is a better surface, you won’t have to worry that your paint is only adhering to the old finish or cleaning products.
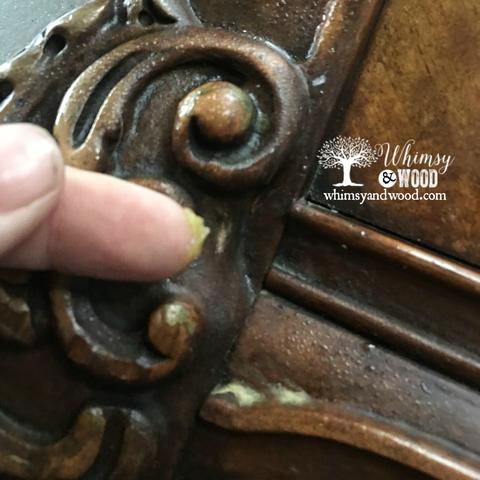
This looks like a quick attempt to revive the wood. You want to remove ALL of this muck.
Now we get to paint
After allowing the piece to dry, I painted the entire piece Slate, all of our paints from this line are amazing, but this one covers so well one coat is almost enough! I did follow with a second coat and it filled in so beautifully. Once dry I got out my favorite detail brushes and used Tahoe on the carvings. At this point I was looking like the heart eyed emoji from my iphone too! All was sealed with Matte Protective Finish, 2 coats for durability and protection of our paint finish.
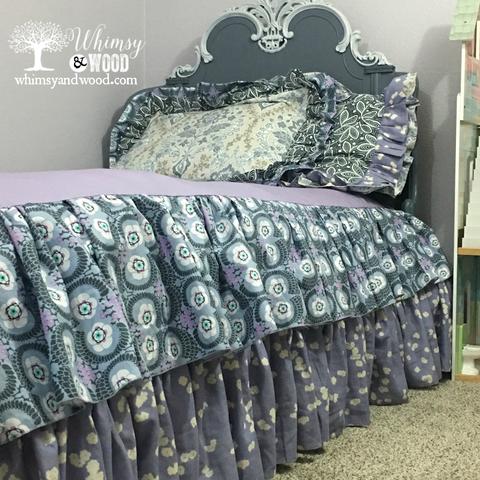
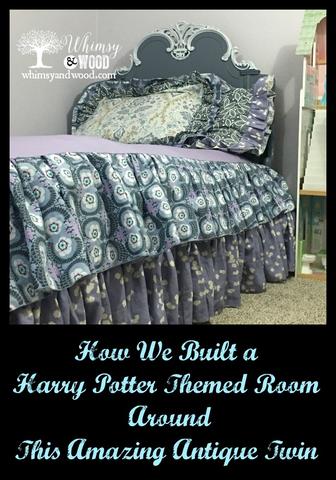
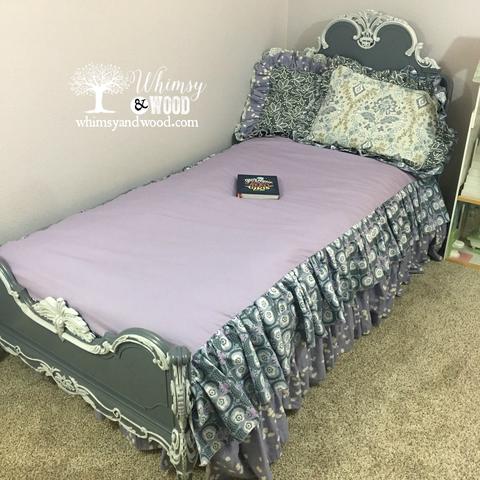
At the end you will find photos with the bedding on. Just Dreamy and available for customization to match your colors!
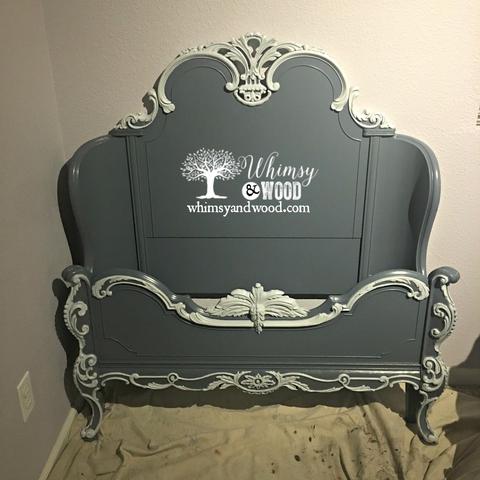
Her existing room was quite aqua & her bedding was way too bold for what she and I were dreaming up. So we headed to Lowe’s for our wall paint. This is where my husband said that buying this bed was starting to sound like the children’s book, If You Give a Mouse a Cookie. The paint is the palest lilac color that we could find. If purple had a white this might be it.
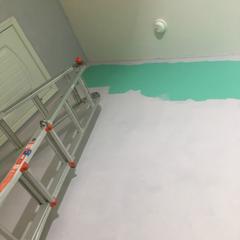
Pretty sure this was me laying on the floor wondering if I’d ever be done. Bye Bye Aqua Hello pale lilac.
And then it happened, scrolling through Etsy I had a vision for the bedding. I found photos from Ziggety Zag shop on Etsy and messaged the owner right away with what I was looking for. Donna was amazing and got back to me so quickly. She spent some time and looked for fabric colors that I might like that she included in her first message, high touch sellers are what make all the difference on Etsy! A few messages back and forth and we had the perfect duvet cover planned out.
Step 1: “The Purge”
We took EVERYTHING out of Becca’s room. Her last redo was when she was about 4 which meant a whole change in her as a person. She had the say so on any toys we got rid of & got to keep all cash from the sale of her toys. Added to her bank account to help pay for her first car. Mommy gets to keep proceeds from all old furniture to help pay for this makeover. Seemed fair, she wouldn’t have complained about me keeping the money from her toys, but I felt it empowered her that getting rid of the old still came with a payoff. Sometimes those hidden messages follow us deep in our fiber into adulthood.
The Purge can be terrifying, but quite satisfying in the end!
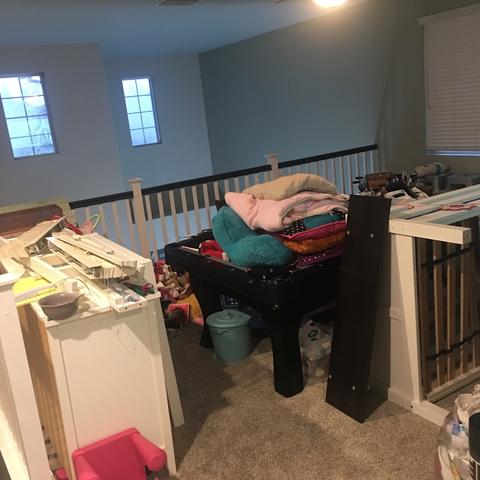
Scary right?!?!?
Step 2-Paint the room
We/I got to painting. Painting walls is my least favorite thing to do! I do always feel great satisfaction when the job is done, but I will never love taping off, cutting in, or rolling.
Step 3-A room needs more than just a bed.
a. I used a nice French Provincial dresser from my inventory & painted it a beautiful Dark Eggplant. You can see it here. We added some hidden Harry Potter elements.
b. Her old pink shelving was moved into the closet to hold toys, books and shoes.
c. Her room is average size and having a desk was high on her list of needs. Especially because she loves to write & to draw. After searching on Pinterest for the perfect desk, I decided to on making a custom desk to fit her space. You can see that here.
d. Her Dad gave her a TV for the space. I am not a huge fan of a TV in the room. We are taking it day by day, but I still find her laying in bed reading for about an hour a day so I am not too worried yet. Harry Potter Books hold her attention more than the Disney Channel.
Step 4.-Shelves and things
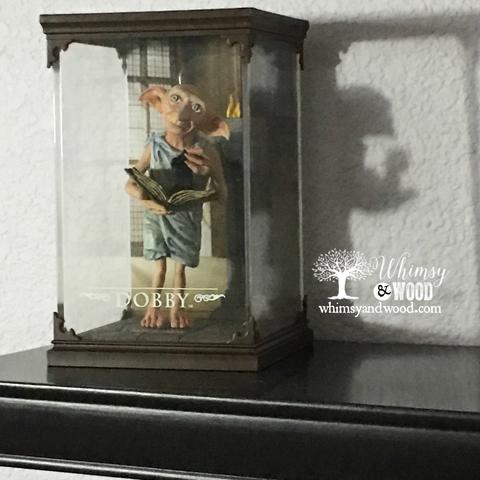
Finishing touches. Floating shelves went up to hold her trophies and collectibles. A new lamp for her desk. And, of course that bedding has now arrived. Becca loves to DIY! She loves to create her own art, we will be adding more info here as she fills the wall space. Especially her Harry Potter collectibles. These are darling & I highly recommend them! Dobby, Buckbeak, and Hedwig. She also has her Charm bracelet for those who just love all things Harry Potter. The bracelets come in the different houses and they can fit an adult, I just clip hers further on the chain so she can wear it comfortably.
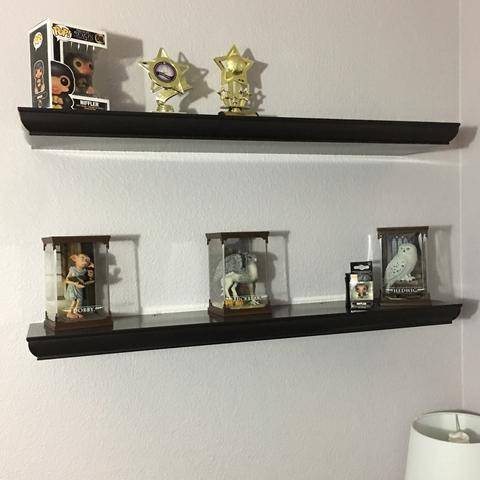
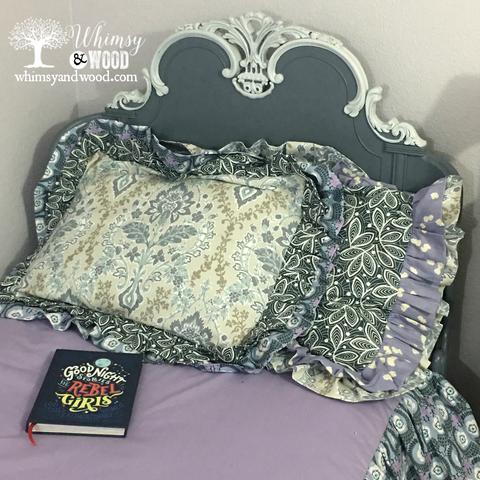
She is so proud of her new space. I know that the choices for colors and finishes will last her many years to come & I pray that she continues to love books more than TV & clean her floor every night before bed.
If you liked any parts of our makeover please share with us! Does your little love Harry Potter? I am pretty sure my daughter believes the whole group is actually in London casting spells right now.



Leave a Reply