Hey there friend! I am sharing this beautiful dresser makeover because it is gorgeous and deserves to be seen. Also because it is a win for me that I got it done. YEAH ME! Thanks for celebrating with me!:)
Do you ever have days where you just feel like surviving is enough to scream from the mountains about? That is about where I find myself right now. Summer flew by & suddenly I am struggling to go from easy summer days to all of the things that adulting & parenting require. It isn’t all the doing whatever I want that my kiddo self had imagined. I ordered supplies needed for bullet journaling today. Amazon will be sending it to me this week and hopefully it is the life changing thing that the trendy “bujo instagrammers” have promised.
I promise this post won’t teach you any great lessons on DIY, and is not likely to leave you spellbound by my eloquence, but if you love a beautiful piece of furniture then it also won’t be a total waste of time.
The Listed lot
I found this set one evening while scrolling for furniture that I didn’t need:) A matching 3 piece set that included a dresser, a small vanity, and a full bed. All Bassett brand and just beautiful. These pieces could be left as is. They are beautiful, but I honestly love the look of paint. Especially paint with wood. So in the car and off to Napa we went.
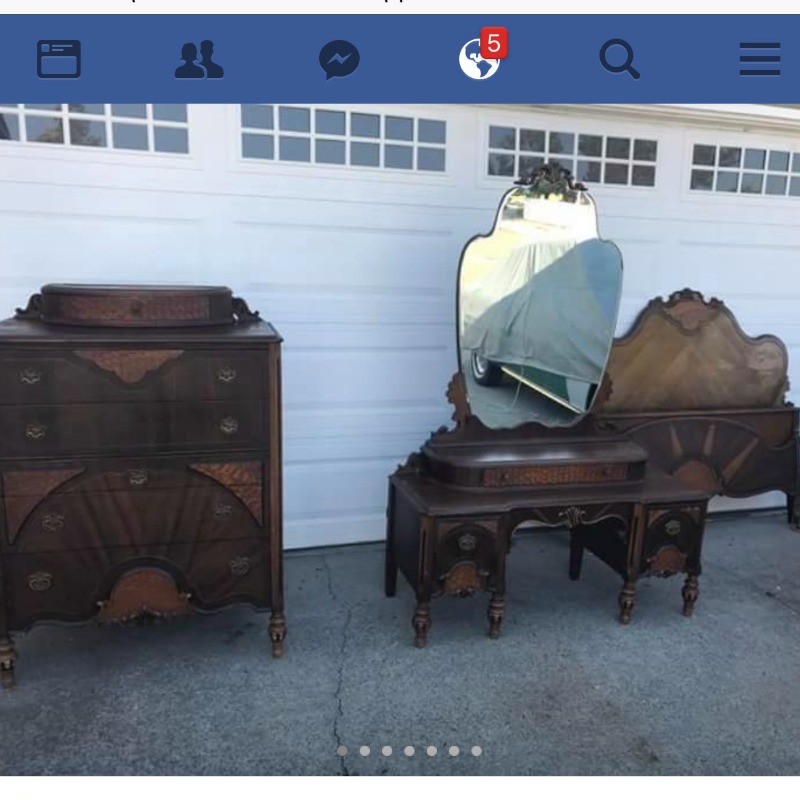
I truly hope whomever falls in love with this dresser will want the vanity and the bed!
Getting Rid of the Old Lacquer Coat
The dresser was pretty dirty & the old finish was failing. I tried to get away with just a good scrub, but the finish would break up & then just re-harden on the piece. It was pretty gross. I ended up using a soybased stripper on the sides, and sanding the top section.
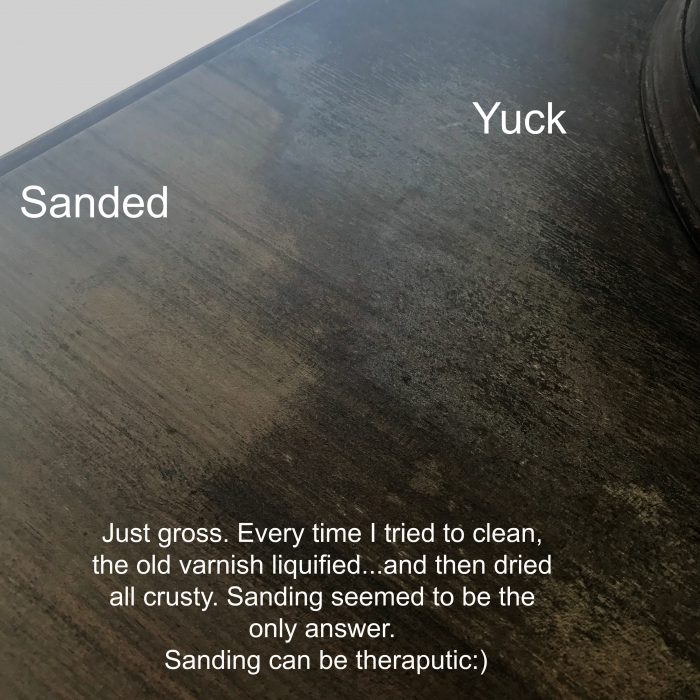
Once all of the yuck was removed, I decided which parts I wanted to highlight the wood veneers. Also what parts I could paint to create the dramatic look.
Choosing Colors
I love color. This dresser could look completely different and beautiful in many of our color options. The dresser had such interesting veneers that I did not want to cover all of them with paint. To keep the veneers as the highlight I chose a black paint color to complement them without overpowering.
Beautiful Dresser with #BaconVeneer
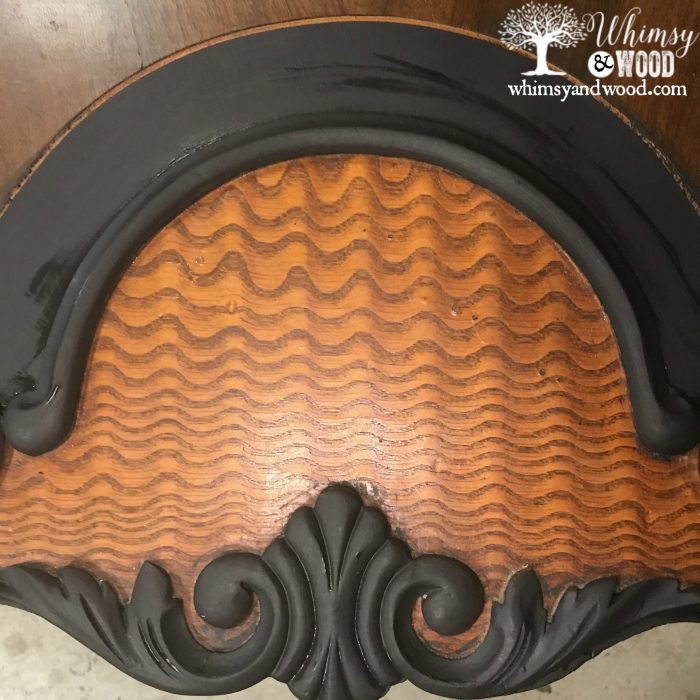
Kinda random, but when I was working on this piece I took a moment and examined the veneer sections. After staring at this pice for a minute all I could see was bacon… Do you see it? I have affectionately named it bacon veneer. On a side note, really bizarre, on IG there were already 7 other hashtags of #BaconVeneer.
What we used for this beautiful dresser makeover
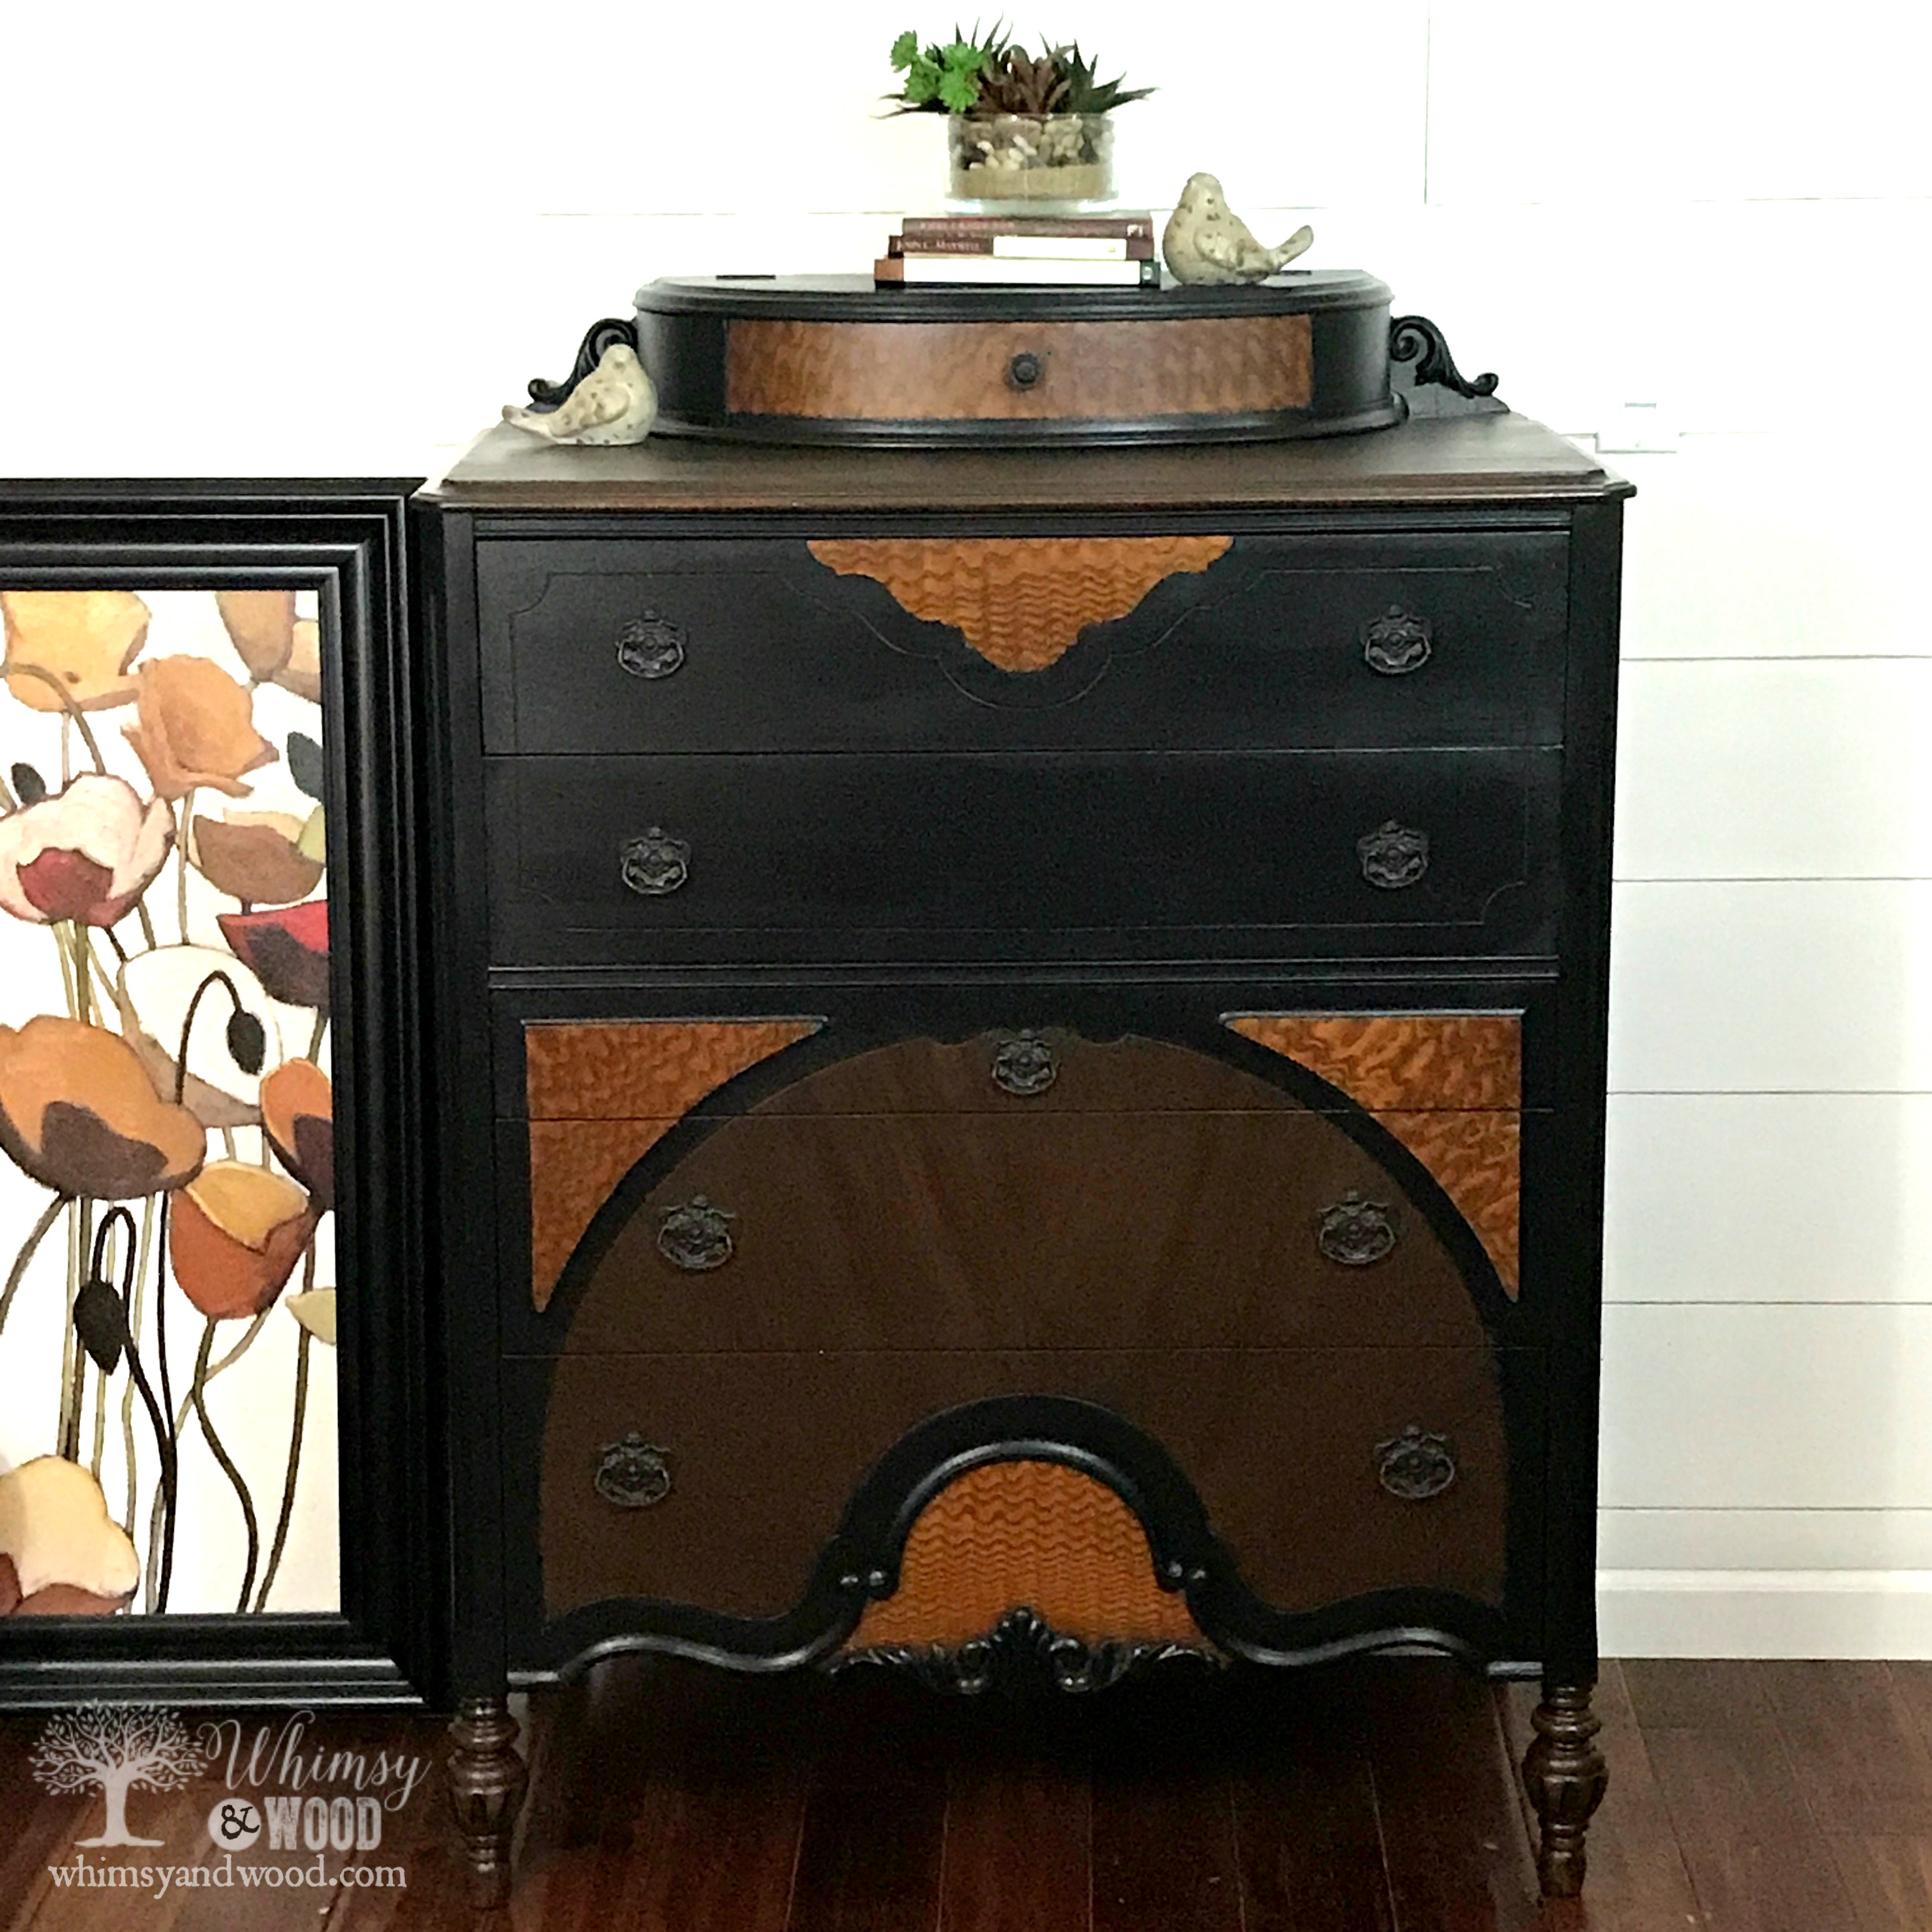
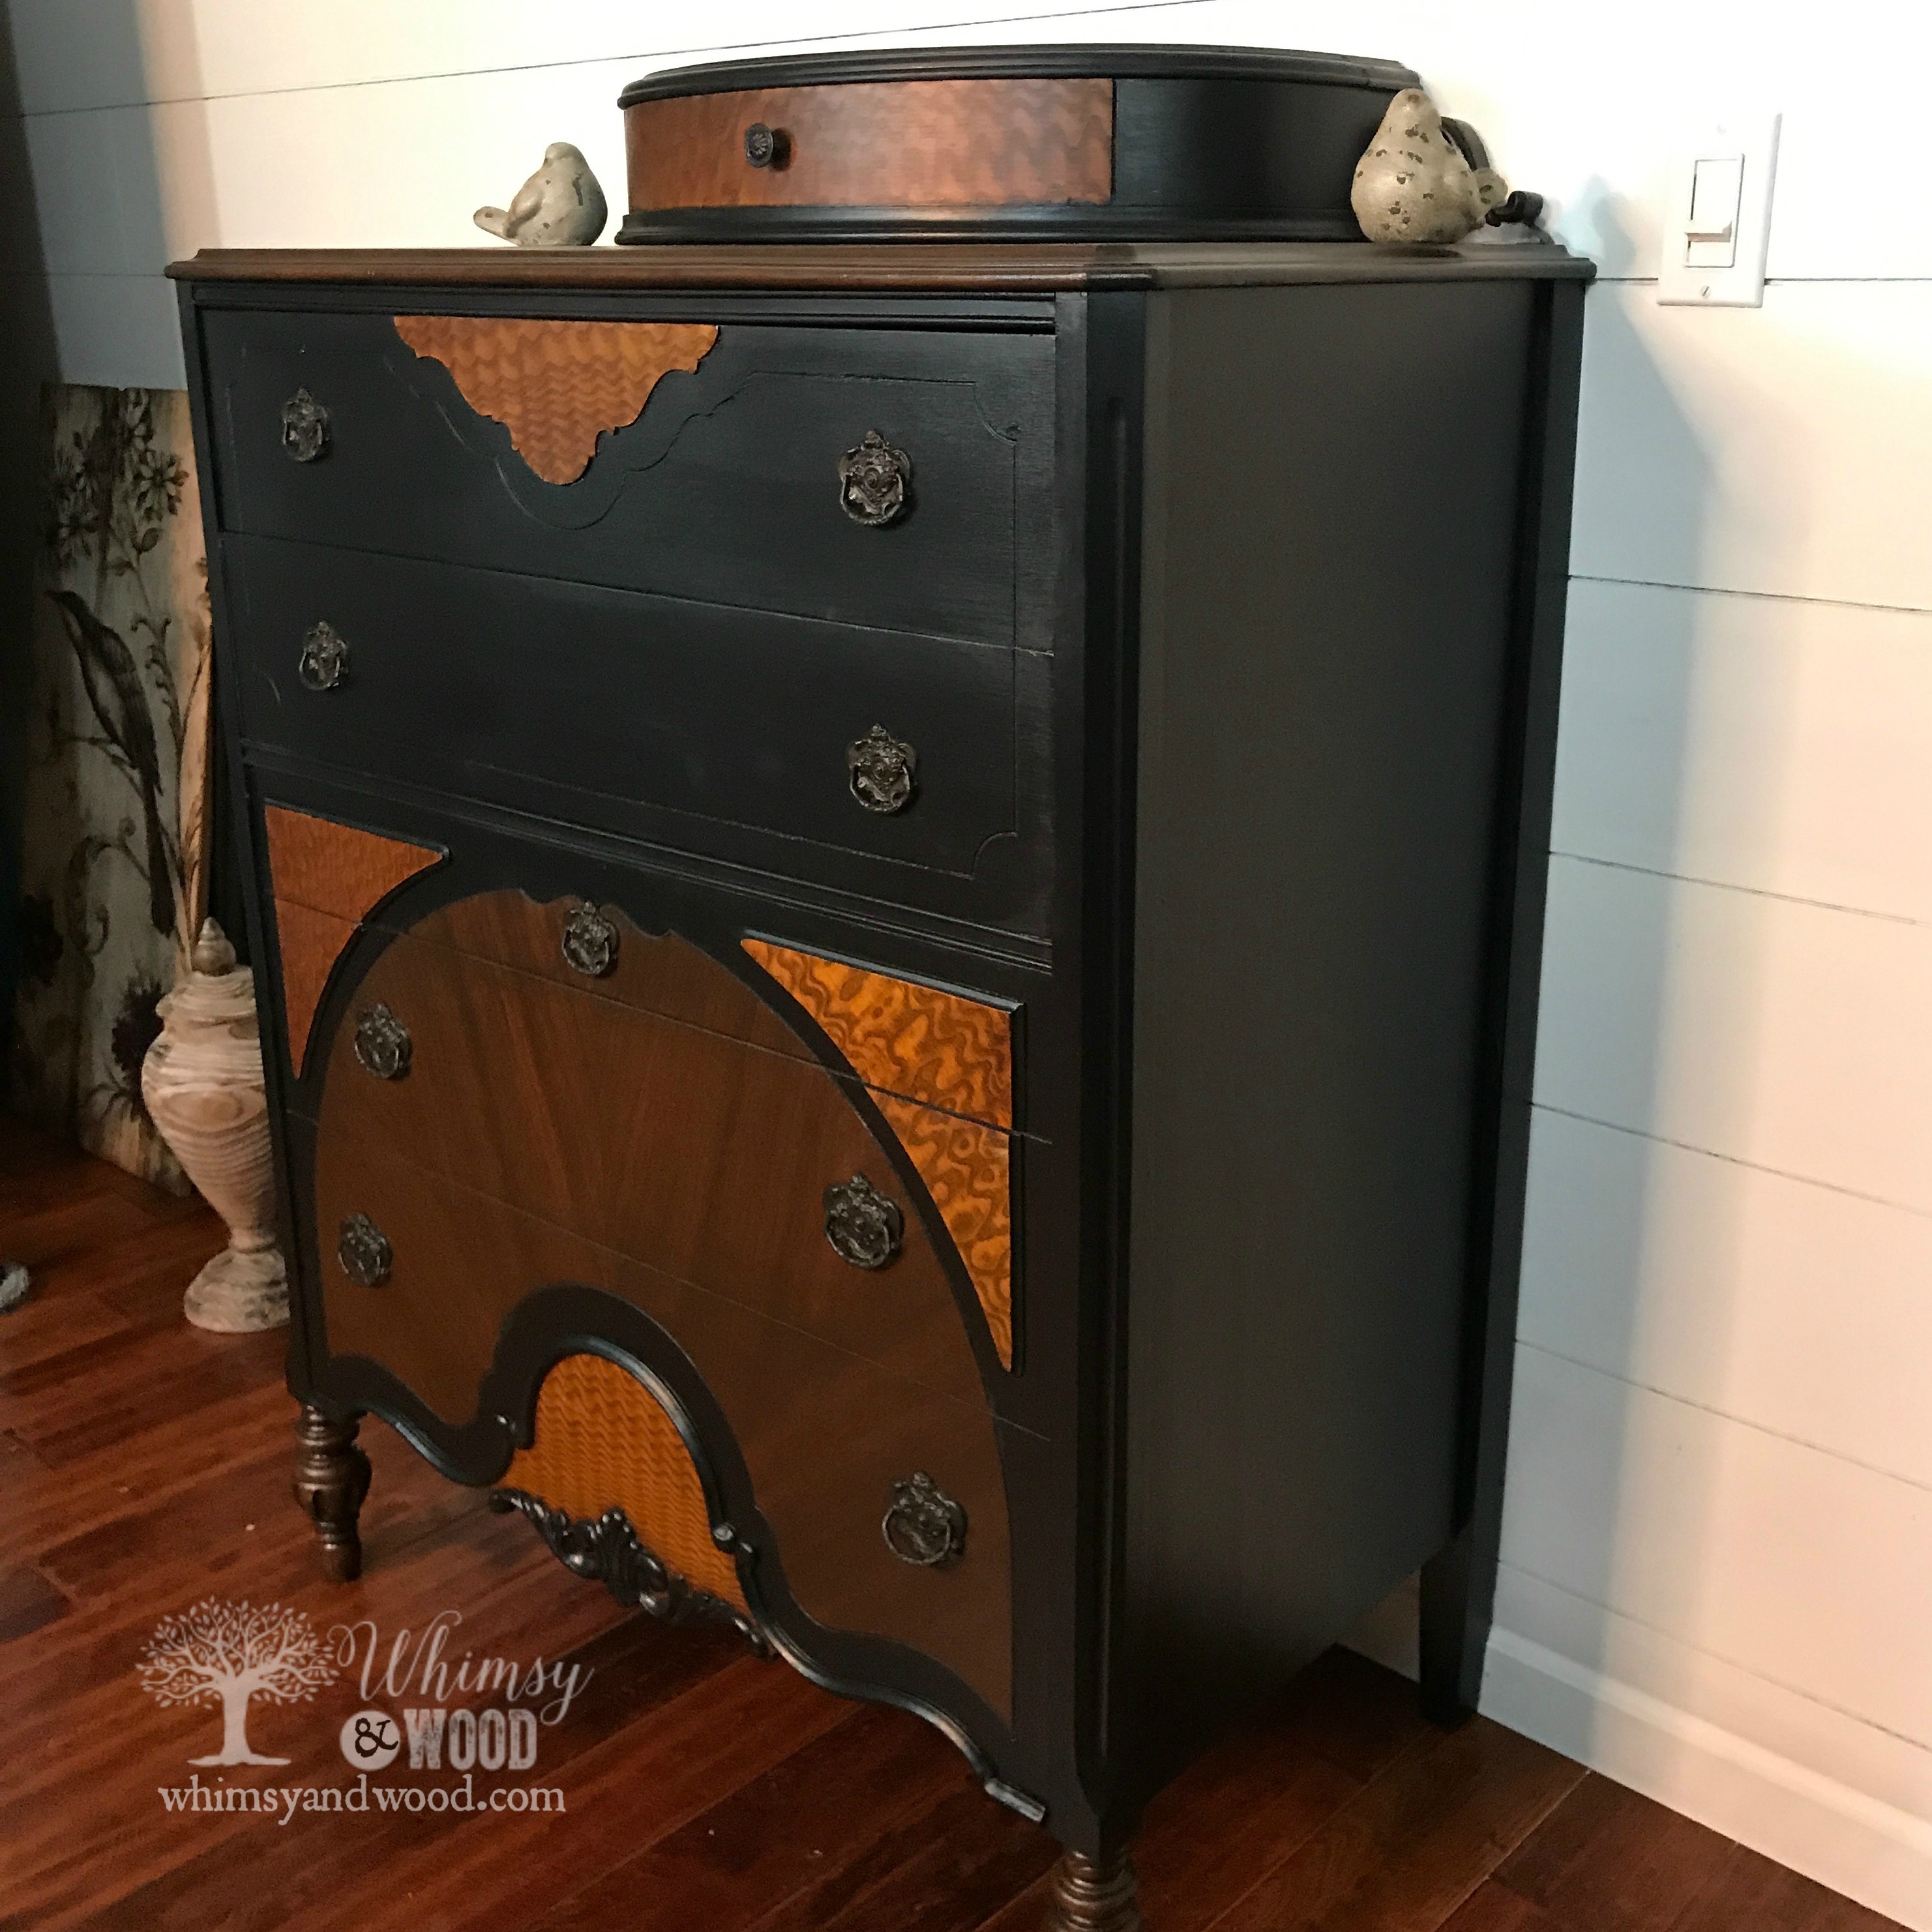
The sides, top box, an parts of the drawers were painted in Derby, this is a flat black and created a beautiful classic finish. The paint was sealed with our Matte top coat.
There is a radiating walnut veneer detail that covered parts of the bottom 3 drawers. This section was given 2 coats of our Chestnut stain. This stain is amazing! I did not have to do a sanding, I was able to brush the 2 coats right over the cleaned area. I love this product!
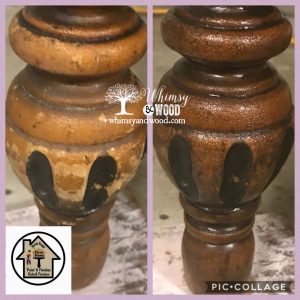
Chestnut stain was also used on the top of the dresser and on the 2 detailed front legs. You must check out this side by side of the leg before and the after with just one coat of stain. A second coat of stain made them even more beautiful.
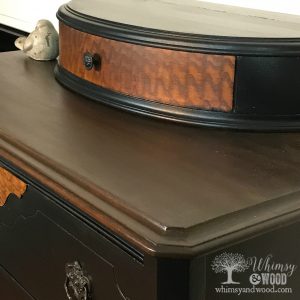
The #baconveneer was just cleaned and protected with our clear satin top coat. These patches were in great condition and did not require re staining.
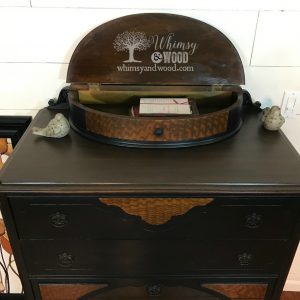
This top section that has the look of the drawer is really a lift up section. Why they gave it a drawer front and a knob… I have no idea! But, the space is great. What would you put in there?
Thank you for visiting and taking the time to share the small win of this finished project with me! Here are the gorgeous photos! Item may still be available for purchase here.
Do you enjoy these makeover posts? Or do you prefer a little more DIY instruction from our posts? I would honestly love your feedback!

Leave a Reply