Vibrant Splatter art is fun and easy to do
Making themed kid’s room art
About the kid
-
Antique Twin Bed
-
Desk from Garage Scraps
-
Dresser with Secrets
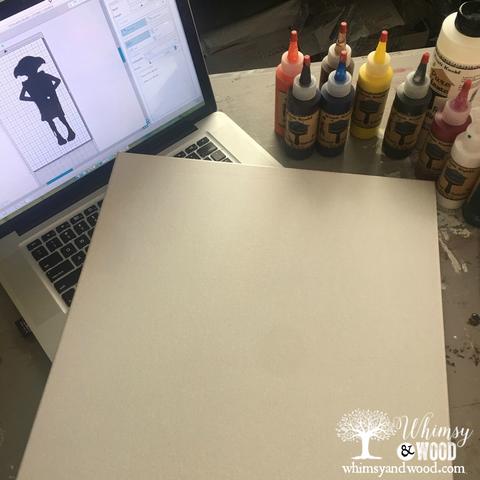 Her room has been ready for a bit, but we were still needing to get her artwork in place. Becca is a girl after my own heart & loves to create. We found some ideas she liked on Pinterest and went to work on making them our own using Vibrant Splatter
Dobby is her favorite character from the book & made a great place to start on her art wall work in progress. Do you love Dobby? He is growing on me. You of course could use any image that works for your child’s room.
Tools Needed for This Project:
Disclosure: This Vibrant Splatter Art post contains affiliate links disclosures here
For the Stencil:
- Silhouette
- Design Software
- 12′ x 24″ silhouette cutting mat
- Stencil Vinyl
- Stencil Vinyl Transfer Tape
- Blank Canvas (We used 16×20, but of course use the size that works for your space)
- Kristi Kuehl Pure Home Paints Products used:
- Matte Protective Finish
- Vibrant Splatter Gel Paint (more colors available on the shop page)
- Magenta
- White
- Blue
- Green
- Purple
- Clear plastic wrap
- Blow dryer (if you are impatient like me)
Prepping our canvas
We started with our blank canvas. Does the phrase blank canvas intimidate you? Once you splash color on it there is no taking it back! Just kidding, a little primer and you are back to blank:) That’s the beauty of painting. To prep our canvas for our Vibrant Splatter Art, we coated the entire canvas with our Matte protective top coat. In this application it is working as a primer. TIP: Your top coat can be used as a base coat to prime something. It can be used between coats, and it is the perfect finishing coat protectant.
The image for our vibrant splatter art
While the primed canvas was drying. We found an image of Dobby from the internet and dropped it into our Vinyl Cutter’s design software. I used the trace feature to create the silhouette of Dobby & then enlarged it to fit the size we needed for our canvas. Once the design was done, it was cut, peeled, and transferred to our canvas. I swear my Silhouette is my favorite tool in crafting! When I bought it I wasn’t sure where I would use it & now I use it for so many things.
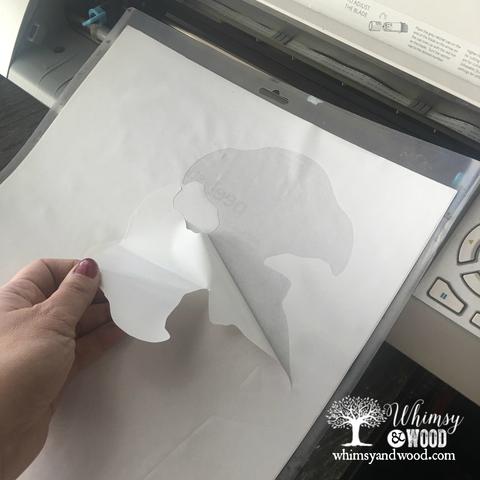
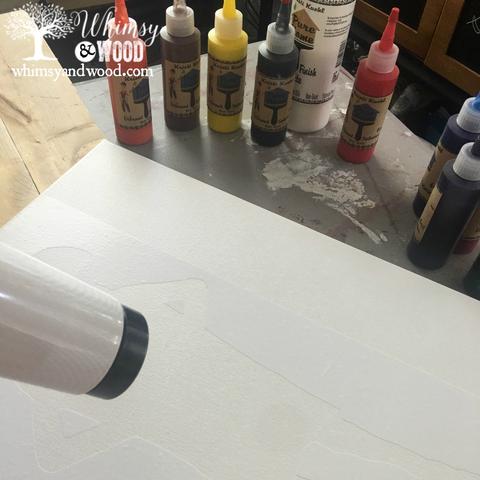
I normally work on wood pieces and not on canvas. For some reason the vinyl that I had on hand was not adhering well to the canvas. This is where the blow dryer originally came in. A quick hit with the hot air stream and the vinyl glue was activated. The blow dryer also had a shrinking effect on the vinyl that cinched it up and formed it to our canvas. Cold vinyl does not ever perform as well as warm vinyl. This would have been a huge hurdle. Are you still with me?
Vibrant Splatter Application
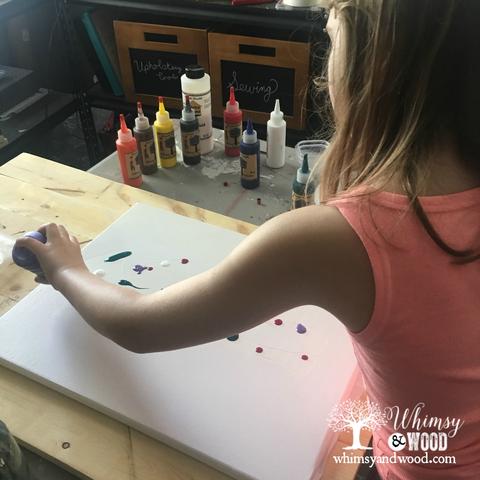
Tie Dye with vibrant splatter
Once Becca had enough colored blobs, we grabbed our plastic wrap. She laid the plastic down over the Dobby image and the paint blobs. (On this one I forgot to spritz a little water, but if you do that, it does help the paint spread a little easier)
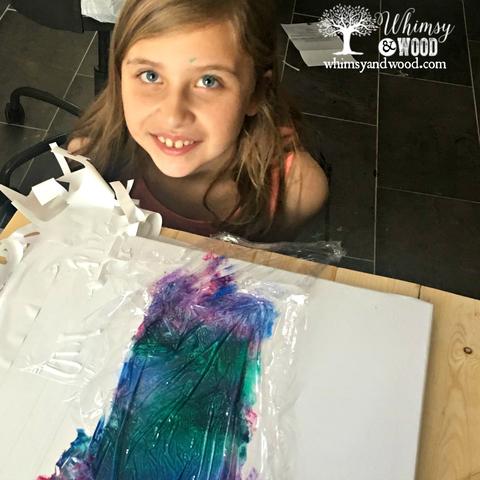
Now for the fun. She took her hands over the plastic wrap and pushed the colors into any empty spots. This does mingle some of the colors and created some really cool blended effects. Then for good measure she raised her hands up and lowered them back down in a smack on the plastic wrap. This smack added a cool effect where the plastic wrap jammed into the paint. It also made her giggle uncontrollably. When she felt she had pushed, smeared, and slapped the colors enough, the plastic wrap was lifted. We had a tie dyed looking abstract piece.
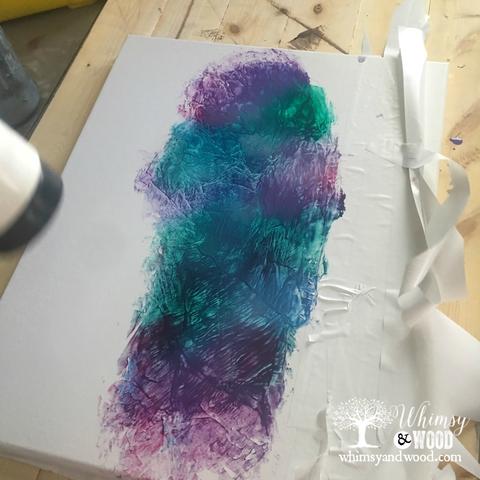
Waiting for paint to dry
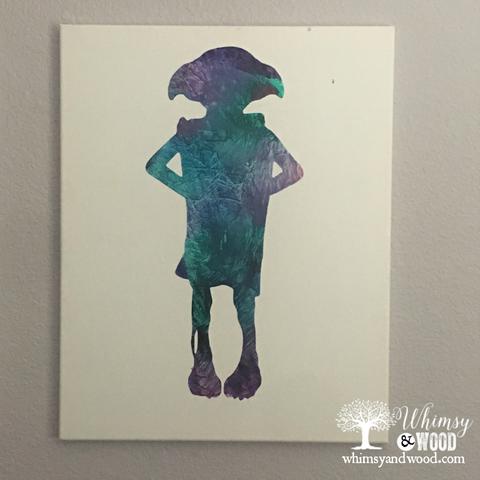
What do you think? comment below to let Becca know if you love her work. If you will be trying it out at home please post photos! We love seeing what our community is up to.
Thanks for visiting!
Jen & Becca
XOXO
Pin This:
Leave a Reply