This painted vintage vanity update
In may garage I had an abundance of projects taking over. This included this now painted vintage vanity. I needed to get to working through them and my husband could see the tinge of overwhelm in my eyes. There was not enough room to move let along paint and repair this vintage vanity. Then with a light sigh, he says the sweetest thing…he leaned in close and said “Baby, I am going to clean your garage today. When you get a second would you mind coming out and showing me the next 3 projects you want to work on?” If you saw the state our 3 car garage was in you would REALLY get why this was Earth Shatteringly romantic!!
I don’t give my guy enough credit. In a world that is upside down right now with people not feeling like they are valued. I know how highly he values me & he is so supportive of everything I want to do. Sorry, I did not mean to make this post about my hubby, I guess sitting still and writing you never know where the pen may lead you.
So back to the reason you are here… The 3 projects. I had him pull a 1920’s petite china hutch with a few cosmetic flaws, a gorgeous solid wood buffet that needs zero repairs, and this Dressing Table/Vanity that has some issues, but mostly has a beautiful curvy shape & still has it’s original mirror. This was new to me. To already have picked out my next few projects. Which one first?
Worst Things First
It was a rough week & getting lost in the repairs or the vanity sounded like a good fit. Like I said she had gorgeous curves! But, she had some issues with her legs. I can only guess what had happened but her legs had some carved sections that had fallen off & one leg had a split down the center that needed immediate attention. When they make these legs, they start by gluing 4 boards of 1’x material together to make more of a block. Once dried and solid, they get to work on turning. When exposed to elements and to pressure the glue can fail causing the sections to open back up at the seams. Fortunately all of her slices were present even if not currently together. I started by turning her upside down to work on the problem areas.
Even with repairs it is best to thoroughly scrub the area. And then evaluate the damage and your plan of action. (I had a lot on my mind and projects clear that, soooo I may have forgotten to take enough before photos. and they ones I took are a little suspect. (Sorry, I will do better most of the time)
TOOLS NEEDED FOR THIS PROJECT
*Post contains affiliate links, our disclosures here.
Kristi Kuehl Pure Home Paints products used
- The body of the project
- Hardware
Tools and Shop Supplies Used
- Random orbital Sander
- Ryobi One Nailer
- Wood Glue
- Vinegar water mix for scrubbing
- Sanding pads
- 100 grit
- 120 grit
- Wood Filler
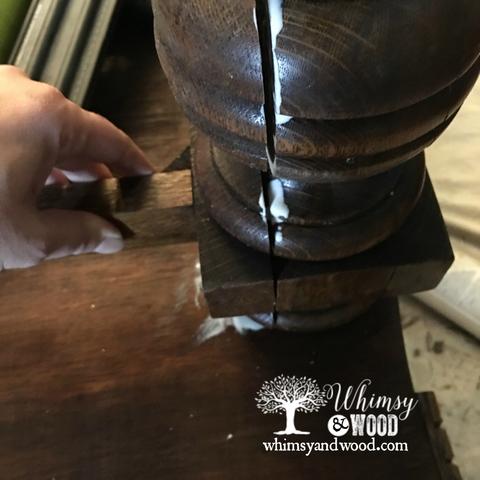
Repairing this painted vintage vanity
Leading up to this, I used 100 grit sandpaper inside this break to take off some of the old glue. Wood glue is great for bonding wood to wood, it is less effective over old glue. Tip: Whenever you have access, sand off the old glue and create a new strong bond. I am a messy gluer!!! (Messy everything really) Glue was pumped into the break & then the leg was clamped in place. The glue once dried should be strong enough to create the hold, but I did also shoot 2″ nails into the leg pieces for added support while the glue dried & for the future of the piece. After clamping and nailing, all of the glue that you can see squeezed out in the photo was wiped off. It is much easier to clean this off before it dries with a soapy scrub sponge than it is after it dries & then you need to sand it off. Since this was a paint project nail holes are not a problem, a little bit of wood filler and a light sanding & we would be ready for paint.
The legs were a semi major repair, but they were the only repair.
Sanding the Top
Next my daughter, Brooke, offered to sand the top for me. It was so sweet, she just wanted to learn how & to help in the process. I know, sweet like her daddy!! I am sure lucky to have her help with this painted vanity
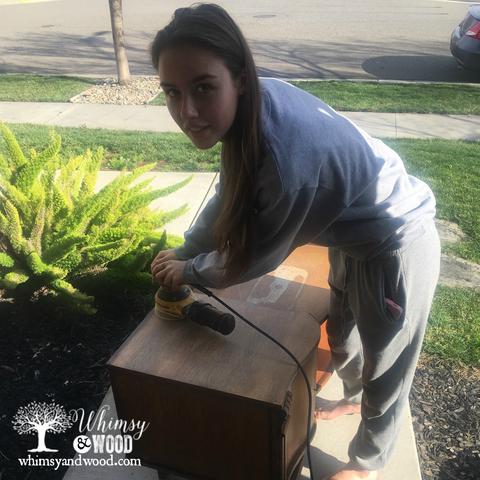
Barefoot and sanding in the front yard…This is definitely my kid. We make my husband a little crazy.
After sanding the top, we gave it another good cleaning to remove any sawdust & brought her in for the painting and staining. I cannot express how nice it is to be able to paint & stain in the house. Our Pure Home Paints line is completely non toxic and has no strong odors. YES I did say the STAINS too!! Life changing for a DIYer.
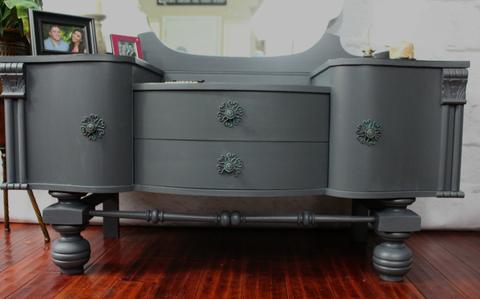
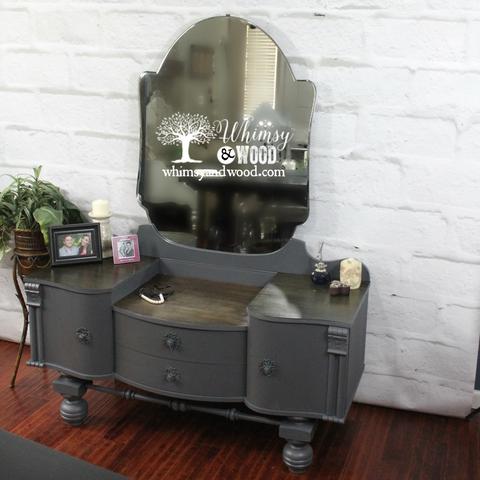
I mixed Derby (black) and Slate (Dark Gray with purple undertones) to make a darker graphite type gray. I was not real specific with this mix. It was 1:1 with the two colors & then I threw in a little more black at the end. Gave this one heck of a stir for consistency and got to painting. After the paint dried I added our clear Matte Protective Top Coat.
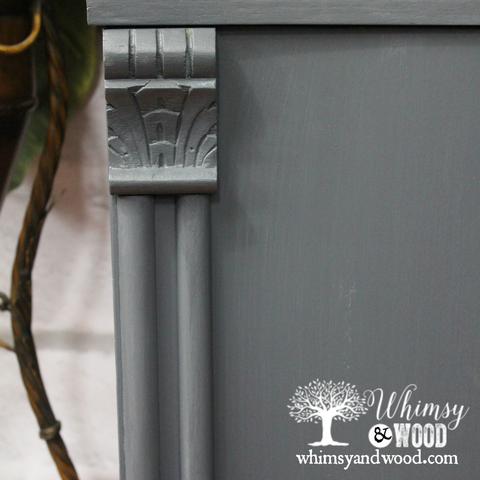
Next we used our Teak Stain on the top sections. The Teak stain has a heavy gray black tone to it, but still allows some of the natural wood color to show through.
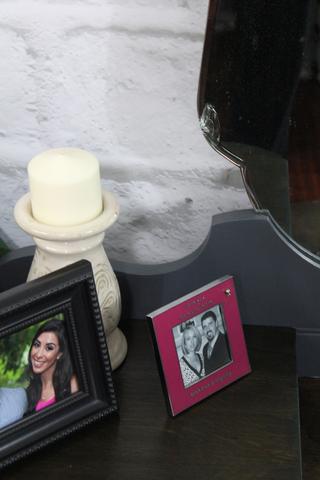
I layered the Teak until I got a dark rustic color. TMI maybe, but the pink frame shows my guy & I. The black frame shows another one of my sweet daughters.
The Hardware
This vanity had very cool hardware when I bought it.I loved the backplates that were on it & it had a chunky knob. I did not notice at the time that one of the knobs was different from the other 3 🙁 So I was able to take the back plate and I found some knobs in my random hardware storage & put them together. The centers of the backplates were a little smaller than the screws needed for the knobs. Swear nothing ever seems to just work on the first try.
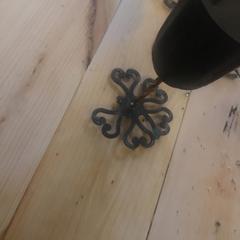
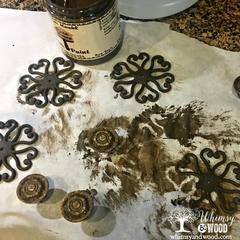
The hole was drilled. To create this patinated look I started with a base layer of Tanner Brown on the entire surface of all hardware. This was allowed to dry.
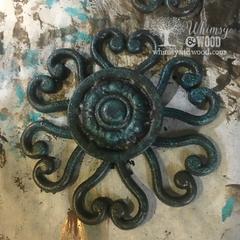
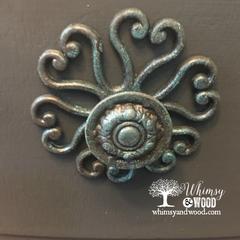
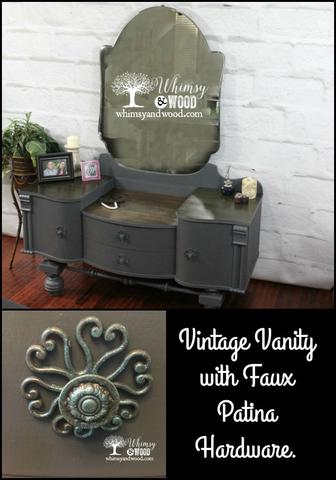
Next I used Cyan and pounced paint onto the knobs in a random matter leaving some of the Tanner showing. I repeated this pattern again with the Tanner & the Cyan. To top coat & blend a bit, I used our Smoke Glaze over the entire piece of hardware. This blended the colors and greyed then out a little. I loved the little hint of color this brought to the piece.
This piece is available for purchase here.
Thanks for visiting! You can Pin from here.

Leave a Reply