Recently I traveled a ways to pick up a gorgeous buffet, while chatting, I noticed a desk under a pile of who knows what. Of course I needed to know more. The owner shared that it was actually for sale & then my long drive was well worth the span.
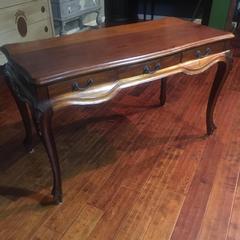
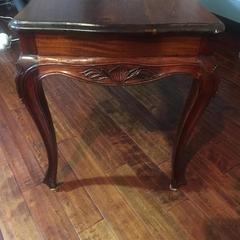
I am not sure if you can see all her awesomeness. She has fluted trim with gorgeous carvings, her sides are serpentine, cabriole legs & with gorgeous feet, Three slim drawers for your writing utensils, and she is all solid wood. A little research and I can share that she is actually called a Bureau Plat (fancy name for flat writing desk) originally a Louis XV style piece. Is it weird to be this in love with furniture? If you are reading this I might guess that you are part of my weird tribe too:) Welcome!
I sat with her for awhile as I contemplated colors. Whenever I am unsure I grab a jar of my paints and set it with the piece for a bit. I let it sit as I work and get other things done & when I pick the right one, I swear there is a change in the energy around the piece. (I did tell you I am a little weird) For this one, Bygone Blue was the answer. I wanted to create a little different of a finish. I wanted texture and the warmth that age adds to a piece.
I used our Transforming Powder mixed into the Bygone Blue. As far as how much i added…and to how much paint… I am not a measurer. I had some paint left in a small container & I added a bit of the powder to create the mix. After adding in the powder I gave it a good stir until we had a cottage cheese consistency. (note it may harden as it sits, add a few drops of water to bring it back to the original we cottage cheese) Using a cheap “chip brush” I added the mixture to the desk with a pouncing motion. Here is a quick video of the application.
This transforming powder mix can be used several ways. My intent was to create texture, but not a variation in color. Tone on tone texture. After the dabbed application sat about 5 minutes, I went lightly over it with my Chip brush, knocking down some of the peaks. (you will have to play with the products to work out your individual techniques) Once fully dry I painted on a second coat, this time of the color only, no powder. This created a smoother look with some texture.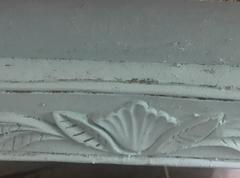
After completely dry, about 15 minutes, I added our Smoke Glaze. Smoke is a dark grey to black color. To create the look that I wanted, I used a sponge and varied between dabbing and wiping on the glaze in the areas that I wanted to create more shading. Glaze helps pool in grooves and create depth. Next, I used a 200 grit sand block to further knock down some of the peaks from the lower coat. This exposes the lighter original color of paint before the glaze had been added. This process depends a little on the artist, every one may approach it a little differently 7 the look will vary each time, that is the fun part;) I almost forgot…for the top, I used a mix of our Chestnut & Ebony Stains to create a rich dark chocolate color. Finally I topped it with our Satin Top Coat. The blue parts of the desk were topped with Matte Top Coat.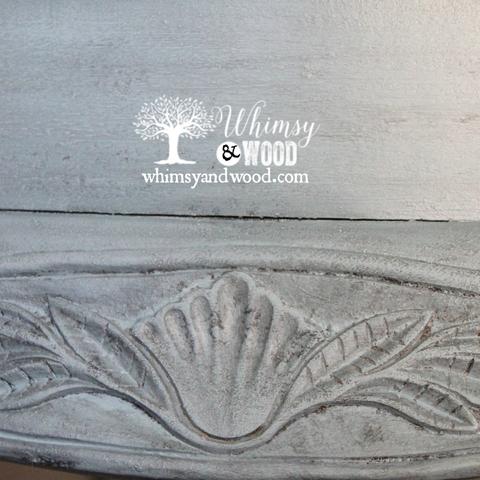
Smoke Glaze over Bygone Blue
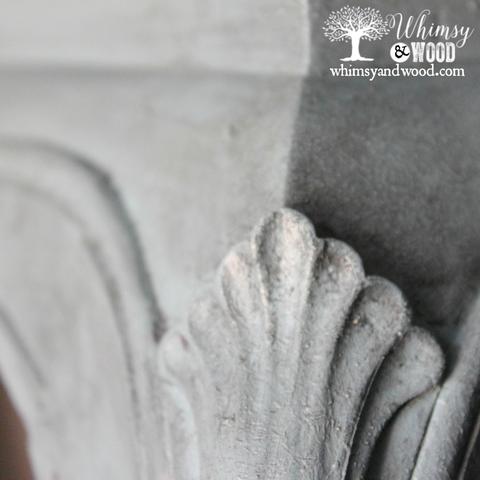
Can you see the texture that was added? Upper right is a good shot of the light showing back through after sanding post glazing.
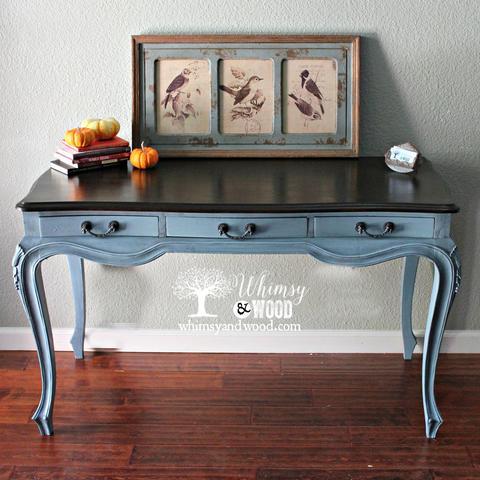
This color is so beautiful. It changes a little depending on the lighting. It is a light Grayish blue called Bygone Blue. It is honestly the color that first made me want to paint furniture!!! The glazing changes the base color a bit, so versatile.
Let me know if you have any questions about the transforming powder, our paints, purchasing this desk, or anything at all really! I am off to work on that Buffet that I told you about. Product listing here.

Leave a Reply