You know those ideas that you can't shake?
Doing an acrylic pour on furniture has been flowing (pun intended) through my thoughts ever since I first watched a pour on Instagram.
I am not sure why I chose the piece I did for my first pour. A quick Google search on this piece showed me a recent sale for the same desk painted white. It sold for $2,200 and I was going to use mine as a trial project just crossing my fingers it all went well. This is my form of Adrenaline seeking.
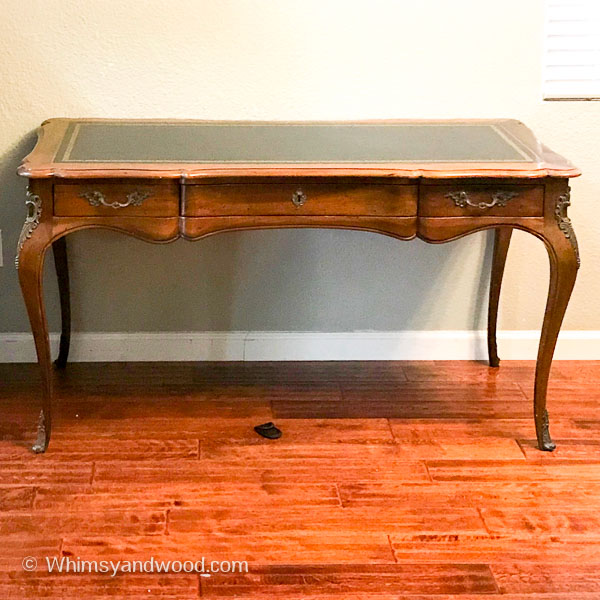
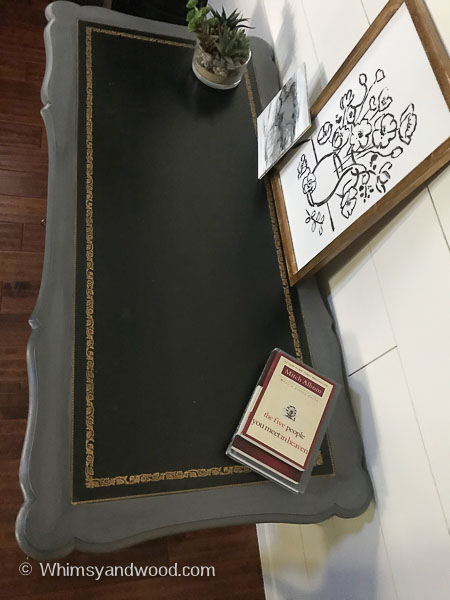
I loved the desk at first sight! Solid with beautiful curves. It had the original leather top & only minor wear.
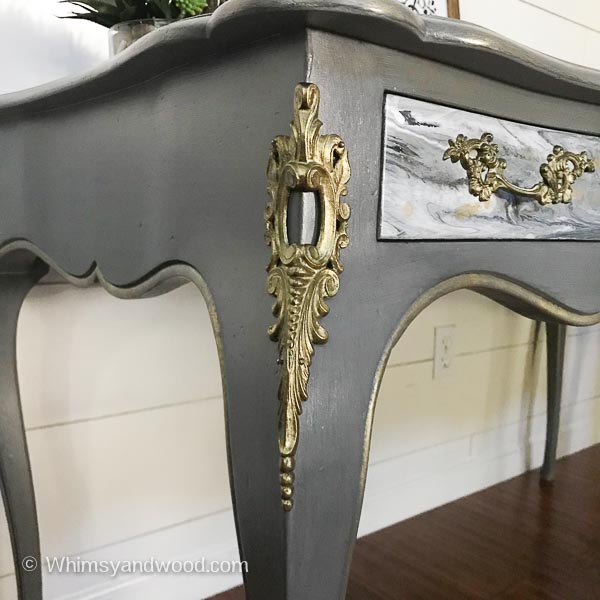
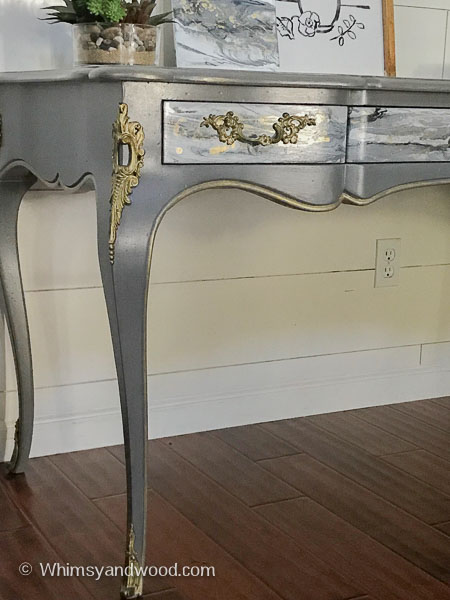
This desk had the most amazing metal accent pieces. Darling metal shoes held in place with tiny screws, and exquisite metal accent pieces that sat high on the curves of the legs & were held in place with brass nails. I hope you also geek out over the attention to detail found in high end furniture, otherwise you are surely judging me right now.
This post may contain affiliate links. Purchases made from links support the content on this page. I use & like every product I link to.
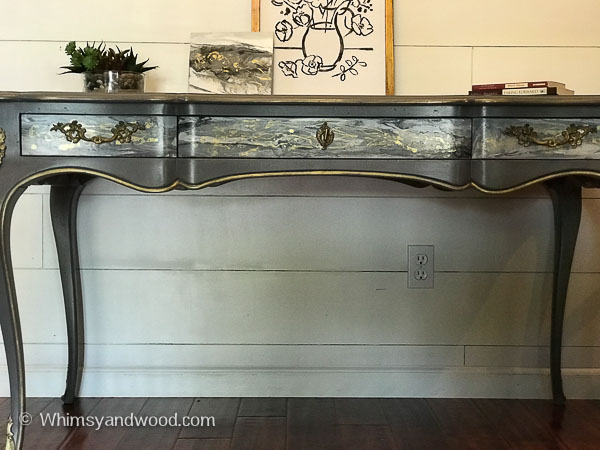
At first, I had a traditional look in mind. Grays with gold highlights to play off of the gold floral boarder of the leather desk top.
This combination would have been plenty, but that nagging idea of a finish almost like marble. Marble with flecks of gold dancing on the surface. I just could not shake that.
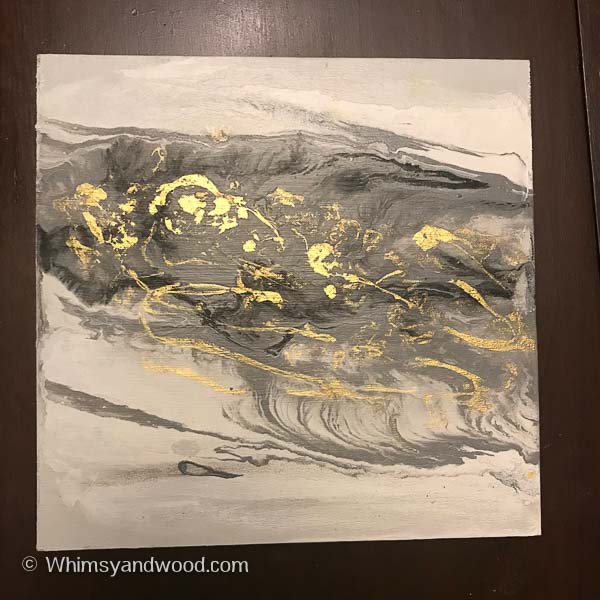
My Practice Pour
As much as I wanted to do an acrylic pour on furniture, I was equally afraid that I might ruin it. I did a sample pour on a test scrap board. On this project I used only Pure Home Paints Products. I am very fortunate to work with a paint line created by an artist and formulated for furniture. Just the most amazing products!
FOR MY ACRYLIC POUR ON FURNITURE I USED
- Pouring Medium (available soon)
- Vibrant Splatter
- Black
- White
- Metallic Gold
- Pure Home Paints
- Plastic Spatula
- Towel/Paper Towels
- Frog Tape
- Plastic Wrap
- Patience
- Courage
- Creativity
Sometimes you really do have to fake it til you make it. Watching about a million videos of people dripping, pouring, spreading, and flinging paint on Instagram surely makes me an authority...or at least my glass of Pinot Noir helped me believe it did. Liquid courage for an acrylic paint pour:)
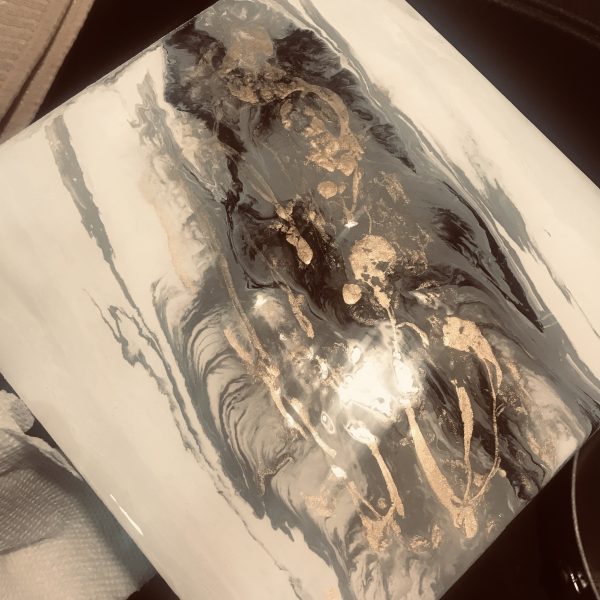
First I had painted 2 coats of Tahoe on my wood scrap. Once that dried I took my Pouring medium & squirted a few heavy lines on top of the dried paint. I used my plastic scraper spatula to spread the pouring medium. The pouring medium looks white, but dries clear. It can be mixed with paints to increase their flowy-ness. It can also be added to your "Canvas" to help the paints glide.
There are so many remarkable looks that can be created with an acrylic pour on furniture! I wanted to keep this one clean and classic. An abstract marble is the best I can describe. I added my White Vibrant Splatter haphazardly on the layer of pouring medium. Some lines, some puddles. I wanted a lot of white, gray as my secondary color, and black as an accent.
With a good base of white I puddled gray in a few places & dripped a little black on that. Imaging a layer of white with 4 drops of gray topped with 1-2 drops of black. On a couple of my puddles I repeated the gray and black layers.
Now for the terrifying fun part. Pick up and angle your board (or drawer anywhere from 15 degrees to 90 degrees depending on how fast you want your paint to flow in that direction. You will have to alternate the direction of your tilt depending on where you want your paint to flow. The goal for this piece was to have the lines mainly horizontal so I angled toward the top a bit for coverage and then would move back to one of the sides. You will have paint flow over the edges & remind you what it is like to be a kindergartener. It will feel like wasted paint, but having thick paint that takes a week to dry won't make the paint any more useful. (Pro tip: I have seen people pour over a plastic bin & then scrape the run off into a storage container for future pours)
When I liked the effect, I added metallic gold using a mix I had in a dropper bottle. I dripped it in some spots and poured bent lines in others. I don't know if it made a difference, but I used a mix of 99% isopropyl alcohol in my Metallic paint from Pure Home Paints. This 50/50ish mix made the gold feel more airy and I believe it helped it settle on top of my pour instead of sinking into the wet paint. (background note, I had this mix of alcohol and metallic paint from trying to make alcohol inks with my daughter.
My finished concept board truly felt like art! I was so excited to try my acrylic pour on furniture next!
As with every piece I started with a good cleaning of my piece. a 50/50 mix of vinegar and water and followed with a clean water wipe down & a little dry time.
Next I painted 2 coats of my base paint color on everything except the leather, the hardware, and the drawers. I used Stone, a neutral gray color made by Kristi Kuehl Pure Home Paints. On the drawers I wanted more white than gray so I painted the drawers in Tahoe. It is a gray, but a very white gray.
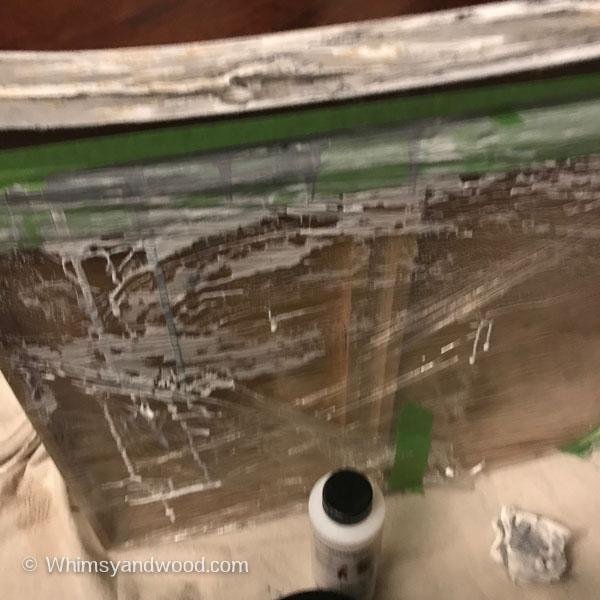
Acrylic pours are messy! To protect the drawer sides and interior I wrapped them with plastic wrap and a little Frog Tape. (Pro Tip: Don't forget to tape off the handle holes on the inside of your drawer. I created a paint waterfall through mine.) My center drawer also had a keyhole, I put a small piece of painters tape on the keyhole. (just remember to remove the tape carefully before the paint dries too much, I waited about an hour and picked it out with a metal skewer. It was hard to identify where the tape was once the pour was done. I think I got lucky finding it and removing it pretty quickly.
The pour done on my sample board was pretty easy since I was working on a flat piece. The drawers were a little different because of they were slim & they had a curved front. It just meant a little more tilting and working with the flow. Make sure you have a heavy painting canvas or plastic in your paint area. This is a very messy drippy process.
Once you have chased your paint into all the right places, set the drawer down with the drawer face up. I recommend you wipe away any paint spills and use items to make sure your drawer does not fall over before drying. You can now add your gold & set it aside to dry. Plan on letting it sit over night before handling it at all. If the paint looks loose or wet, then let it sit longer. The paint may dent with pressure for a few days after pouring, it is just still drying.
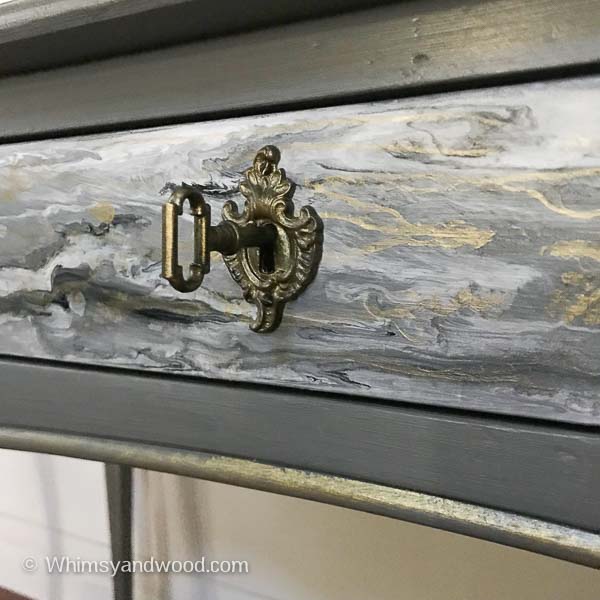
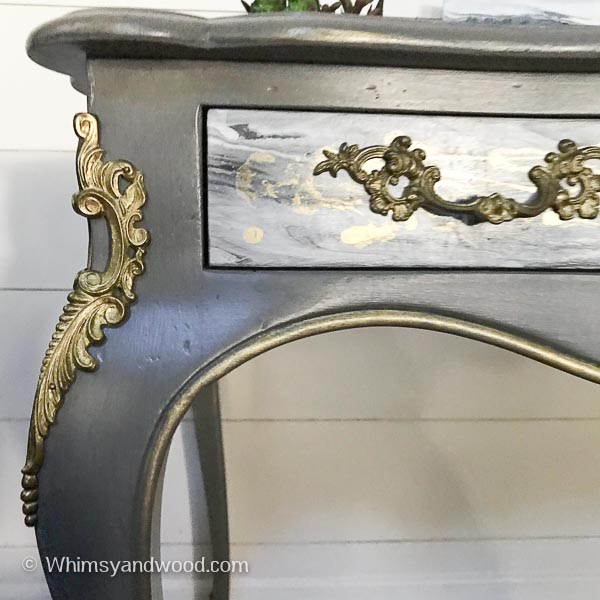
I painted that gorgeous hardware using the same metallic gold paint, but in full strength.
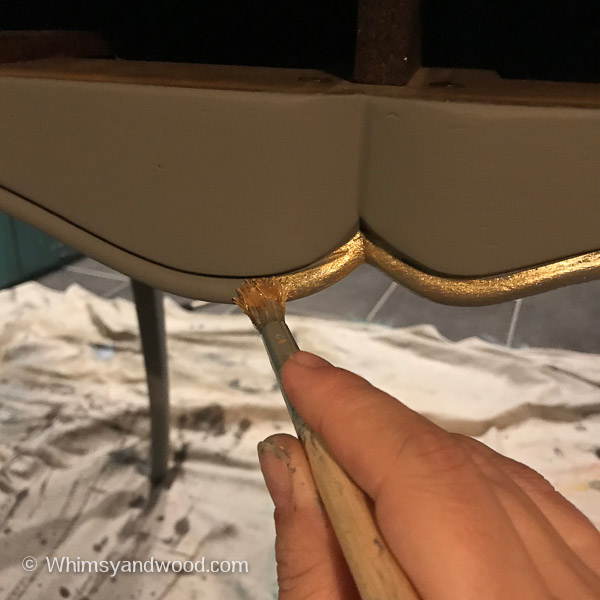
Staying with the touches of gold, I used a coarse natural bristle brush to dab the gold paint onto the edge details on all sides of the desk. I chose to dab instead of spread because I loved the texture that this technique adds.
Next a coat of Matte Top Coat for protection & finally a glaze coat in Pure Home Paints Smoke.
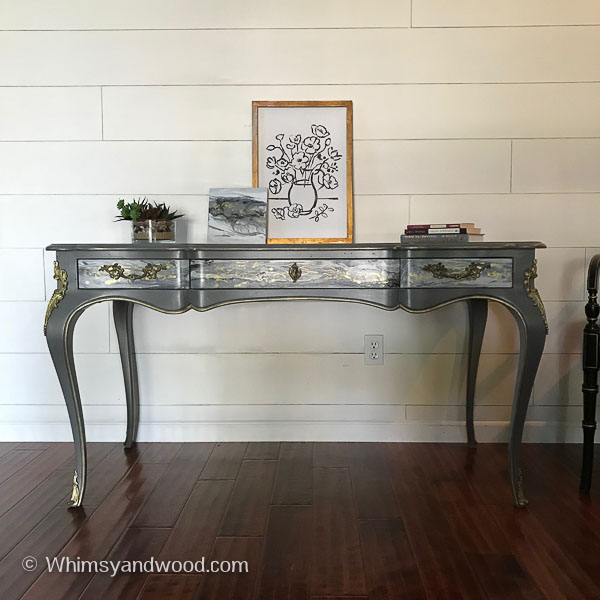
I know this sounds like so many steps, it is.
Those steps & those little details make all the difference.
Anyone can spread paint on furniture. But no one can do it just like you can! It is the extra attention, thought, and work that creates that piece that compels someone to take it home. You won't want to do an acrylic pour on every piece of furniture, but every piece should get your full attention. It is the absolute best feeling when someone finds your piece on line or in your shop & feels compelled to own it. They will throw out everything else and build their space for the piece that speaks to them. that is the magic.
The drawers on this table are amazing!!! The whole desk is gorgeous!
Thank you Jackie!
This is so gorgeous! You’ve inspired me. Thank you for sharing.
Thank you Corinne! That is so kind of you to say! I hope to see your finished project.
So beautiful. I love it!
Thank you! It was really a fun project.
Gorgeous! I am about to attempt my first pour on an antique dresser. Did you not need to sand down and prime your piece first?
Hi Liz, It may depend on the materials you are working with. My base layer was a chalked acrylic Pure Home Paints color and the pour mediums I used were from the same brand. The products were all compatible and did not require sanding and priming.
Gorgeous! Thank you for giving me a painted furniture inspiration that isn’t distressed to the nth degree! How refreshing! Your attention to detail is fantastic.
Thank you Juliet!! So glad you enjoyed it. If you try something similar come back and share.-Jen
It looks beautiful, Thanks for sharing.
Thank you Joseph!
This is absolute gorgeous!