Every room redo has its own challenges. Kid’s rooms require a design for the child you have today while keeping in mind the person they are growing to be.
Kids evolve so much in 5-year blocks that it makes sense to decorate for the kid you have today while using a little insight and planning for what their needs will be in the next 3-5 years. 9-year-olds play with toys, but by the time they hit 14 -15 those toys become electronics, lip gloss, and piles of cute clothes.
Pieces like a bed and a dresser and pretty standard for a bedroom. I get those in place and then creatively work in the other must-haves. My youngest daughter, Becca, has homework like all other kids, but more importantly, she loves to write, draw, and even keeps a bullet journal. This made a desk one of the must haves for her room.
Planning the space for our built-in desk
Her bed is beautiful and antique, her dresser is a deep eggplant color, and her desk needed to compliment them while fitting into a specific space & leaving room for playing on the carpet while she still enjoys it.
The room set up left a great corner space between two windows. I decided to do a built-in ledged desk made for this space. I have seen many done on beautiful corbels. Since I didn’t have any corbels lying around I chose two beautifully carved posts from the footboard of another antique twin bed I had purchased you can see it here.
Creating the Built-In Desk
Post contains affiliate links. Purchases made from link earn this blog a small referral commission at no cost to our readers. We only recommend what we use and like. Full disclosures here.
You Will Need:
- 1×4 Pine Board cut to size
- Pine Board or Plywood cut to size for desktop
- Pocket hole screws. (1 1/4″ coarse screws if working with .75″ thick pine)
- Corbels, or even wood posts for the 2 front legs. I used bedposts, but pine boards would work fine
- Paint colors used in this project:
- Tools Used
- Kreg Pocket Hole Jig
- Level, 4 foot
- Stud Finder
- Ryobi Sliding Miter Saw
- Ryobi Circular Saw
- Kreg Rip-Cut
- Dewalt Orbital Sander
- Router (for decorative edging)
- Ryobi Drill
- Hole Saw Bit for drill
Building the Desk
This desk mounts to the wall in the back. Unlike a traditional desk, only 2 legs are needed to support this desk. A 1×4 pine board from Lowe’s is cut a few inches shorter than the length of the desktop.
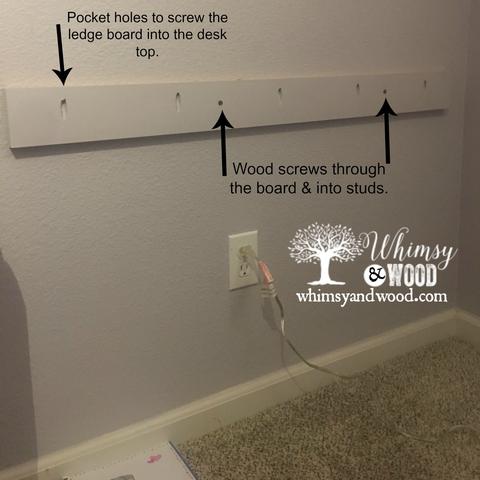
Paint the ledger board same color as the wall being screwed into. Use a Kreg Pocket Hole Jig to add pocket holes where the board will screw into the desktop. This creates a strong, built-in surface and hides the screw holes.
After painting and adding pocket holes, locate the wall studs in the space. Then screw your 1×4 board directly into the wall. This 1×4 is called a ledger board.
First, determine your desk height. I Google searched “common desk heights” and chose to go with a 28″ desktop height. The ledger board was leveled and screwed in at 27.25″ high. Allowing the desktop board to make up the other .75″.
I recommend a stud finder like this one, it helps determine the edges of the wall studs. Then you can confidently drill your hole in the center. This anchors your screw in the middle of a framing 2×4 located inside your wall.
Desktop for our Built-In Desk
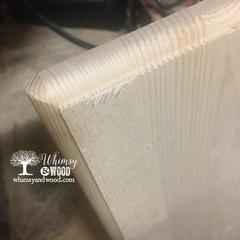
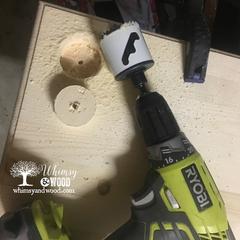
A solid pine board was measured and cut to size using the Kreg Rip-cut and my circular saw. Next, I used a round over bit on my router table to fancy up our basic pine top. Only the desk edges that would not touch the wall were routered. This is what created the finished edge you see on the desktop. Holes were added to the outer corners of the desk using a hole saw drill bit. I will explain why below.
Turning Bedposts into Desk Legs
It can be nerve-wracking to cut a piece of wood that you cannot replace. Measure twice cut once really matters when you can’t run to Lowe’s for a replacement! The base of the legs was cut to be the correct desk height.
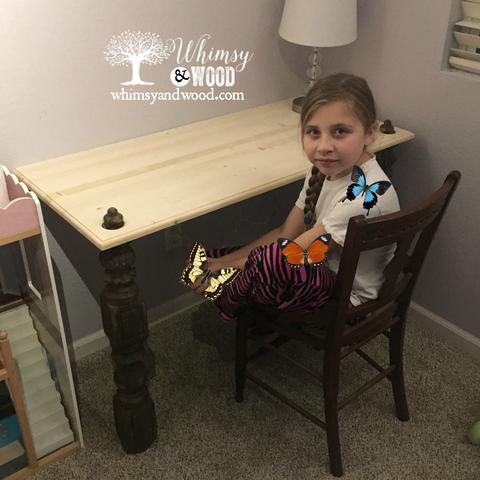
These bedposts had decorative finials on top. This is why I used my hole cutting attachment on my cordless drill to add the holes in the pine desktop. The plan was to prop the fancy legs in the newly cut holes and have the finials peak through the top.
I always start a new project with a plan and a prayer. Then either give thanks for it working out… or thanks for the new lesson learned and skills earned in fixing my mistakes. Fortunately, it worked!
I was so afraid this whole plan wouldn’t work that I didn’t even tell my husband what I was scheming until I had it all in place. In the morning he woke our girl for school and found the unpainted desk dry fitted in place.
I am often protective with new ideas. They are kinda like babies and you don’t need people poking at them while they are infants…Yeah, I am a little weird.
Painted Finish
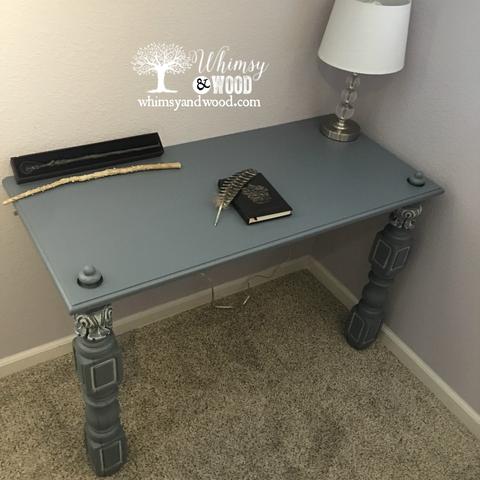
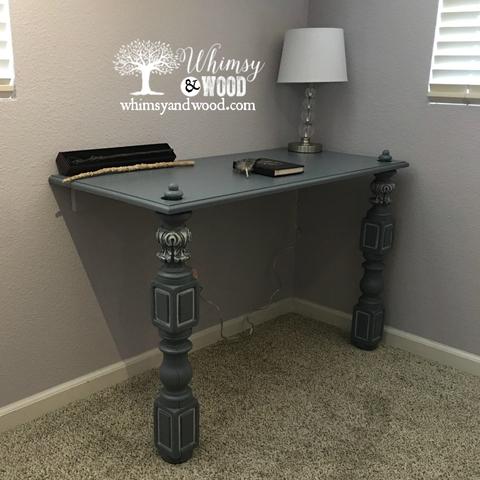
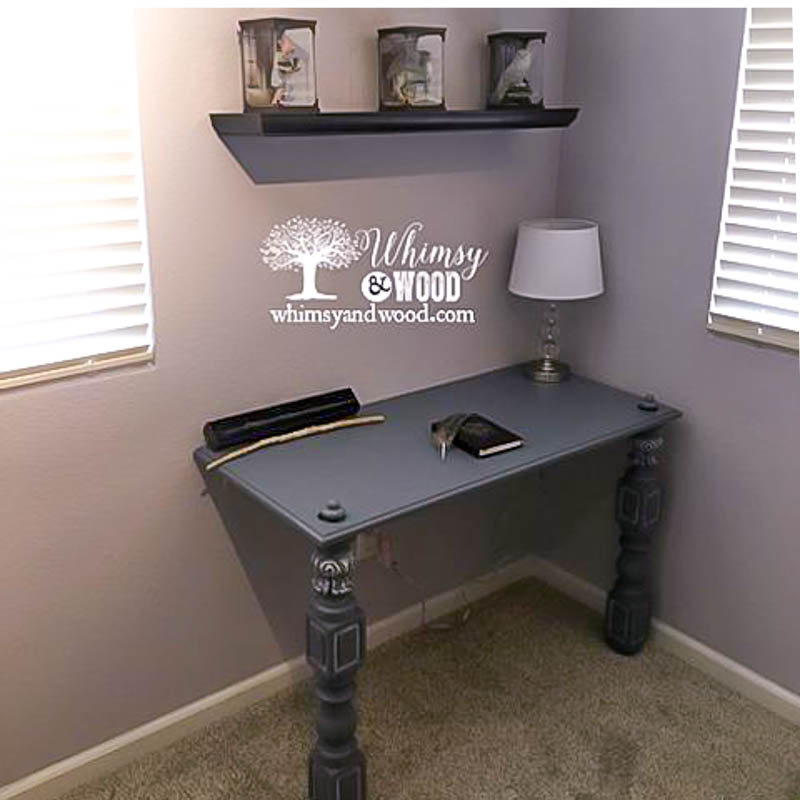
The desk was painted to match her bed & top coated with my favorite paint, Kristi Keuhl Pure Home Paints. Body is done in Slate, details in Tahoe, and Matte Protective Finish was brushed on to protect. The Slate color is so amazing, you almost don’t need a 2nd coat. Makes my life much easier. 🙂
Here is her final desk & floating shelves (I bought those, easy enough to make, but cheap enough not to this time) I cannot wait to show you the rest!!!
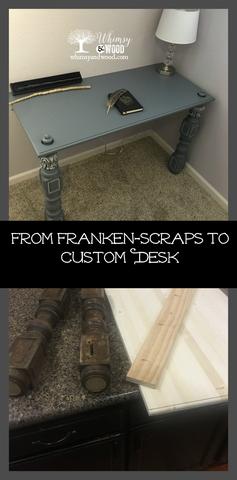
Pinterest Ready Pin Image



Leave a Reply