Shiplap Brainwashing
Shiplap, shiplap shiplap… For the first year or so of hearing Joanna Gaines drop the shiplap word, I just kept saying… I am more of a rustic wood wall girl. But, now I must admit that while I still love a great rustic planked wood wall… I am loving crisp white (and even sometimes gray or black) shiplap walls! Brainwashed or converted I am not sure, but whatever.
Most of y’all know I work from home. It can be a little crazy #AllWhatStuff? #NotAHoarder #WhatYouDontHaveThreeDesksInYourDiningRoom? I have good sized areas to get the work done in and even space for storing or staging furniture. what I didn’t have was a great background for photos, or enough lighting in my staging area. Shiplap is my answer to that.
*Post contains affiliate links. Our full disclosures can be found here.
If you do any type of product photography these are the light kits that I have. They are affordable and they work great!
I got my lighting dialed in and I found some great backdrop options on Etsy you can find this one here. This was my main go to. White works for most colors (not so much for white furniture, you can get some great gray curtains for white pieces) The brick look worked for most of what I do.
My problem was that sometime I need even more space than a 8ft wall can create. This space worked for single product shots, but was not big enough for shots for my web banners.So I talked my husband into doing a cheap faux shiplap on the focal wall of my entry way/formal dining room which is also where I showcase finished pieces.
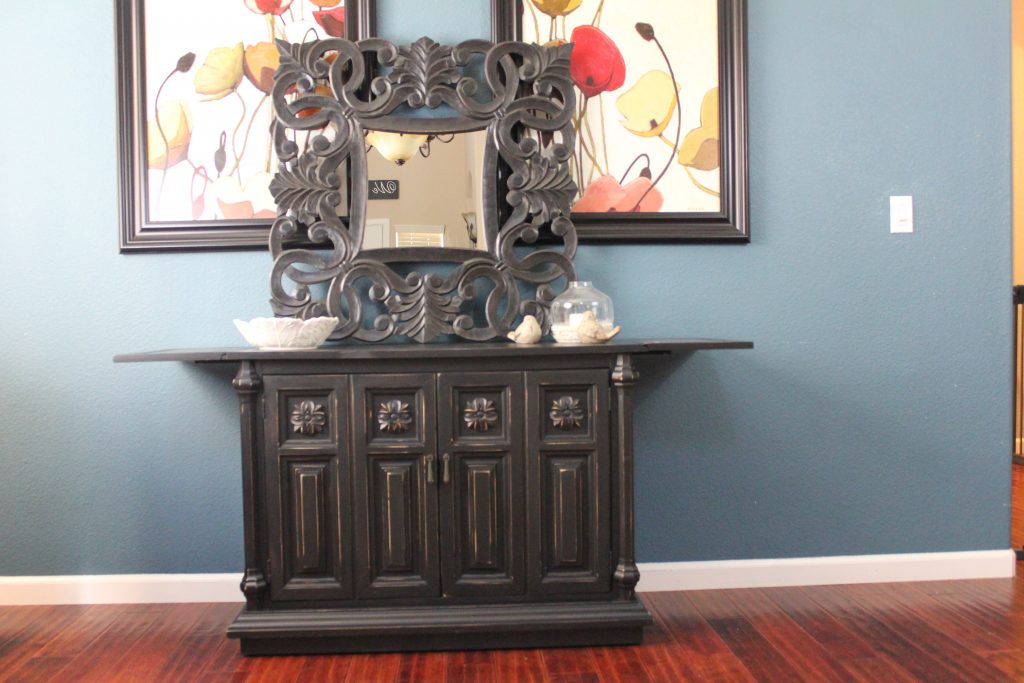
Before Shiplap
My existing wall was a deep blue that had a tinge of aqua to it. I was at once smitten and terrified when I painted this blue wall about 8 years ago. I am ready to let it go now.
Supplies needed for this project
Tools used
Supplies
- Plywood Project Panels
- 2 x 4’s if cutting with circular saw
- Clamps
- Sanding Pads
- Construction Adhesive
- Magic Mud
- Paint; I used PHP White Linen
- Sponge roller
- Spacers
- Outlet Spacers (if your wall has outlets)
While I would have loved to use actual shiplap panels, they are pricey. This is a business expense & I am on a budget. I am happy to get a great look even on a budget. Sharing this here with you in case you also love the look, but don’t would rather spend your money on good times with your family.
How to Fake Shiplap
Cutting the Panels
I headed to Lowe’s to get quarter inch plywood panels. Now, quarter inch plywood is pretty flimsy. You can ask your local store to cut it into the strips you need if using a table saw is not your jam or if you just want to save time. Some stores charge per cut, and some waive the fee, so just ask before having them cut it up & make sure it fits your budget.
First decide how wide you want your planks. I went fairly wide with a 7.5″ plank. This wall is tall and I didn’t want it to be too busy with lines closely spaced. When I went into Lowe’s their saw was not working so I had to suck it up and do the full DIY. I was working solo, so instead of cutting on the table saw (which is the one thing in my garage that I stay afraid of) I cut my panels on the ground using my circular saw.
Safety First. WEAR YOUR GOGGLES!!
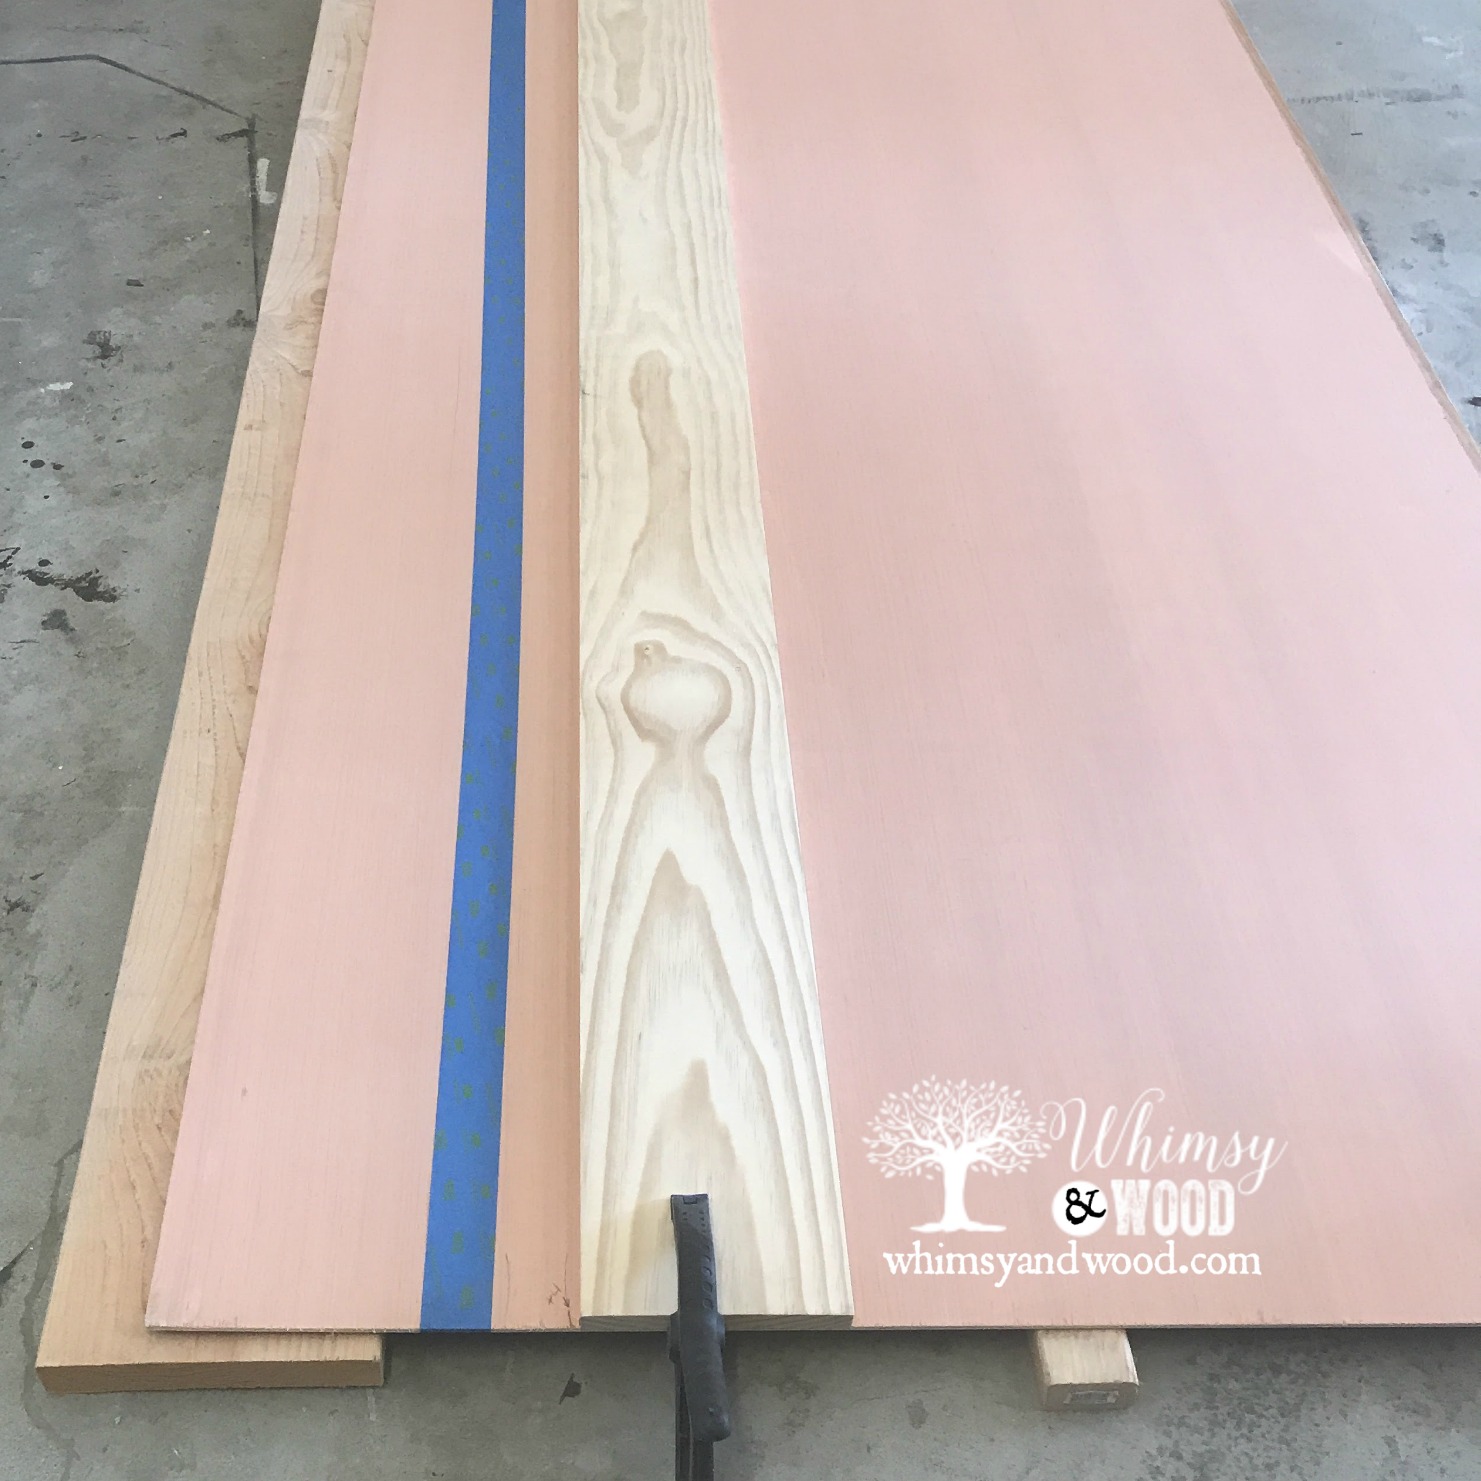
- To do this you want to put 2 x 4’s (or 2 x anything) on the ground and lay your panel on top of them. The plywood is flimsy so you will want to make sure you have enough to support the center of the board and not create too much flex.
- I used one on each end and one just beyond my cut line and some random ones in the center.
- I just moved them around under my plywood as needed since my piece got smaller with every cut.
- Measure out the width you want to cut and mark it on the board, a mark on each end.
- Next measure the distance from your guide piece on your circular saw from edge to blade.
-
I created a “jig” from these measurements so I could repeat my cuts without having to bust out my tape measure.
-
Cut a piece of scrap wood the size of your ideal cut, 7.5″ here, and then add the addition of your saw guide, 4″ for mine. So I cut my jig to 11.5″

-
- Now you can use the edge of your jig lined up with the edge of your material to know where to attach your straight edge.
- You will take a straight piece of lumber and attache it with a clamp at both ends of your plywood.
- When you put your saw edge up to your straight edge the blade should align with where you marked that first cut line. If not, then remeasure and adjust your jig. Or if close enough you can just adjust your perfect board with down to this new width:)
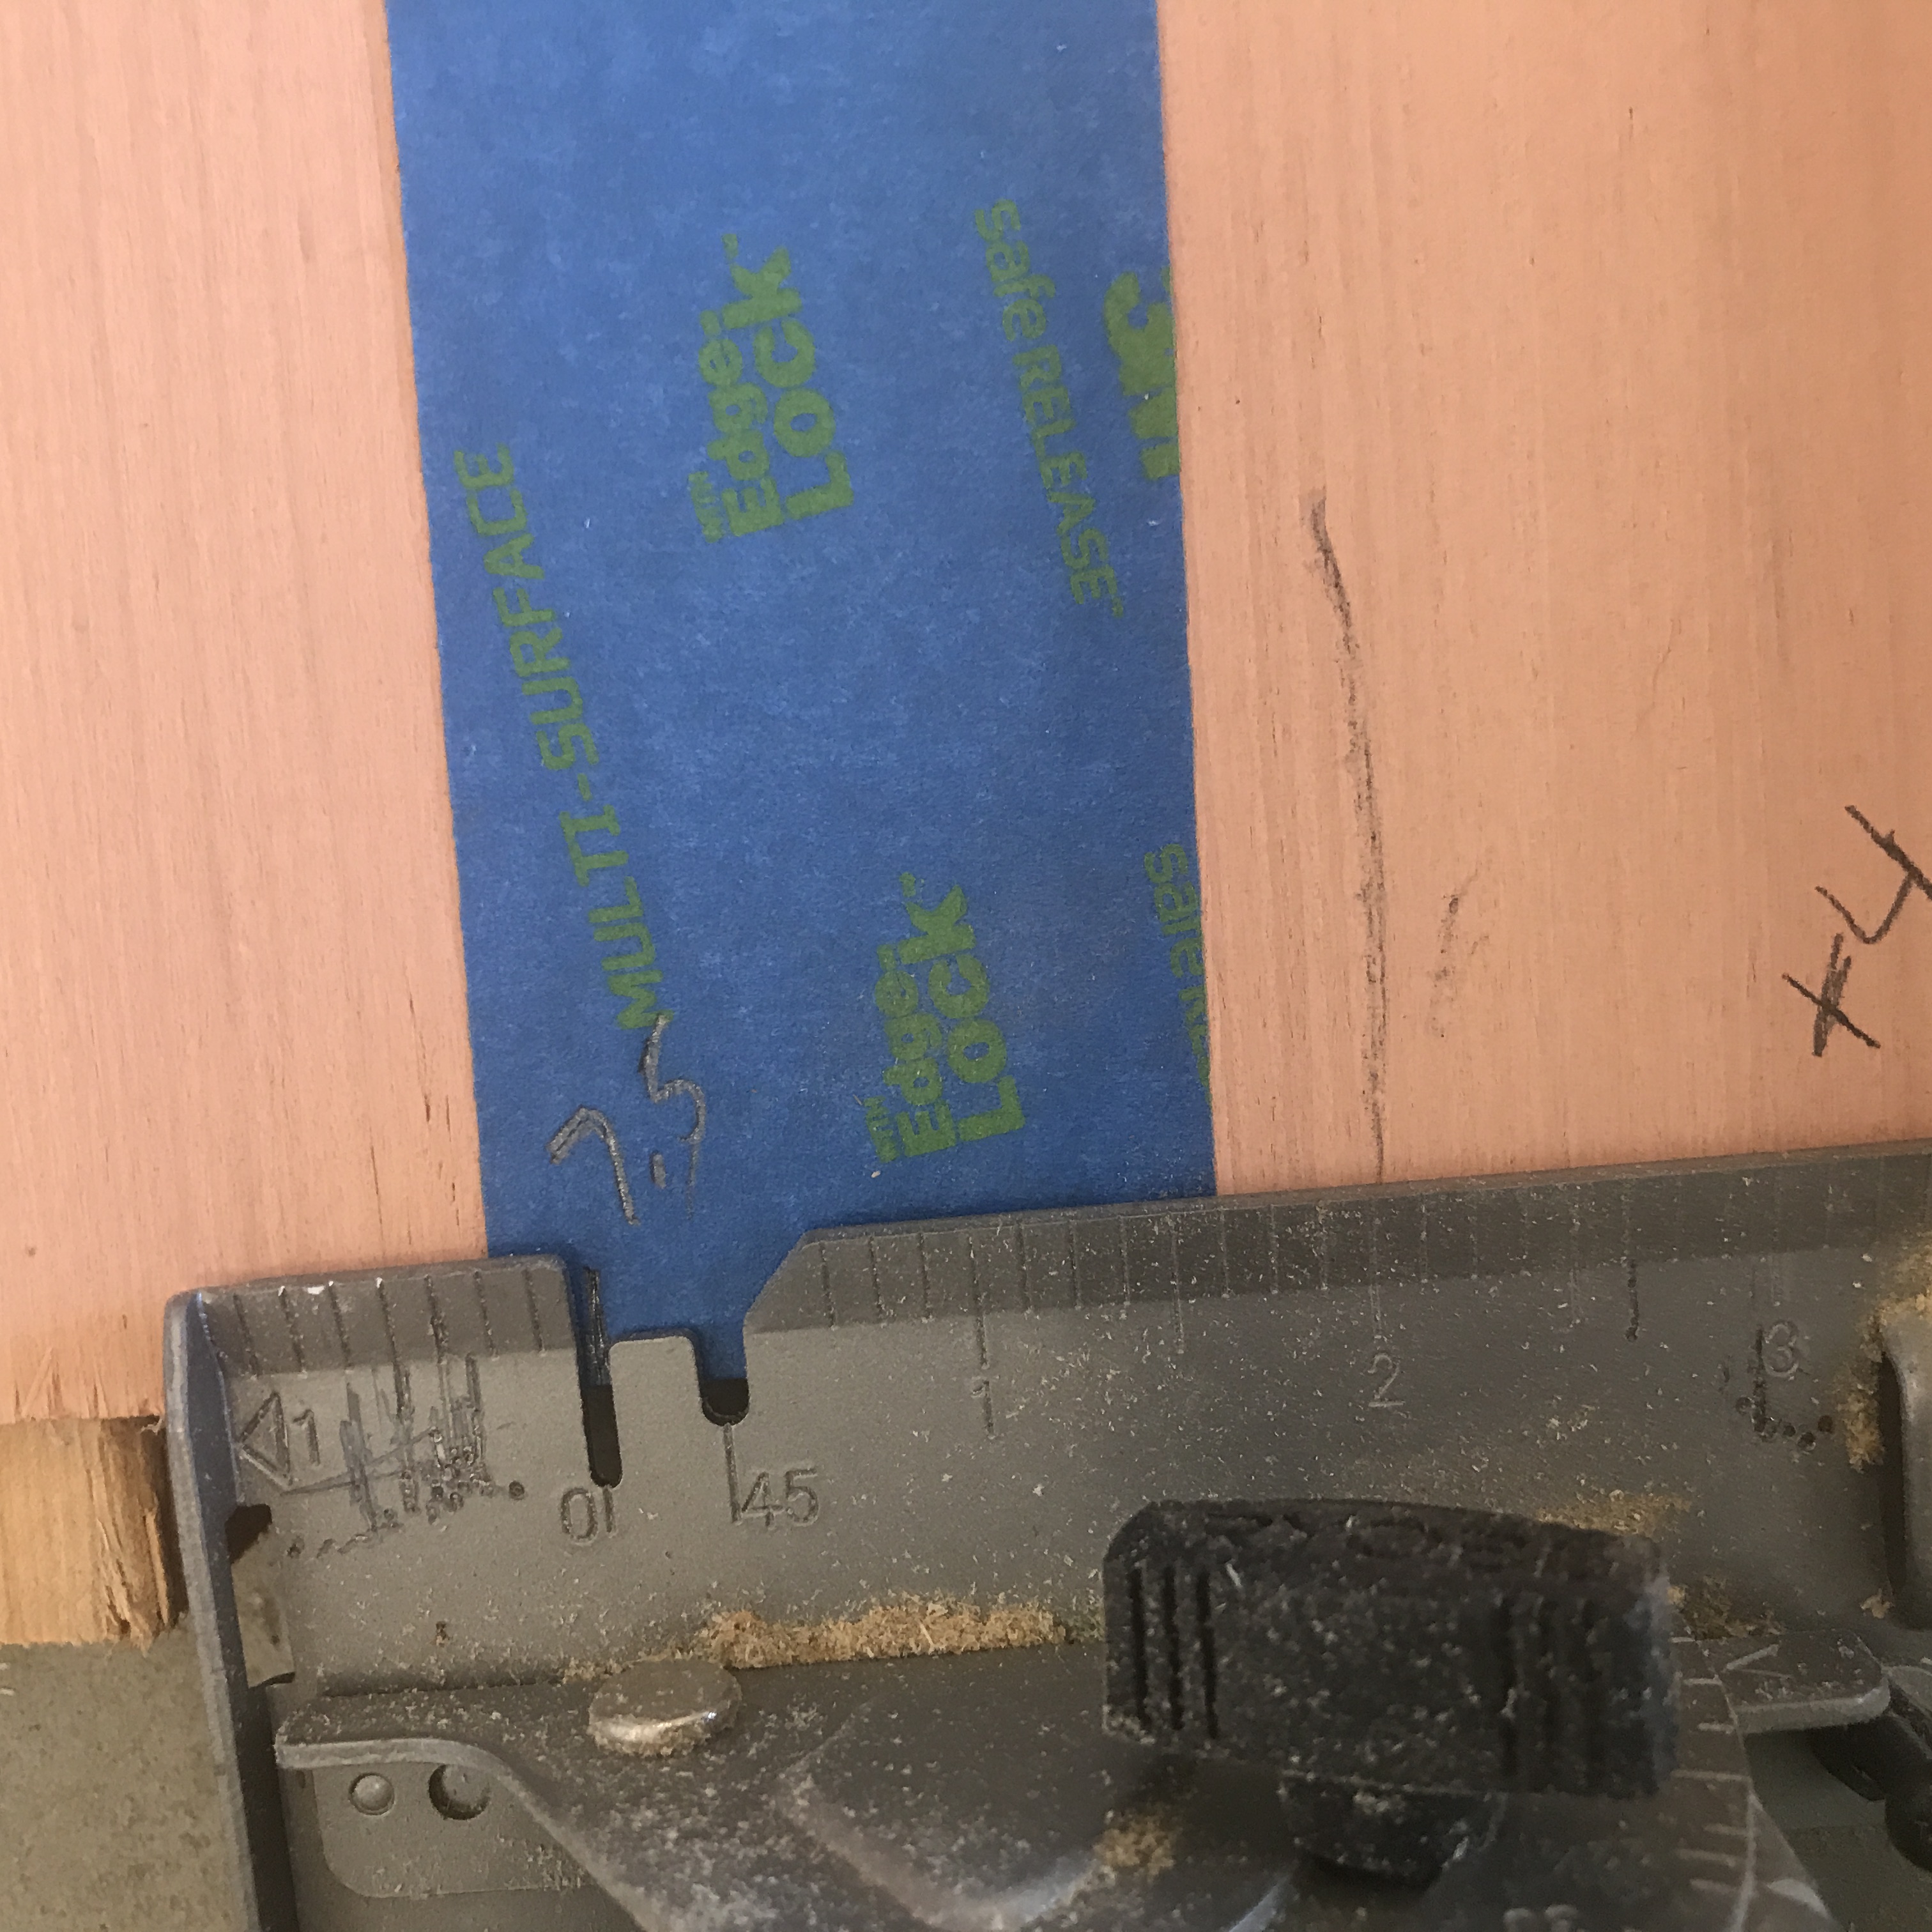
- Run your saw across the board from edge to edge. Note, your saw guide is likely several inches on one side and about an inch on the other, you will need to work from the same side on every cut.
- I actually created a second jig for the end pieces since there was less room to clamp the straight edge to my plywood.
- When done you can run a sander on the cut edges to clean up any tear out from the blade.
Attaching the Shiplap
NOTE: I should have taken the time to paint the entire blue wall white, either with paint or primer, but…I wanted to get going. I am not always the most patient person. So I decided it would be no big deal to paint in the spaces after. I do not recommend this!!
Once the boards were all cut they were ready to go up on the wall. For this part you will need help. At least on the top half of the wall. I chose to start at the top and work my way down. Note, there is probably a more perfectly professional way to do this job that involves marking level lines and making cuts to hide any flaws in the wall. I did not do this. Yet, I love the wall and have had many compliments.
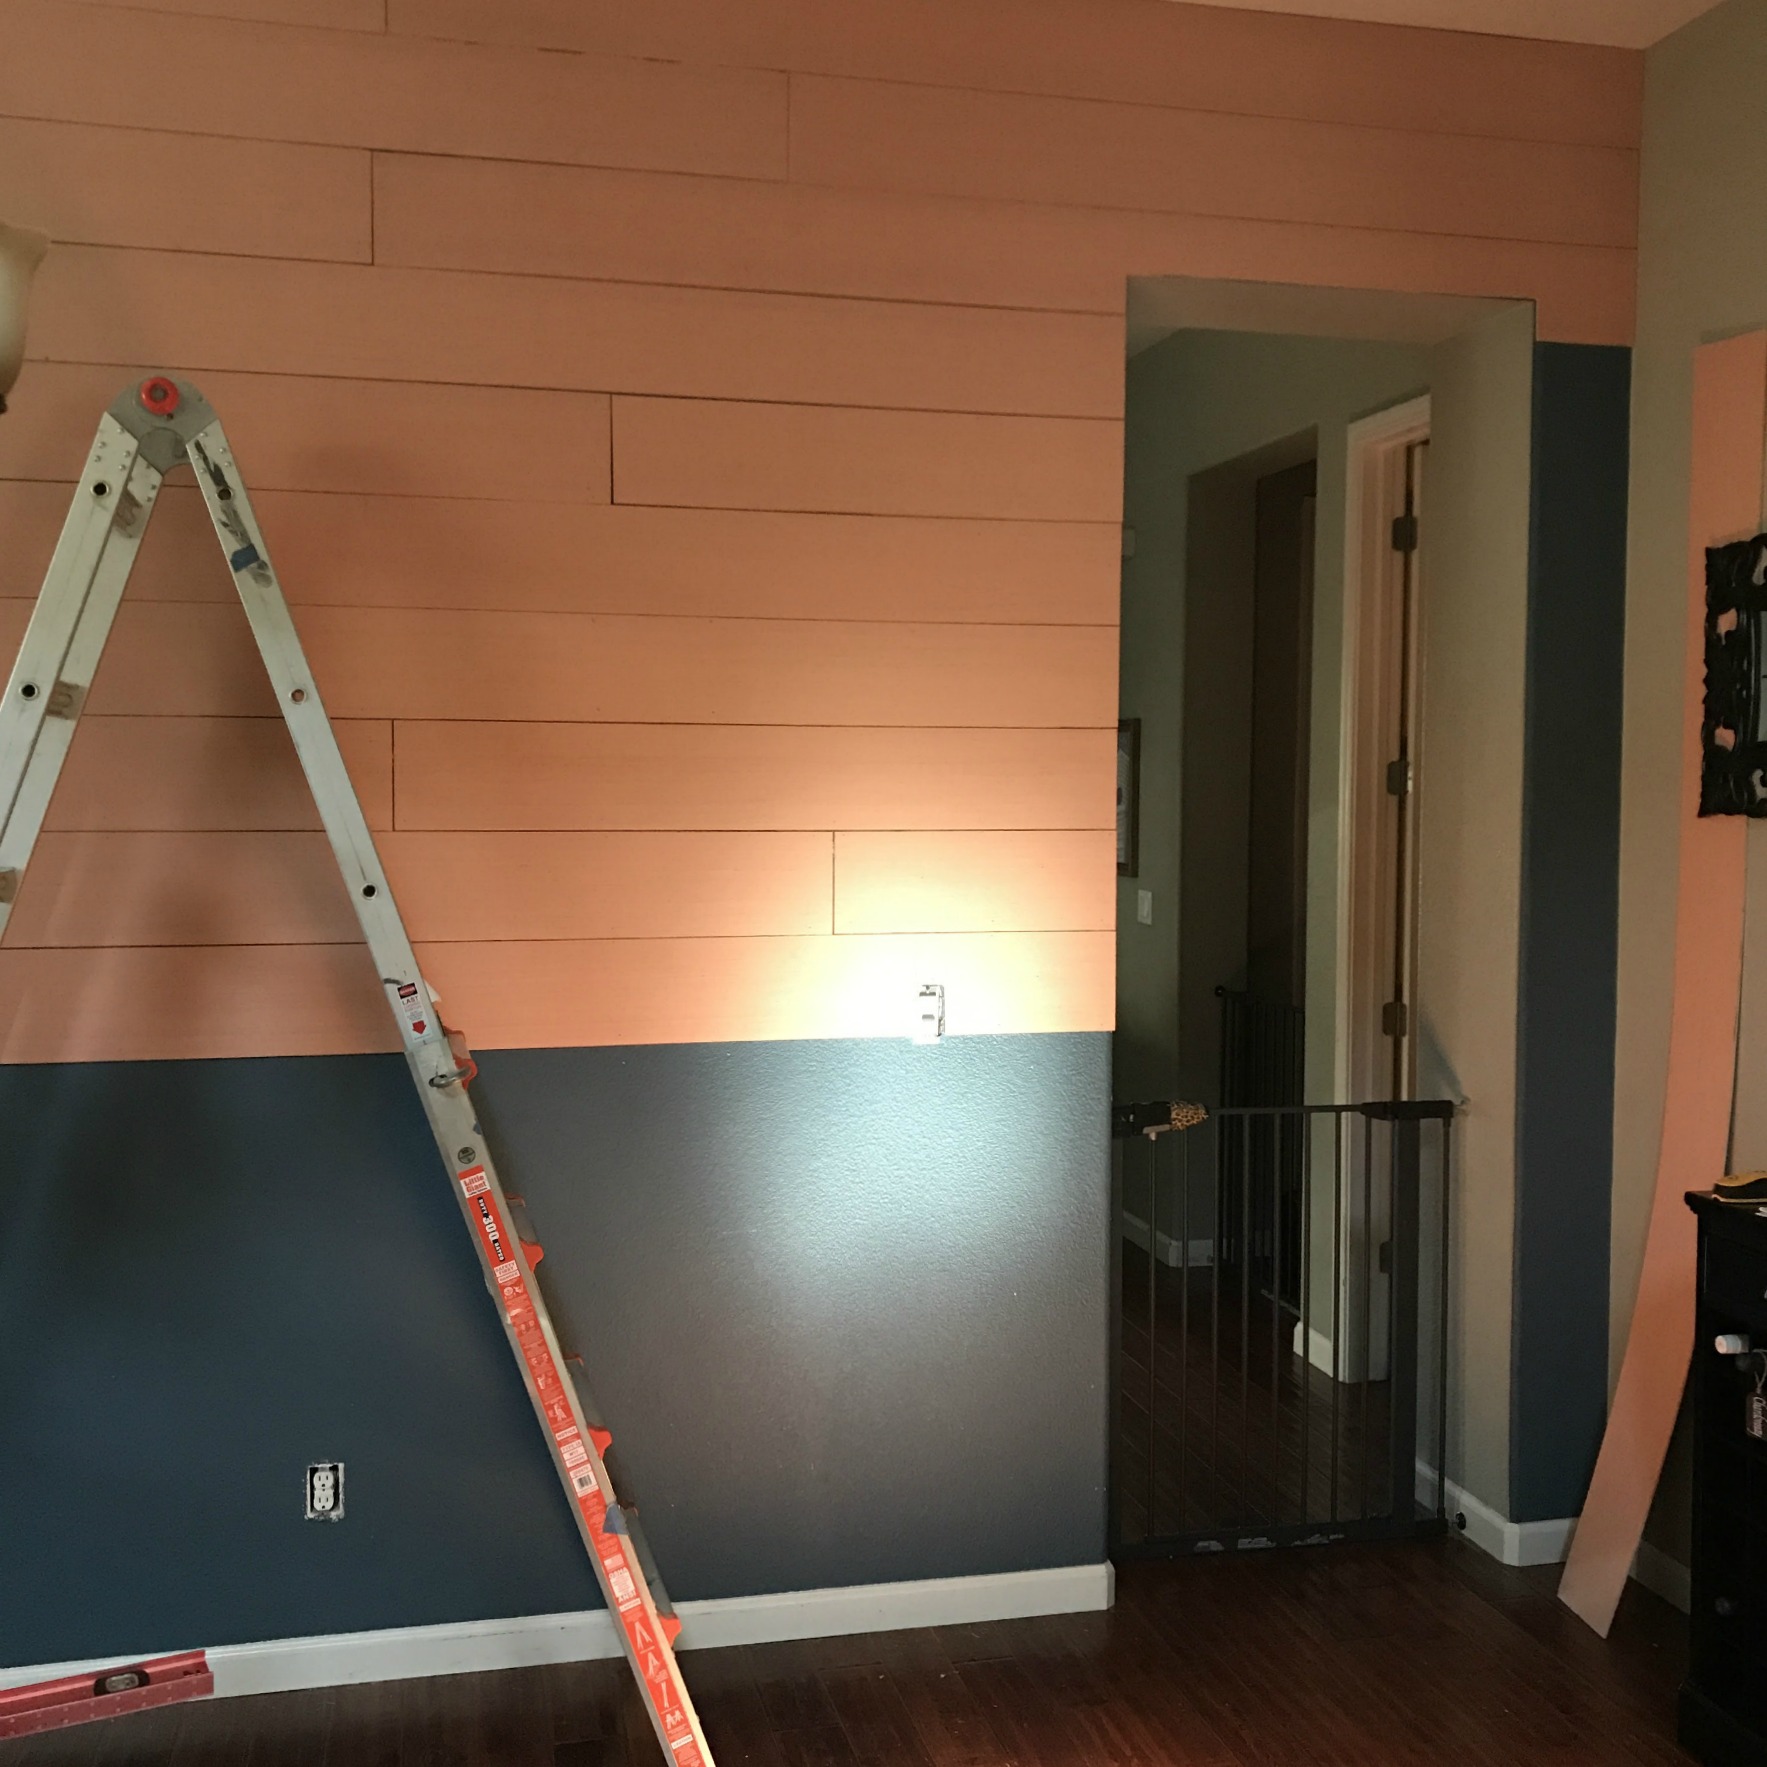
- Begin with one full length of your cut panel
- I marked the studs in my wall to have the best place to nail the panels. These panels are so light that I don’t know if this step is as necessary and I made it. I am overcautious on my projects. I just really like following the rules.
- My husband and I stood on ladders holding the panel up to the wall.
- Put your construction adhesive on the back of the panel in a zig zag pattern from edge to edge
- Press the panel into place and use your brad nailer to nail it to your dry wall studs all the way down the panel. You can also add nails to the ends if you worry they may want to bend up away from the wall over time.
- I used nickels as my spacers when laying out my pieces.
- Most walls are not square, I used a 4 foot level to make sure my boards were level from one to the next.
- Measure the remaining space and cut your next board to install the next piece.
- To make these cuts I used my miter saw and did a quick chop.
- When grabbing pieces for the next line remember to stagger your seams. You may not want the exact seam pattern running down the wall. Eyes will be pulled to every line.
- If a row ends up having a really small piece to finish it. I would recommend cutting one of the prior pieces to make this end piece a bigger strip.
- Keep on repeating the steps until you have your wall covered.
- On my last row I cut thin strips to fit the end space.

- Where you have outlets you will need to make cut outs. No pics taken of this, I am not happy with my self.
- Board was set in place where I would need the cut outs. A rectangle the size I needed was sketched in place.
- I used my jigsaw to cut out the shape.
- When on an edge it was easy to just cut in the shape or partial shape depending on where it landed
- If in the middle of the shiplap, drill a hole inside the cut space, put your jigsaw blade in the drilled out hole, and then cut over to your lines.
Finishing the Shiplap
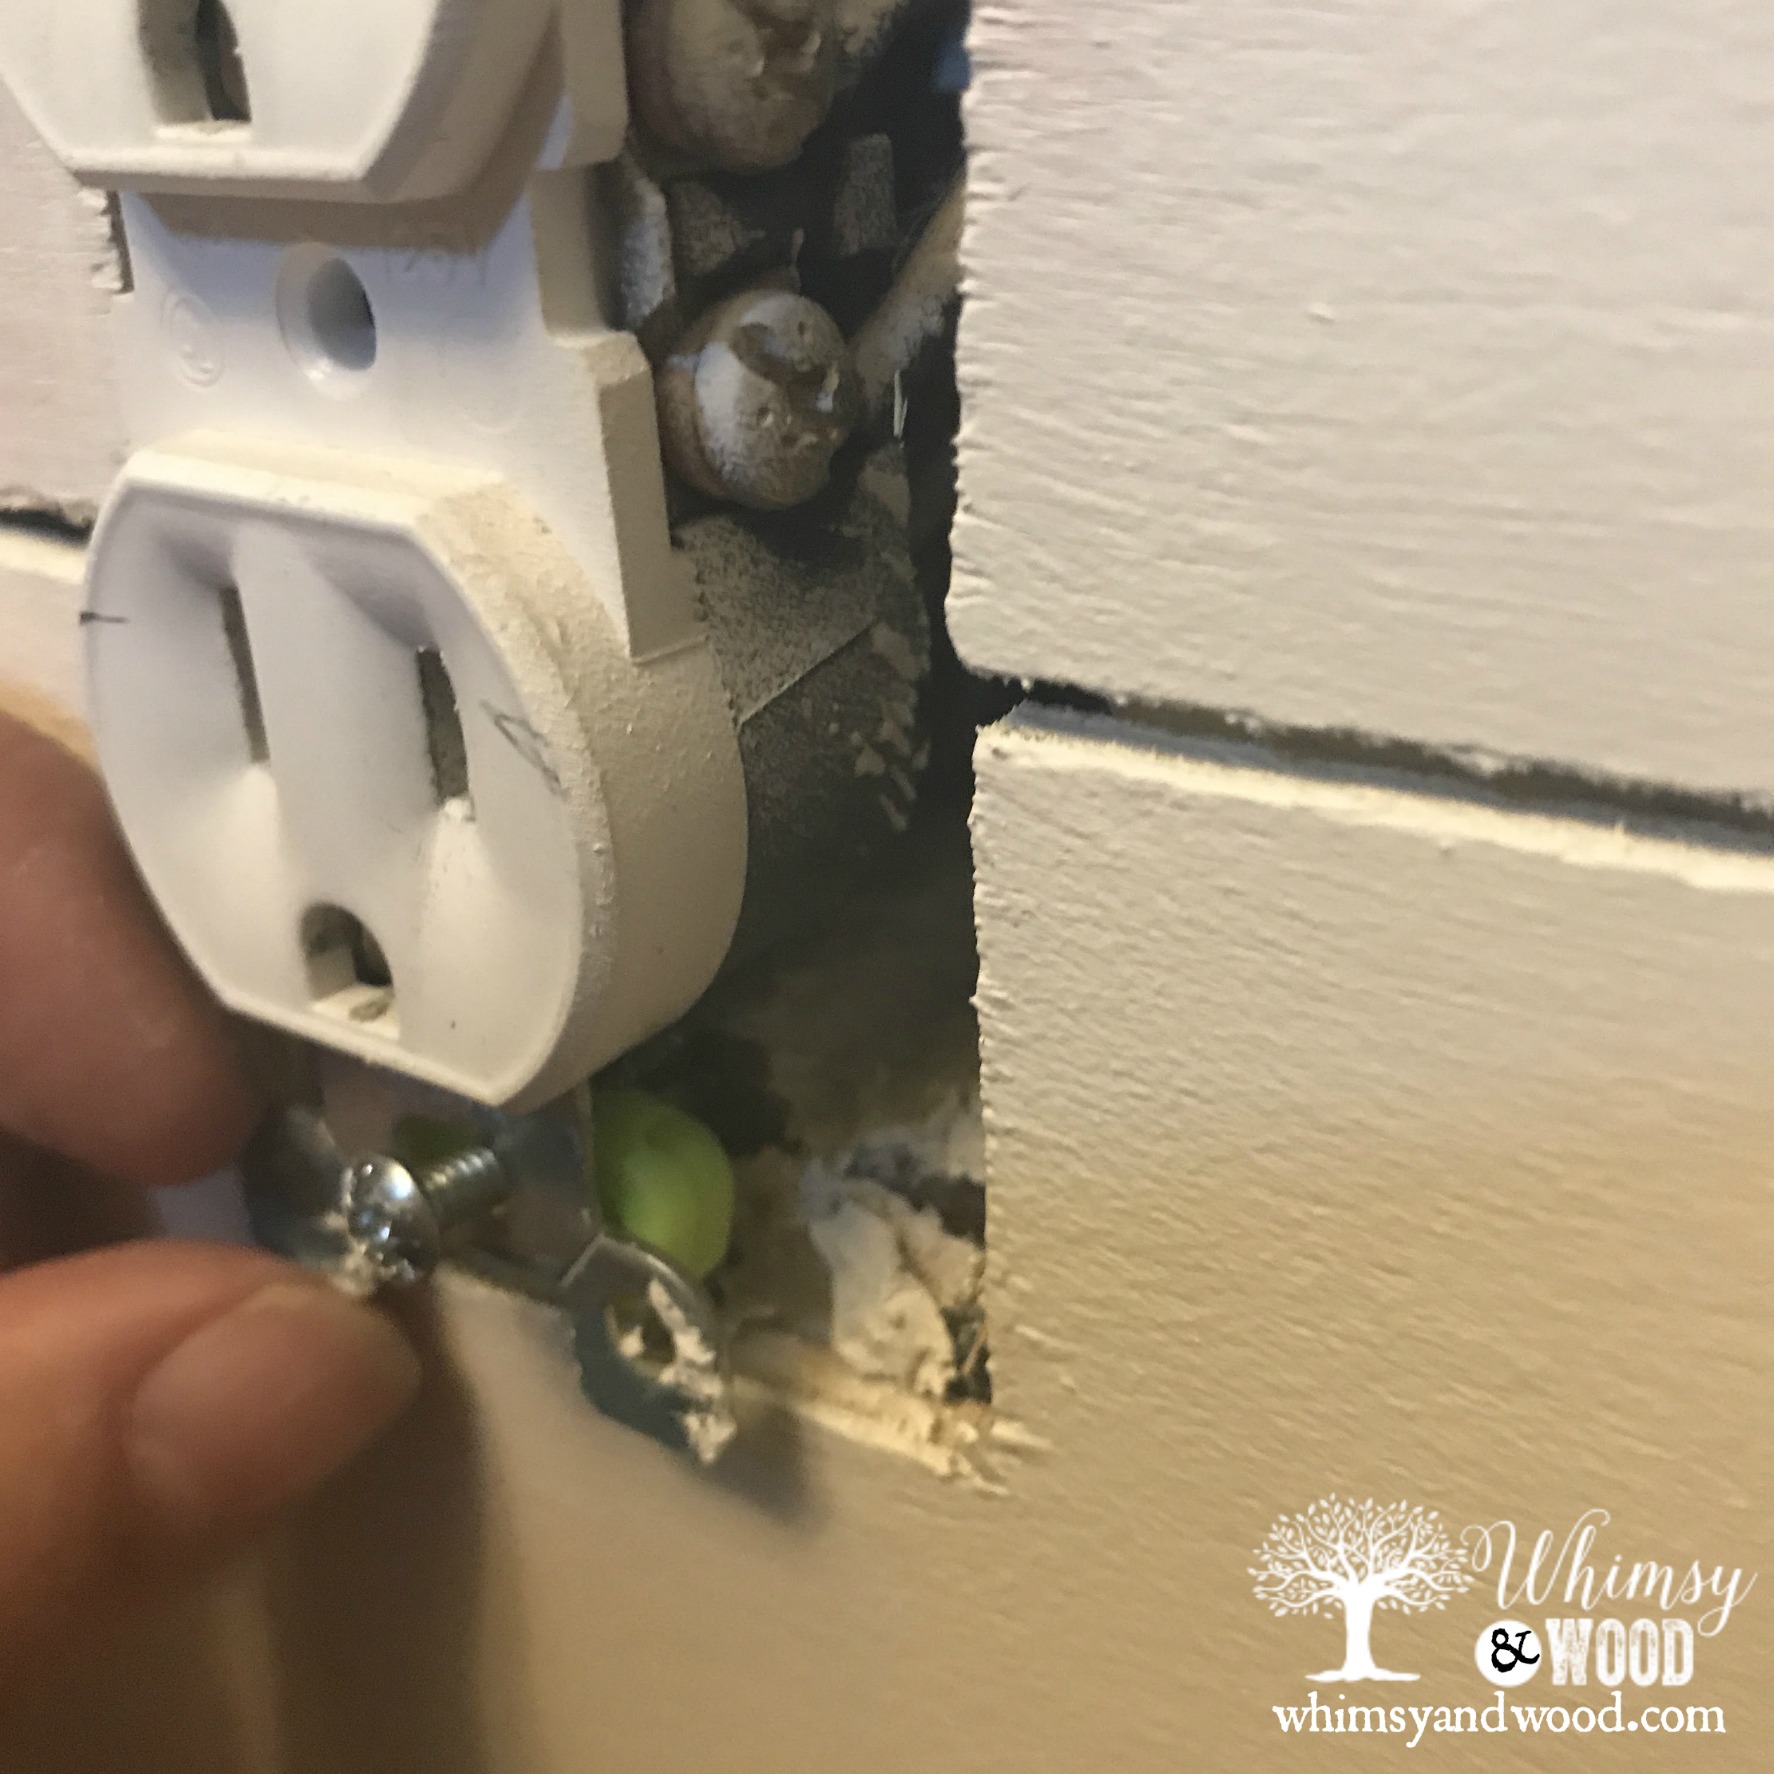
This wall did have 2 outlets that needed to be raised up to the new depth. I found the best product to help with this. They are little rubber strips that you can add in on the screws to push the outlet up to the new depth. You can purchase them here.

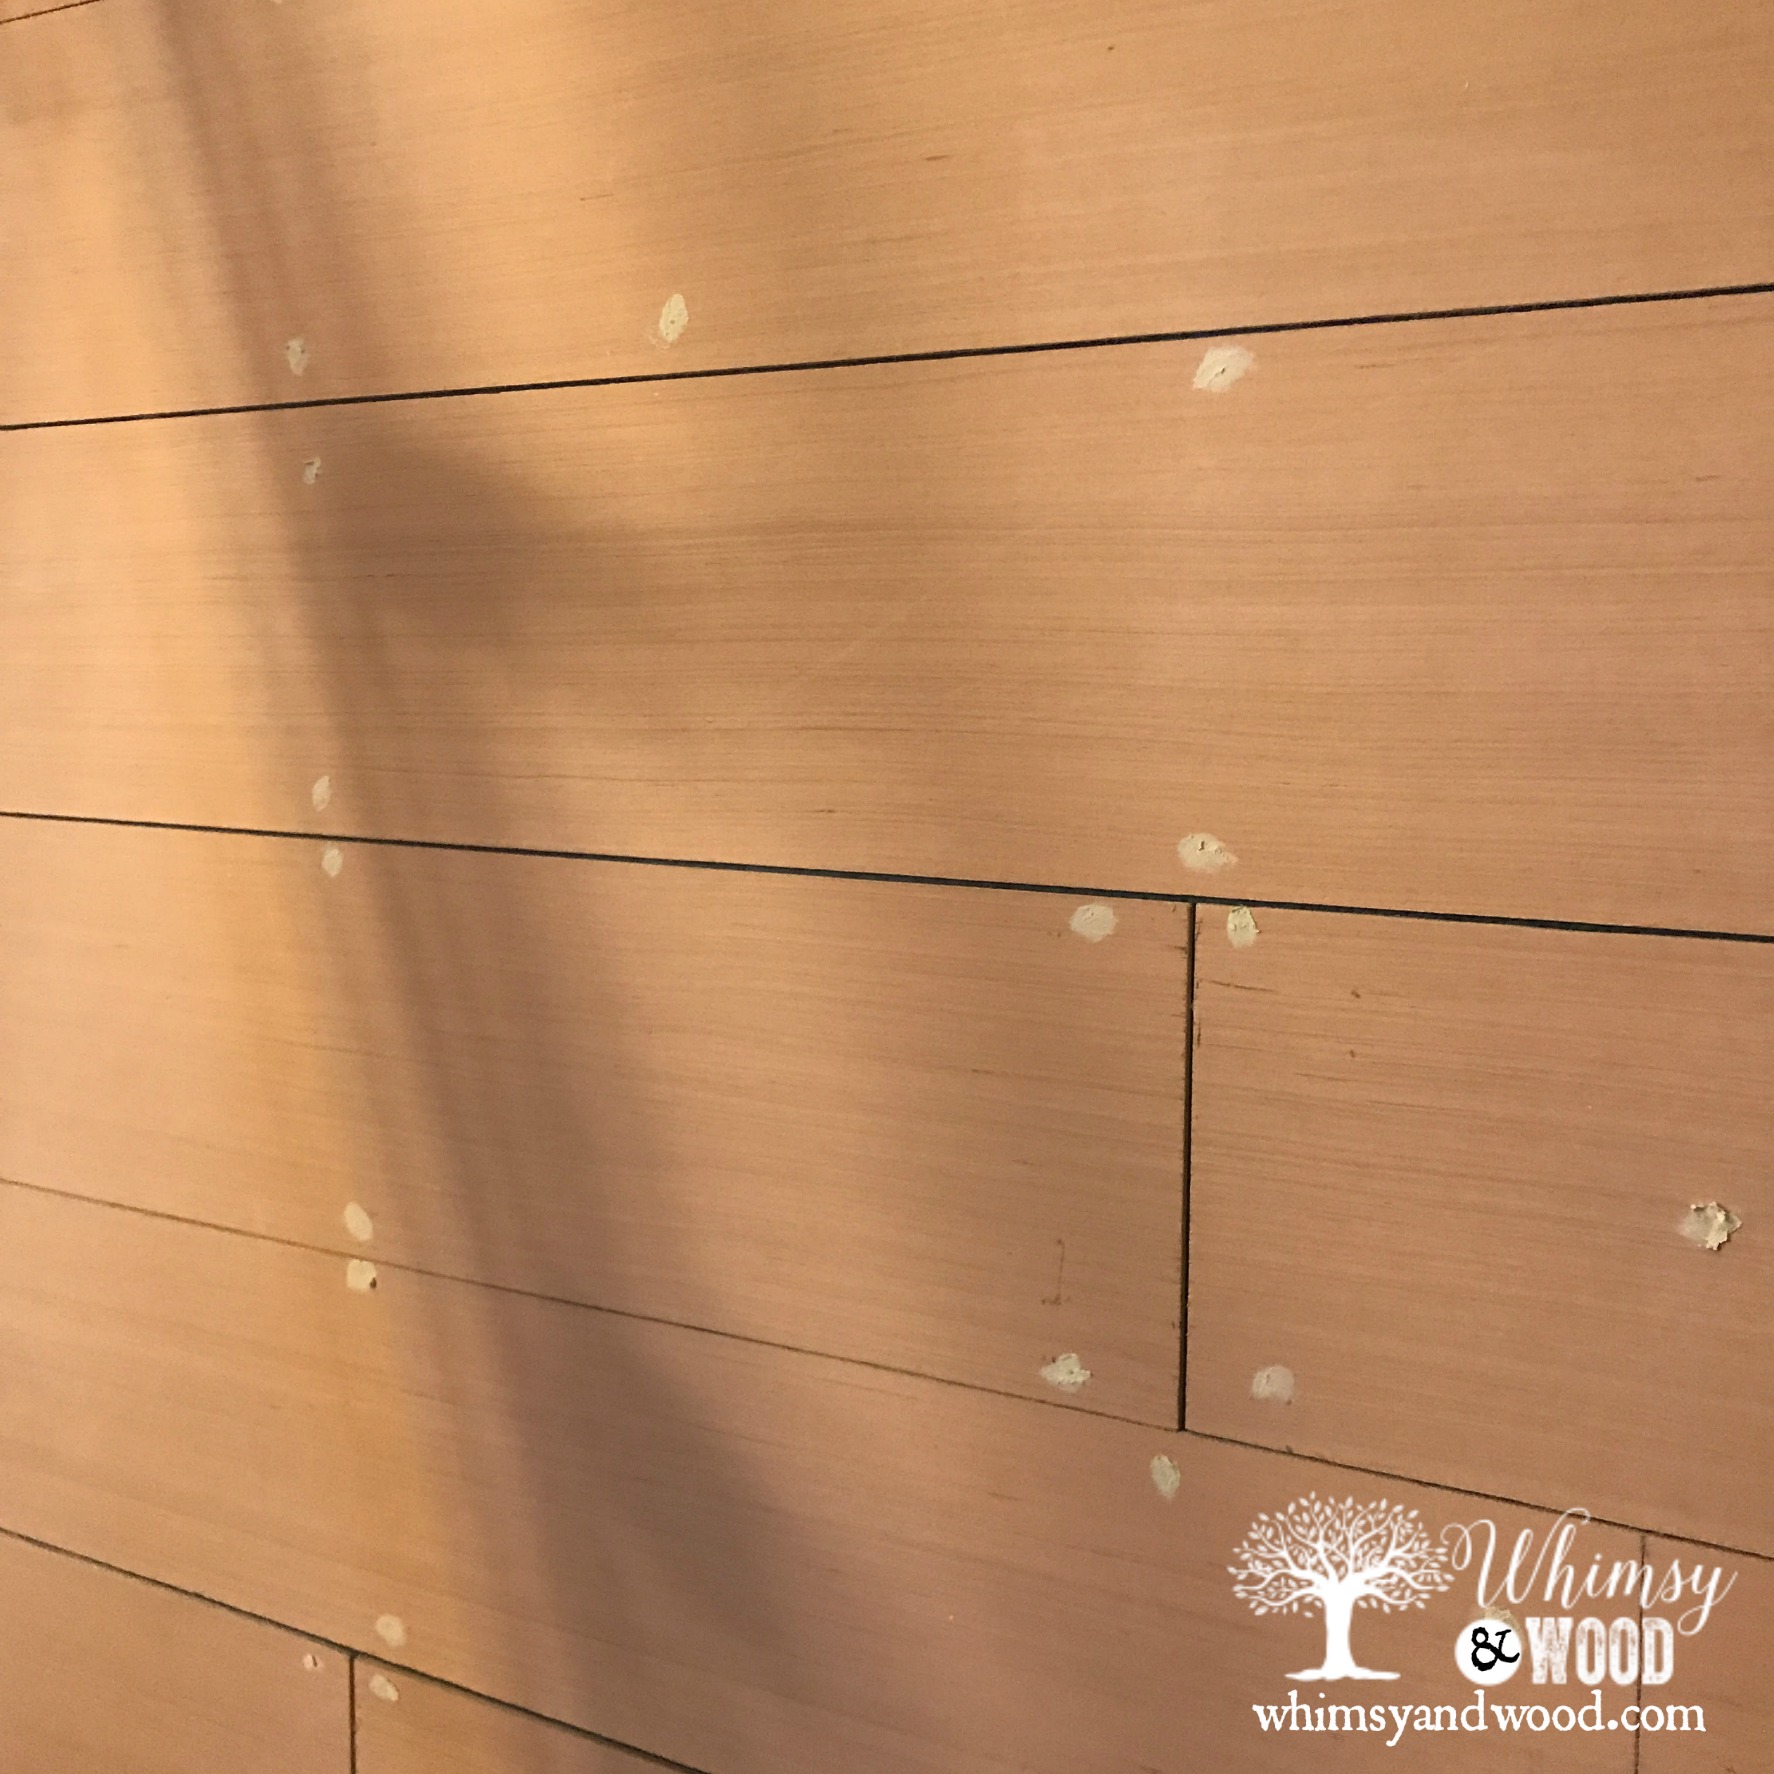
Next I used Magic Mud and filled the nail holes from shooting nails in. let dry quickly and sand away any build up.
Finally it was time to paint. I love painting furniture, walls…not so much. I did not caulk the lines between the panels, I did caulk the ends where the shiplap touches my walls. You could use trim instead, but I don’t have crown moulding and it looked finished enough to me when caulked and painted.
I actually used a small sponge roller and painted the wood strips individually in the horizontal direction following the grain. Since the strips were wood I used Kristi Kuehl Pure Home Paints in White Linen. This step is where you will be glad you painted your base wall white before starting!! I had to go back and force paint into my gaps to cover the blue monster underneath. If you didn’t head my warning above, put on a good audiobook and get through this monotonous process.
Shiplap Behind the Scenes & Bloopers
This process was pretty easy. I did choose to cut some corners as I got to the end.
- I ran low on construction adhesive and will admit to nailing half of the wall without any. This is an interior wall and I am not too worried about them bending up. If they do I will pop them off, add the glue and re-nail.
- I finished half of the wall solo which made balancing nickels in the cracks on 8 foot boards really hard so I ended up eyeballing the gaps when putting up the boards less than halfway through.
- Plywood is thin and can have a lot of tear our when you run your saw through. Put your finished side down when cutting with a circular way & up if running through a table saw.
- You can tape the line with painters tape to minimize this, but there were too many cuts and I did not want to have to tape each one. WAYYYY TOOO MUCH WORK! just sand the cut lines quickly instead.
- For me it was momentarily shocking how tall this made my wall feel. The lines will pull your eye up. Adding artwork will help bring the sight line back down.
- If I had it to do over, I would:
- Paint the base wall the color my boards will be.
- So far my unglued panels are not bowing so I would do the whole wall without the glue. This fad too shall pass & having them be easily removable would be FANTASTIC!!
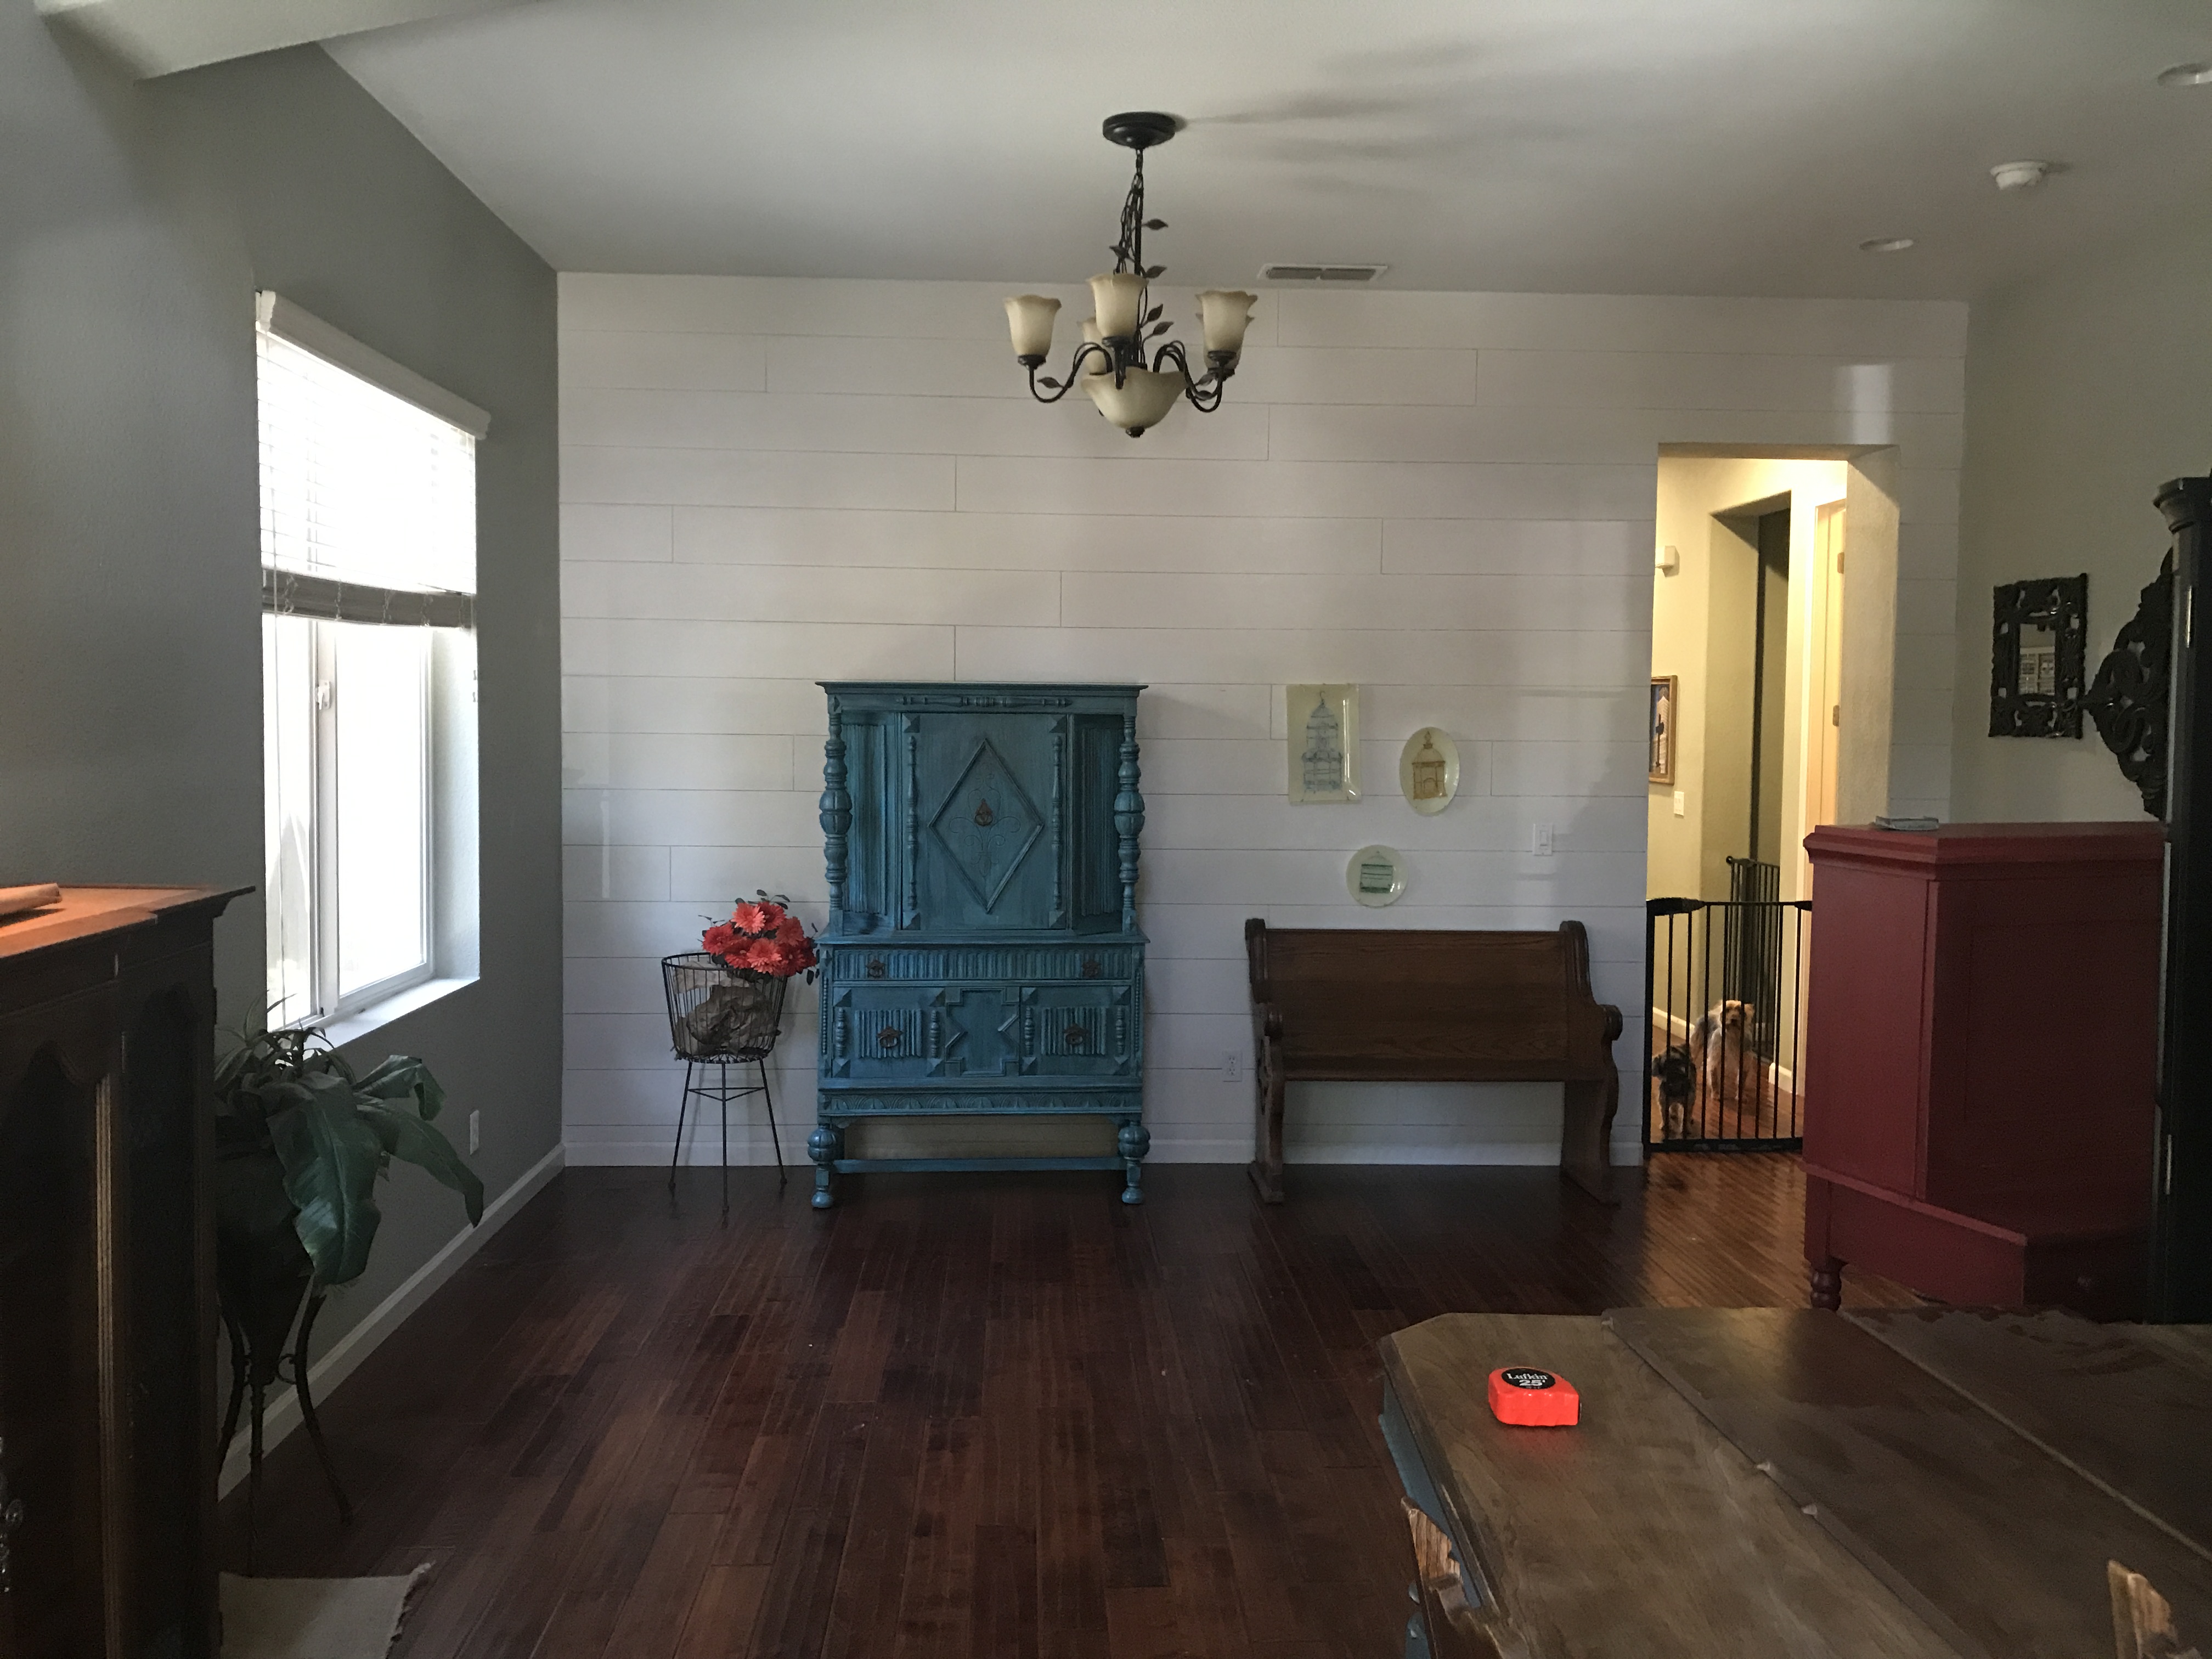
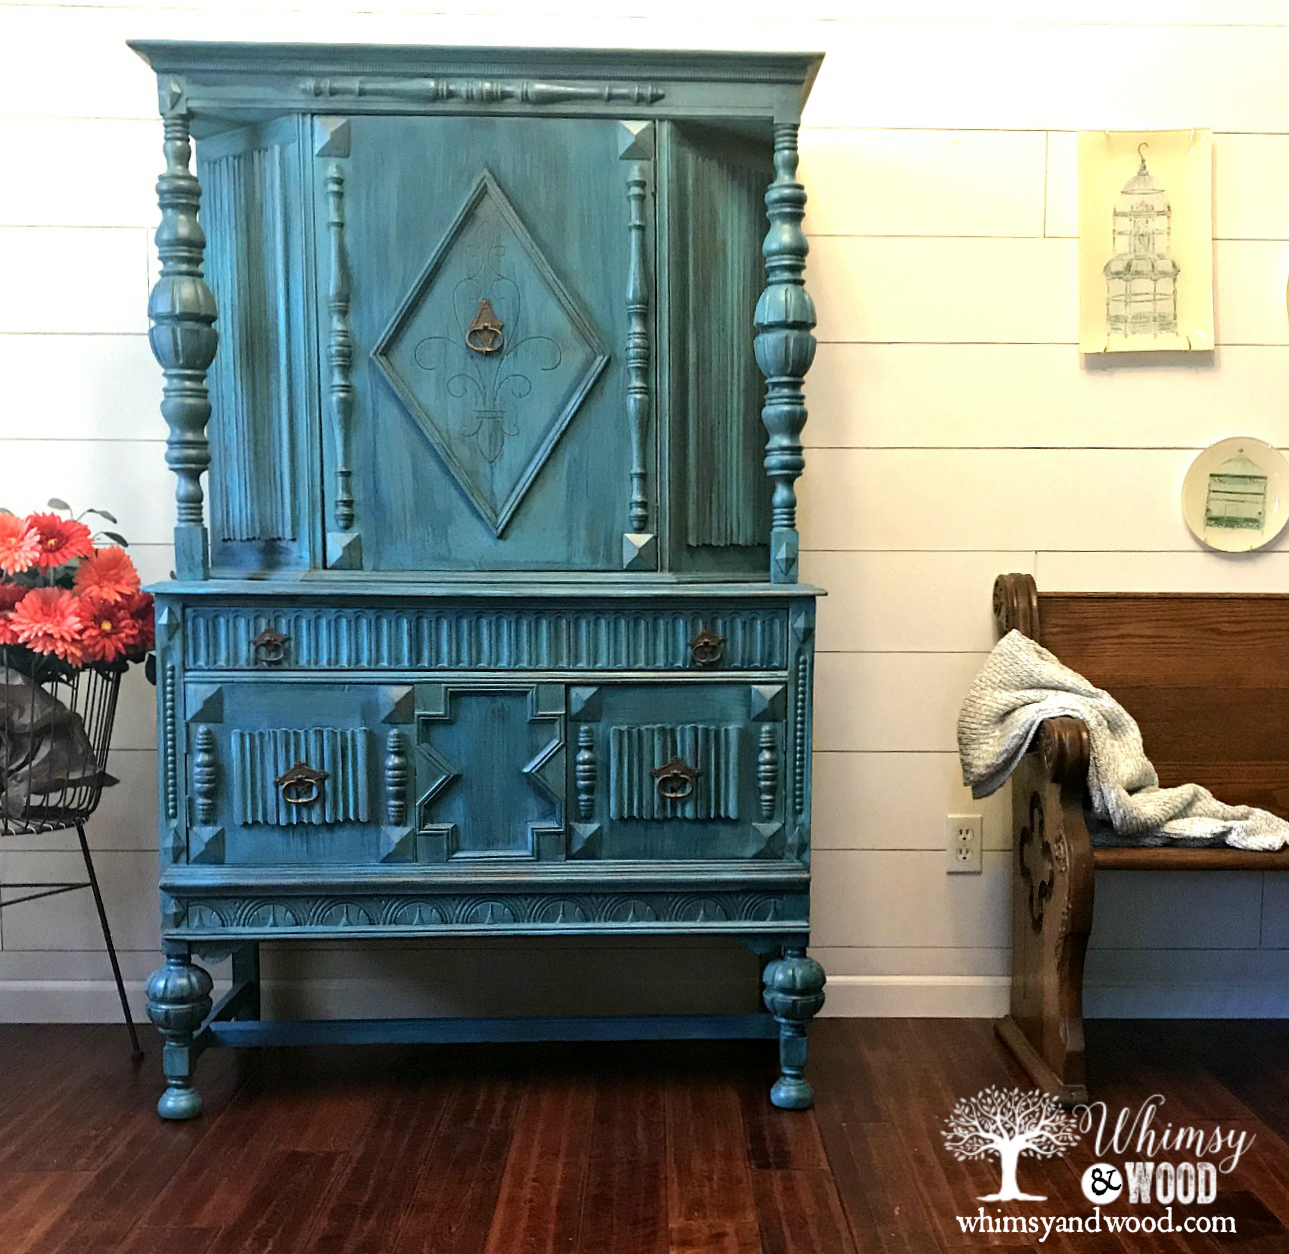
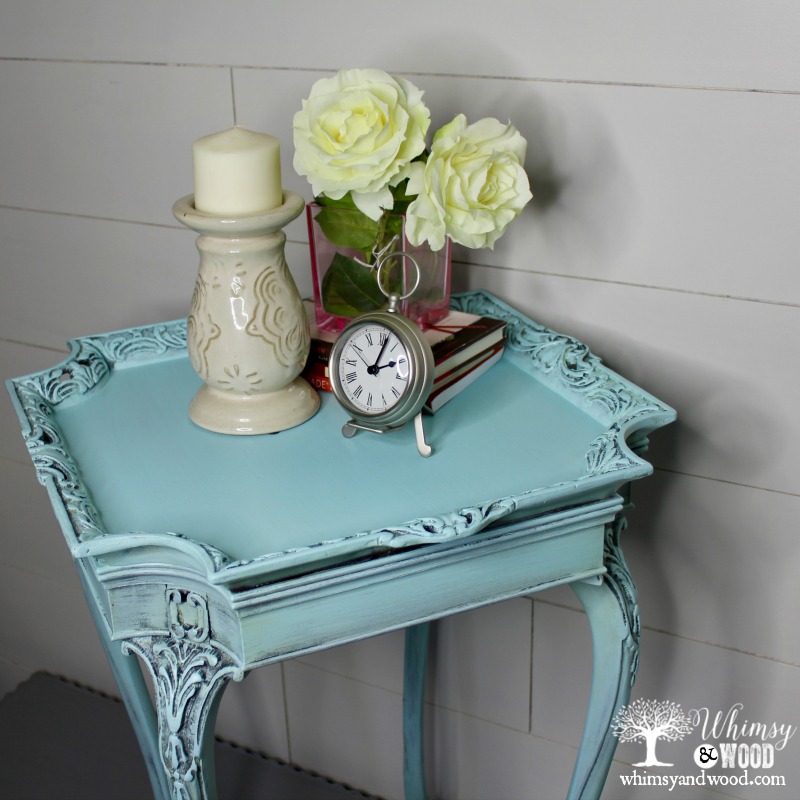
This new wall is making it so much easier to take photos of furniture! It also made my room much brighter and I love the freshness of the white.
If you have rounded interior wall corners CLICK HERE to see how we dealt with them.
Pin to Pinterest
I have an interior doorway without trim too. You said you just used caulk and then painted? I wasn’t sure how to finish of the end that would go to a drywall (plaster) corner. I don’t really want to use a corner trim piece. I was thinking about using wood filler and then painting the end the color of the drywall.
Yes, if yours is square, paintable caulk should work well. I used the wood filler since my gap was bigger and I was recreating a square meeting point. I also used paintable caulk in the interior corners where my wood planks met my wall. This creates a clean seam and will flex with the wood expanding and contracting through the seasons.