Cable Spool furniture done right.
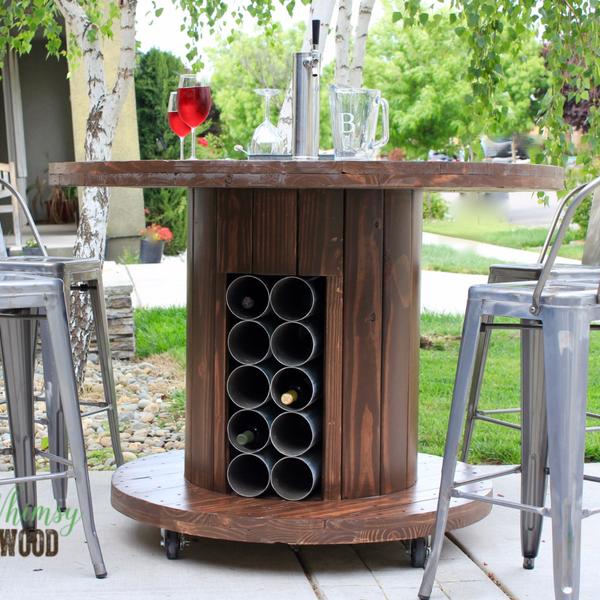
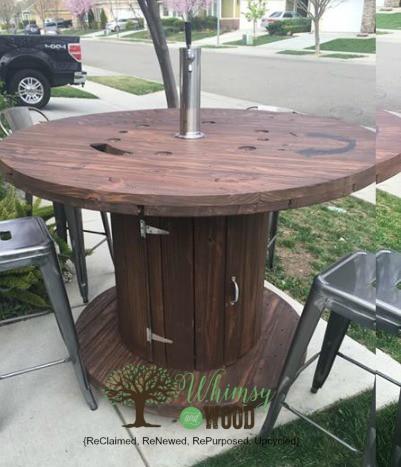
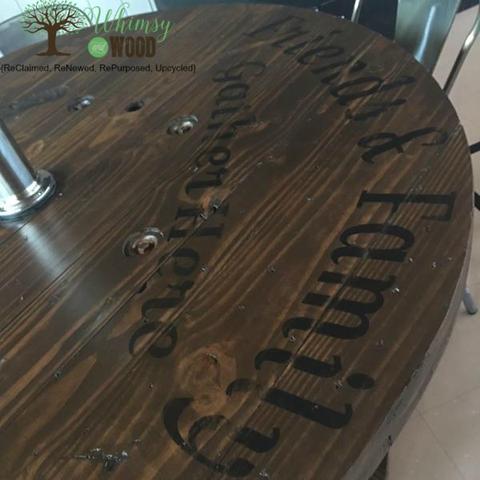
This cable spool is now a high end patio bar with a working Kegerator & wine storage.
Cable spool patio set may sound like you rolled some hunk of junk home and put some chairs around it. Not it this case! When I started on this project I knew I wanted to turn this giant cable spool into an industrial patio table. It can be hard to see a cable spool anything other than industrial. Industrial is so hot in home decor right now. I wanted this set to have a high-end trend setting look.
DIY Supply List
This post does include Affiliate links to tools and items used in this project.
- Cable Spool check with contractors, new home builders, electric company, Craigslist
- EMT pipe electrician supply
- Steel gate hinges
- Handle
- Keg conversion kit
- Keg Ice Blanket
- neoprene insulator sleeve
- Kristi Kuehl Pure Home Paints Products used
- Spar Varnish if for outdoor use
- Tools
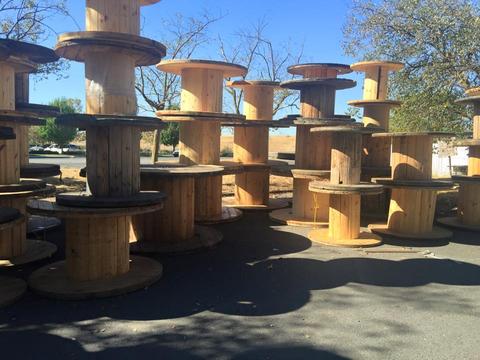
What to do with a giant cable spool
Starting out I knew I wanted the cable spool to be a patio set. I knew I wanted wine storage, and I knew it was going to be heavy and need locking casters to be able to roll it. I had a friend helping me with the welding, he stopped by to discuss the plans. Then he tossed out the idea that took this cable spool to the next level. Casually he says, “Hey, this center hole would be a great place for a beer tap.” Ummmm, Heck yeah it would be. My husband looked at me and knew the wheels were spinning to come up with the how. He told our friend, “You have no idea what you have set in motion.” He knows me so well! Insert Big Puffy Heart Emojis here:)
How to cut the cable spool down
Measuring and Marking
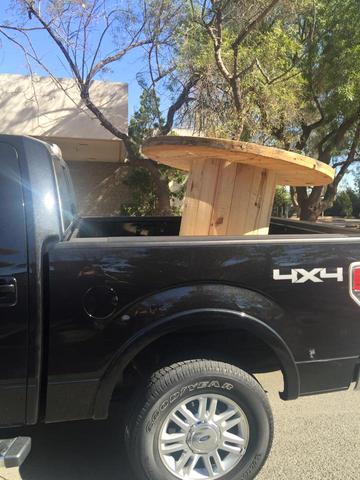
This cable spool was huge! The kind of huge that required a forklift to put it into the back of my truck & then dented my wheel wells. I suppose that is what trucks are for. The spool had a 55″ diameter top & bottom. Perfect for a family sized outdoor table! The size was great for the top, but I needed to cut down on the bottom half.
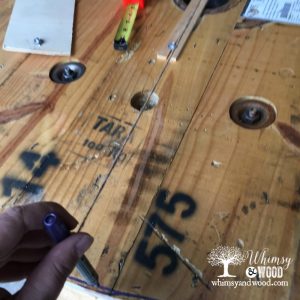
I flipped the cable spool onto its top & marked a circle for where I wanted the new edge to be. Since the center of the spool is a giant hole. I temporarily nailed a wood block over it the void. Next, I measured from edge to edge of the spool and found the center. I marked it on the wood piece that I had nailed in place. Using a string as a trammel I tied one end to the nail, and one end to a marker and marked off my new circle. This would be my new edge once cut. You could also use a straight wood block to do this by clamping a pencil to one end and a screw to the other. The string gave a little more flex than I wanted.
Making the Cut
There are a few options that would work for this trim down. I used my Ryobi Reciprocating saw. You could also use a jigsaw & have a little less sanding afterward. I did not have an appropriate blade to use the jigsaw and didn’t want to run to the hardware store. Next, I used my belt sander to go around the table and even out the cuts.
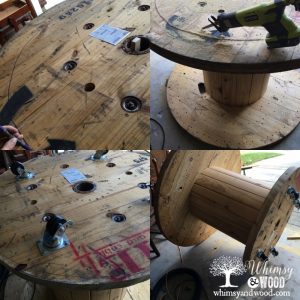
While the cable spool was still upside down the locking casters were screwed into place. Make sure you choose casters with the correct weight allowable for your project. Also, get casters that lock in place. When done, get some help and flip the cable spool over.
Adding Doors and Windows in Cable Spool
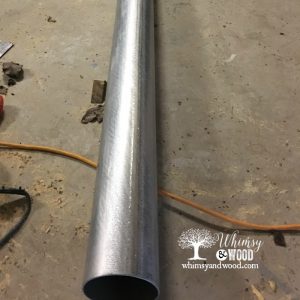
When the cable spool was back to upright, I marked and cut out a window to hold my metal wine storage rack. For this part, I did not need the wood that was being removed. I drilled a hole in the pine slats inside of my cut line. I only drilled into the area that would soon be waste cut out of the project & no longer needed. The cut will depend on what size your wine storage will be. Our metal wine storage rack was 10 feet EMT conduit pipe section cut into 10 equal sections. (EMT looks like a thin pipe with a 4″ inside diameter) I then had them stacked 2 wide and 5 high. Our friend welded them together to make the wine rack insert. We added a metal strip to the back of the wine rack to keep the bottles from falling out the back side.
Adding the Kegerator meant needing a place to store the keg. On the side opposite the wine storage, I cut out 3 boards a little taller than my pony keg. Boards were secured to each other with mending strips to make a door. I added Gate hinges and a gate lock to help it function as a swinging door.
Cable spool Keg Conversion Parts
Can you believe the pieces to make this cable spool into a kegerator already existed? A little bit of searching on Amazon turned up some great keg conversion products.
This is the draft tower with lines and gauges that I chose for the beer and the CO2 tank. In planning, we had toyed with ideas for an ice bath to keep the keg icy cold. Then, Google search magic happened. I found a system that had a re-freezable ice blanket and a neoprene insulator sleeve. The ice blanket wraps around the keg and the sleeve goes over it. This set up is for an event and will keep it cold for many hours.
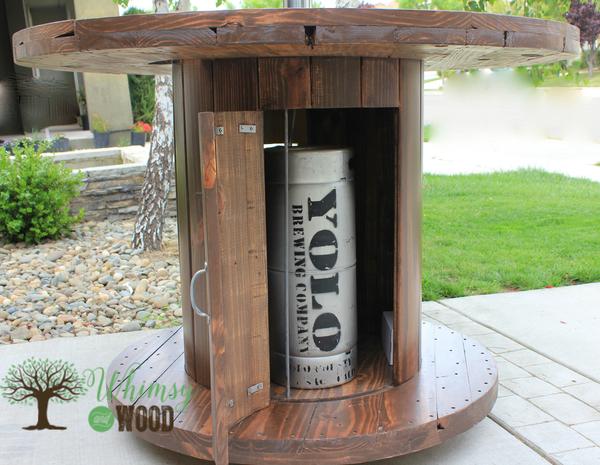
Thank you, Yolo Brew, for the great beer to try out our creation!
This is one of my favorite Upcycles or builds yet. It really came together well. Let me know what you think by commenting below. If you have done something awesome with a cable spool I would love to hear about it!
XOXO-Jen
Wow, this is an awesome idea!
Thank you!I swear it was like the stars aligned to bring this one together. Very fun project.
I am trying to figure out how to cut the door into the bottom area for the tank so it will match up opnce the hinges are put on it. Am I thinking too much into this, can you email me some tips.
Garrett, I left a full board to attach the gate hinges to. I felt good about the strength of the finished piece that way. The pieces above the door are then put back together and mounted in for aesthetics. I hope that helps.
Did you need to sand the whole thing before staining? Did you stain the entire thing?
Yes, If you want to stain, then sand and then stain. If you want to keep the original look you could just sand any splinters or parts that could poke. if you don’t putt a protective finish then keep it in a covered area.
what did you use for the wine bottle holders
We used metal conduit, it was cut and welded together. An easy replacement would be PVC pipe. You could cut the pvc and use pvc glue to hold it together. They make Black PVC that would look good or you can paint the pvc.
How tall is the spool? And how far from the bottom did you cut off? I am wanting to do this and was curious
Would the spool opening be enough for 2 kegs instead of the wine bottle holder?
Yes, Depending on the spool you get. Most large spools would have plenty of space inside for 2 pony kegs.
What height stools did you get?
These were bar height. Similar to these stools. https://amzn.to/369SQCi
Hi! Did you have to take the nails and staples out of the bottom before cutting it, for the base?
I did not. I believe I linked in the post and the jigsaw blade I used cuts through the wood and the nails.
Just hold steady on your saw and move at a pace you are comfortable with.
Hey! Love the table! What mending strips did you use for the door slats? And how did you screw them in and keep the curve of the door?
Thank you!
They were the simple 2 hole type like these https://amzn.to/3ulVHRI. I screwed them in on the interior of the door.
You can see them in this photo from the post https://whimsyandwood.com/wp-content/uploads/2017/06/spool_keg_grande.jpg.
The strips had some give to them and we bent them to fit the curve.
It looks wonderful!
Did the umbrella fit perfectly in the hole?
Or did you need to do something to make it fit perfectly so it wouldn’t swift back and forth?
We did not use an umbrella on this build, If I had, I imagine you could add the weighted base inside, of fit another piece in the center cut for the umbrella you choose.
Hi. How did you figure out how much of the base you could take off while still having the spool be stable and not tip because it’s so top heavy?
Thanks! Your hard work definitely paid off.
Great question & I am sure there is a mathematical equation to answer it…but, it was eyeballing and luck in my case. I was going to pull my old notes from this project but we just moved and I am struggling to find them.
Where do you get the wheels for the bottom of the spindles?
I got them at Lowes. They have their weight rating on the packaging. You can estimate your project weight and check with a sales associate at your local hardware shop or order from Amazon. On Amazon, look for a high amount of 4+ star ratings.