We all know that the construction of old furniture beats most readily affordable furniture in today’s world. Real wood, solid construction, joinery that is meant to last, and timeless style. One of the problems that I do find is that they often do not include drawer stops. I hope this information on how to make DIY drawer stops is helpful to you!
Many of my clients are parents with toddlers who are into everything & could be squishified by a drawer without drawer stops…Let’s be honest, most of us grown-ups rely on those stops too. If you have ever pulled your junk drawer out just a little too far while looking for a pen, best case scenario you find a pen after the drawer crashes down spilling the junk everywhere!

You can buy plastic drawer stops from Amazon or some hardware stores, you just have to be conscious of how & where they will hit inside the furniture. Make sure you have the clearance. But…in my world, the furniture varies extensively & I don’t really care for the plastic drawer stops. Recently I decided to use cut wood pieces that can be mounted by a screw into the drawer.
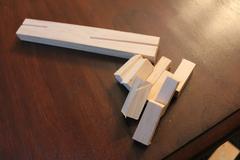
How to Place Your DIY Drawer Stops
To make your DIY drawer stops cut wood pieces at about 2″ lengths. I used pine scraps for this project. Use whatever wood pieces you have on hand. As long as they are thick enough not to snap when they make contact with the trim inside
Test the height needed for your DIY drawer stops by holding one of your cut pieces in place inside the drawer. Pull the drawer open to the point where the wood piece you are holding inside the drawer hits the trim of your dresser face. Raise or lower your DIY drawer stop piece until it is just right for stopping the drawer from coming out.
Too high and it may hit the drawer above it. Too low and your drawer will pull right out. Mark your wood piece.
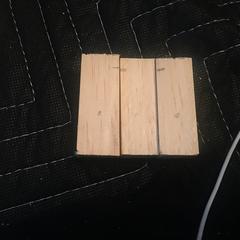
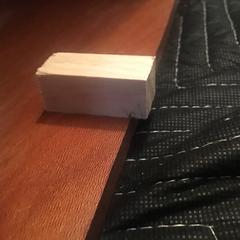 Pull your drawer out. Line up the mark on your DIY drawer stop piece. Use your pencil to mark where you want to screw your DIY drawer stop piece into the back interior of your dresser. Pre-drill the hole into your DIY Drawer stop. I was working in my house & had a scrap 2×4 under my DIY drawer stop wood piece, drilling through this piece into my hardwood floor would have been a huge problem.
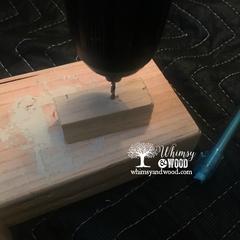
Choose a screw that is long enough to go through your DIY drawer stop piece and about 1/2 way into your drawer back without going through it.
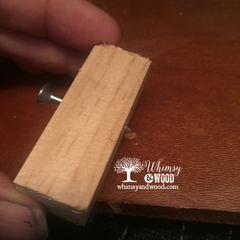
Do not skip the pre-drilling, wood can split when you force a screw in. Pre-drilling will clear some of the space for your screw. You do not want a drawer to survive 50+ years and then get wrecked because you skipped this step.
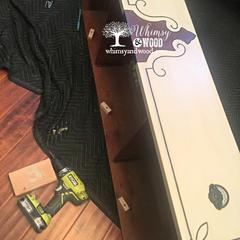
Once in place, the DIY drawer stops will need to be turned sideways (shown above) to put the drawer in place. Put your drawer into its slot. Then, reach in and turn the DIY drawer stop upright. You should leave a little room by not screwing them in as tightly as you could.
Test Your DIY Drawer Stops
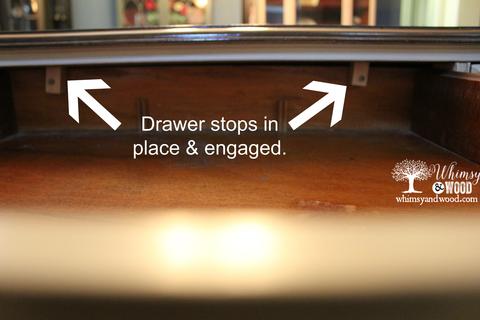
Once in place test, your DIY drawer stops by pulling forward. The DIY drawer stop should engage and keep the drawer from coming out. Thanks to our DIY Drawer stops, our toes are safe & we will not be picking all of our belongings up off the floor.
For another great DIY furniture hack:
Some see how we remove the felt from dresser drawers.
Leave a Reply