Super excited to share this rustic angel & copper garland DIY with you!
Hey Friend! This rustic angel and copper garland does require some use of power tools. But, I bet you can find pre cut pieces to create a similar project if you aren’t ready to use a scroll saw or a jig saw. I will also be stocking these in my holiday shop for those of you who feel this DIY stuff is not your jam. (Clink here to find the finished item)
Can you believe how quickly this year is flying by? I know we all say this every year but Geez Louise it all seems to sneak up on me and then spin me around in a whirlwind! I don’t know what happened in August that got me on a mission to make new Christmas decor. Probably the ridiculous marketing that starts earlier every year…Or just being ready for cooler days, hot lattes, and wearing my Uggs. I started thinking about what fall decor I could & share with you & then I got stuck on angels. Year round I love angels. Angel figures, angel wings, guardian angels. I am working on a new line of angel themed items for the shop this season. I hope you love what we are adding to the shop.
Supplies for this Rustic Angel & Copper Garland
This post contains affiliate links. You may view our full disclosure here. 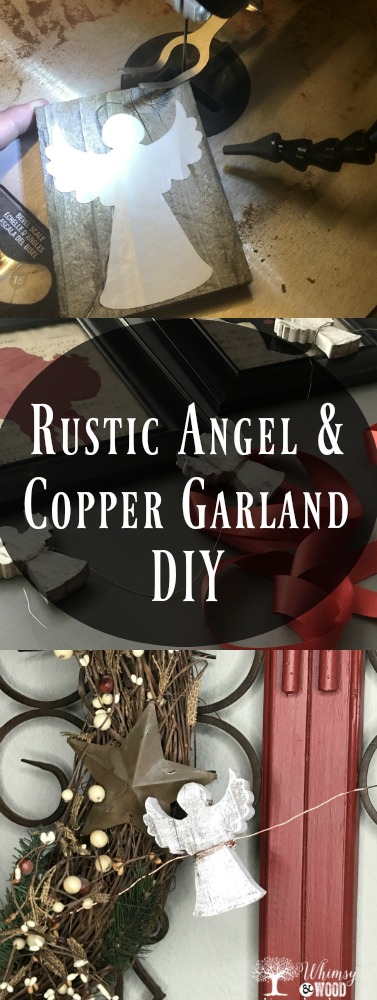
Supplies
- Wood boards. approximately 3.5″-4″ wide (meet your neighbors:)
- Copper wire 18 gauge
- Scroll saw or Jig saw
- Paint
- Wire cutters
- Pliers (needle nose)
- Gloves (for working with rustic fence boards)
- Circular Saw(for cutting up rustic fence boards)
- Silhouette Cutting Machine, or Printed Clipart shape
Optional Supplies
Wood Boards for our Rustic Angel and Copper Garland
I have a pile of rustic redwood fencing that I scored recently while driving my daughter home from school. In my neighborhood a downed fence is a quick way to meet me. We had an extra wet winter here in California this past year. People are still working to get their fences rebuilt. When I see them pulling them down I am quick to swoop in and do their haul away, neighborly right?!
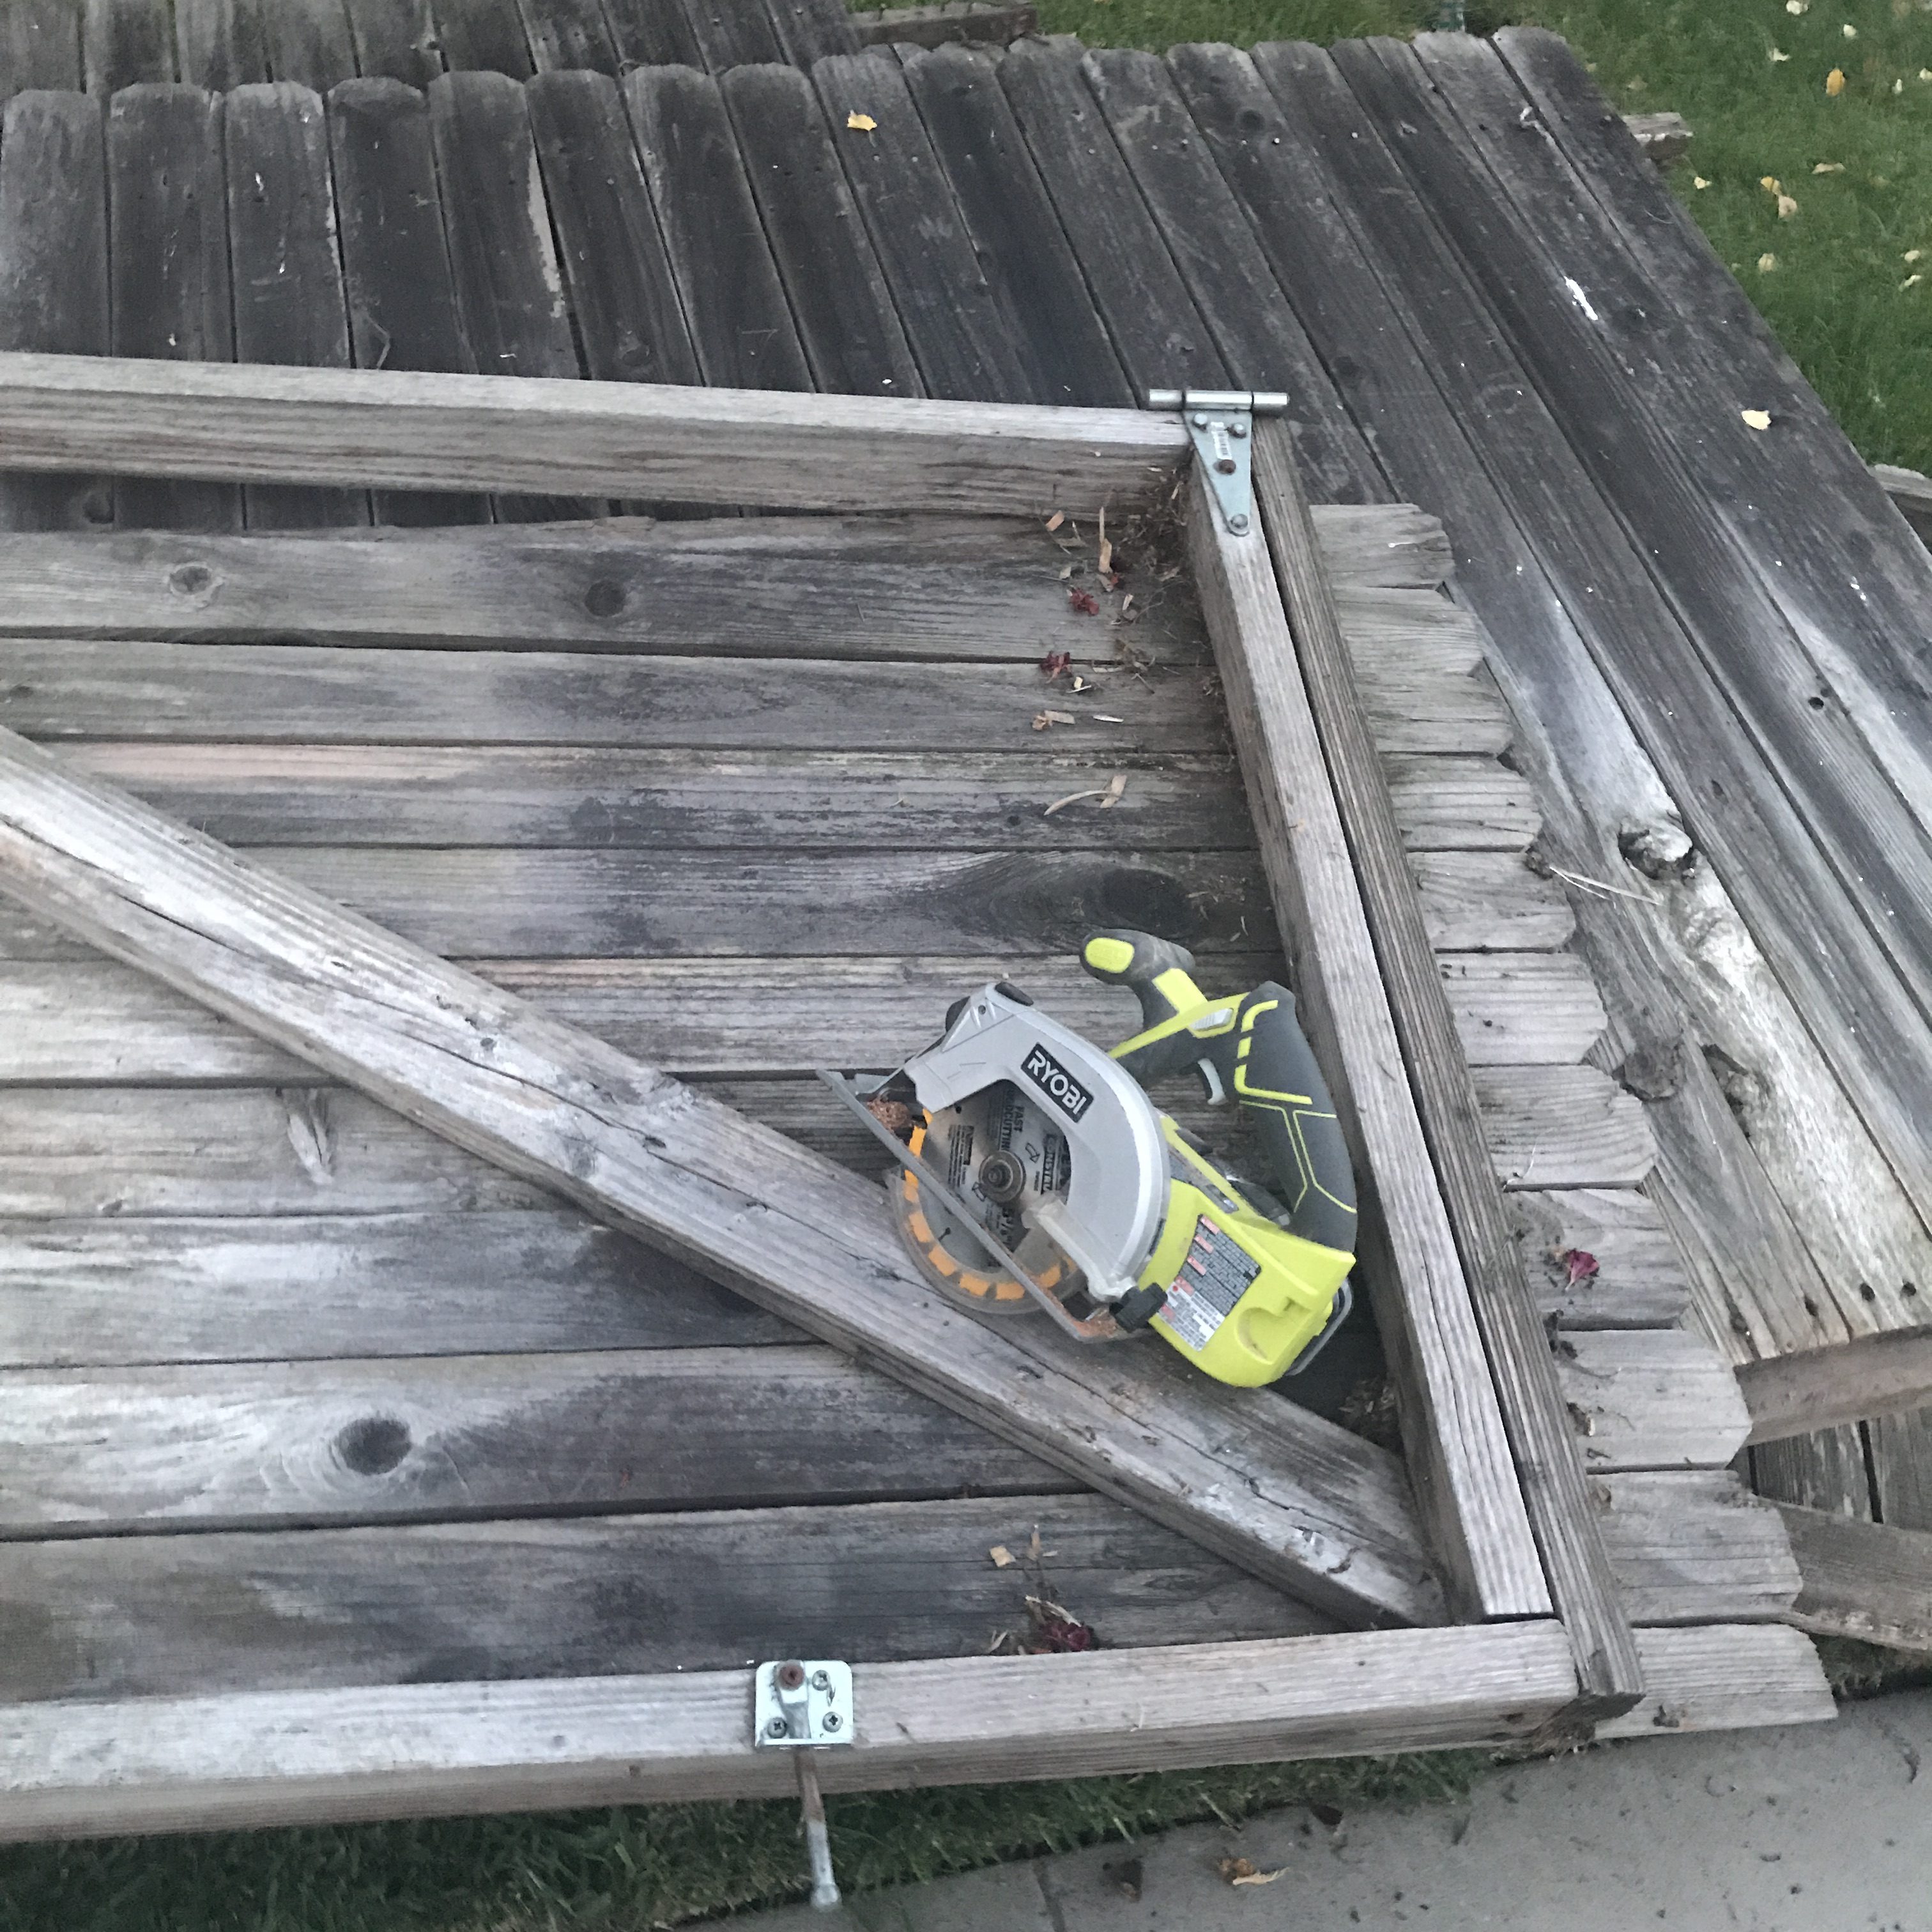
If you choose to do this, make sure you wear gloves while working with old fence pieces. You will encounter many bugs, including black widows here in CA. You will also encounter old rusty nails. I am know to call my wood pile pre harvest my “pile of Black Widow poison & Tetanus.”
Since I don’t use the ends of the boards, I lay my pile down & run a circular saw horizontally through the fence, then discard the end pieces. If you aren’t down with harvesting rustic boards, you can make a less rustic version from new pine boards from your local hardware store. If you just want to see the after click here to visit our shop listing.
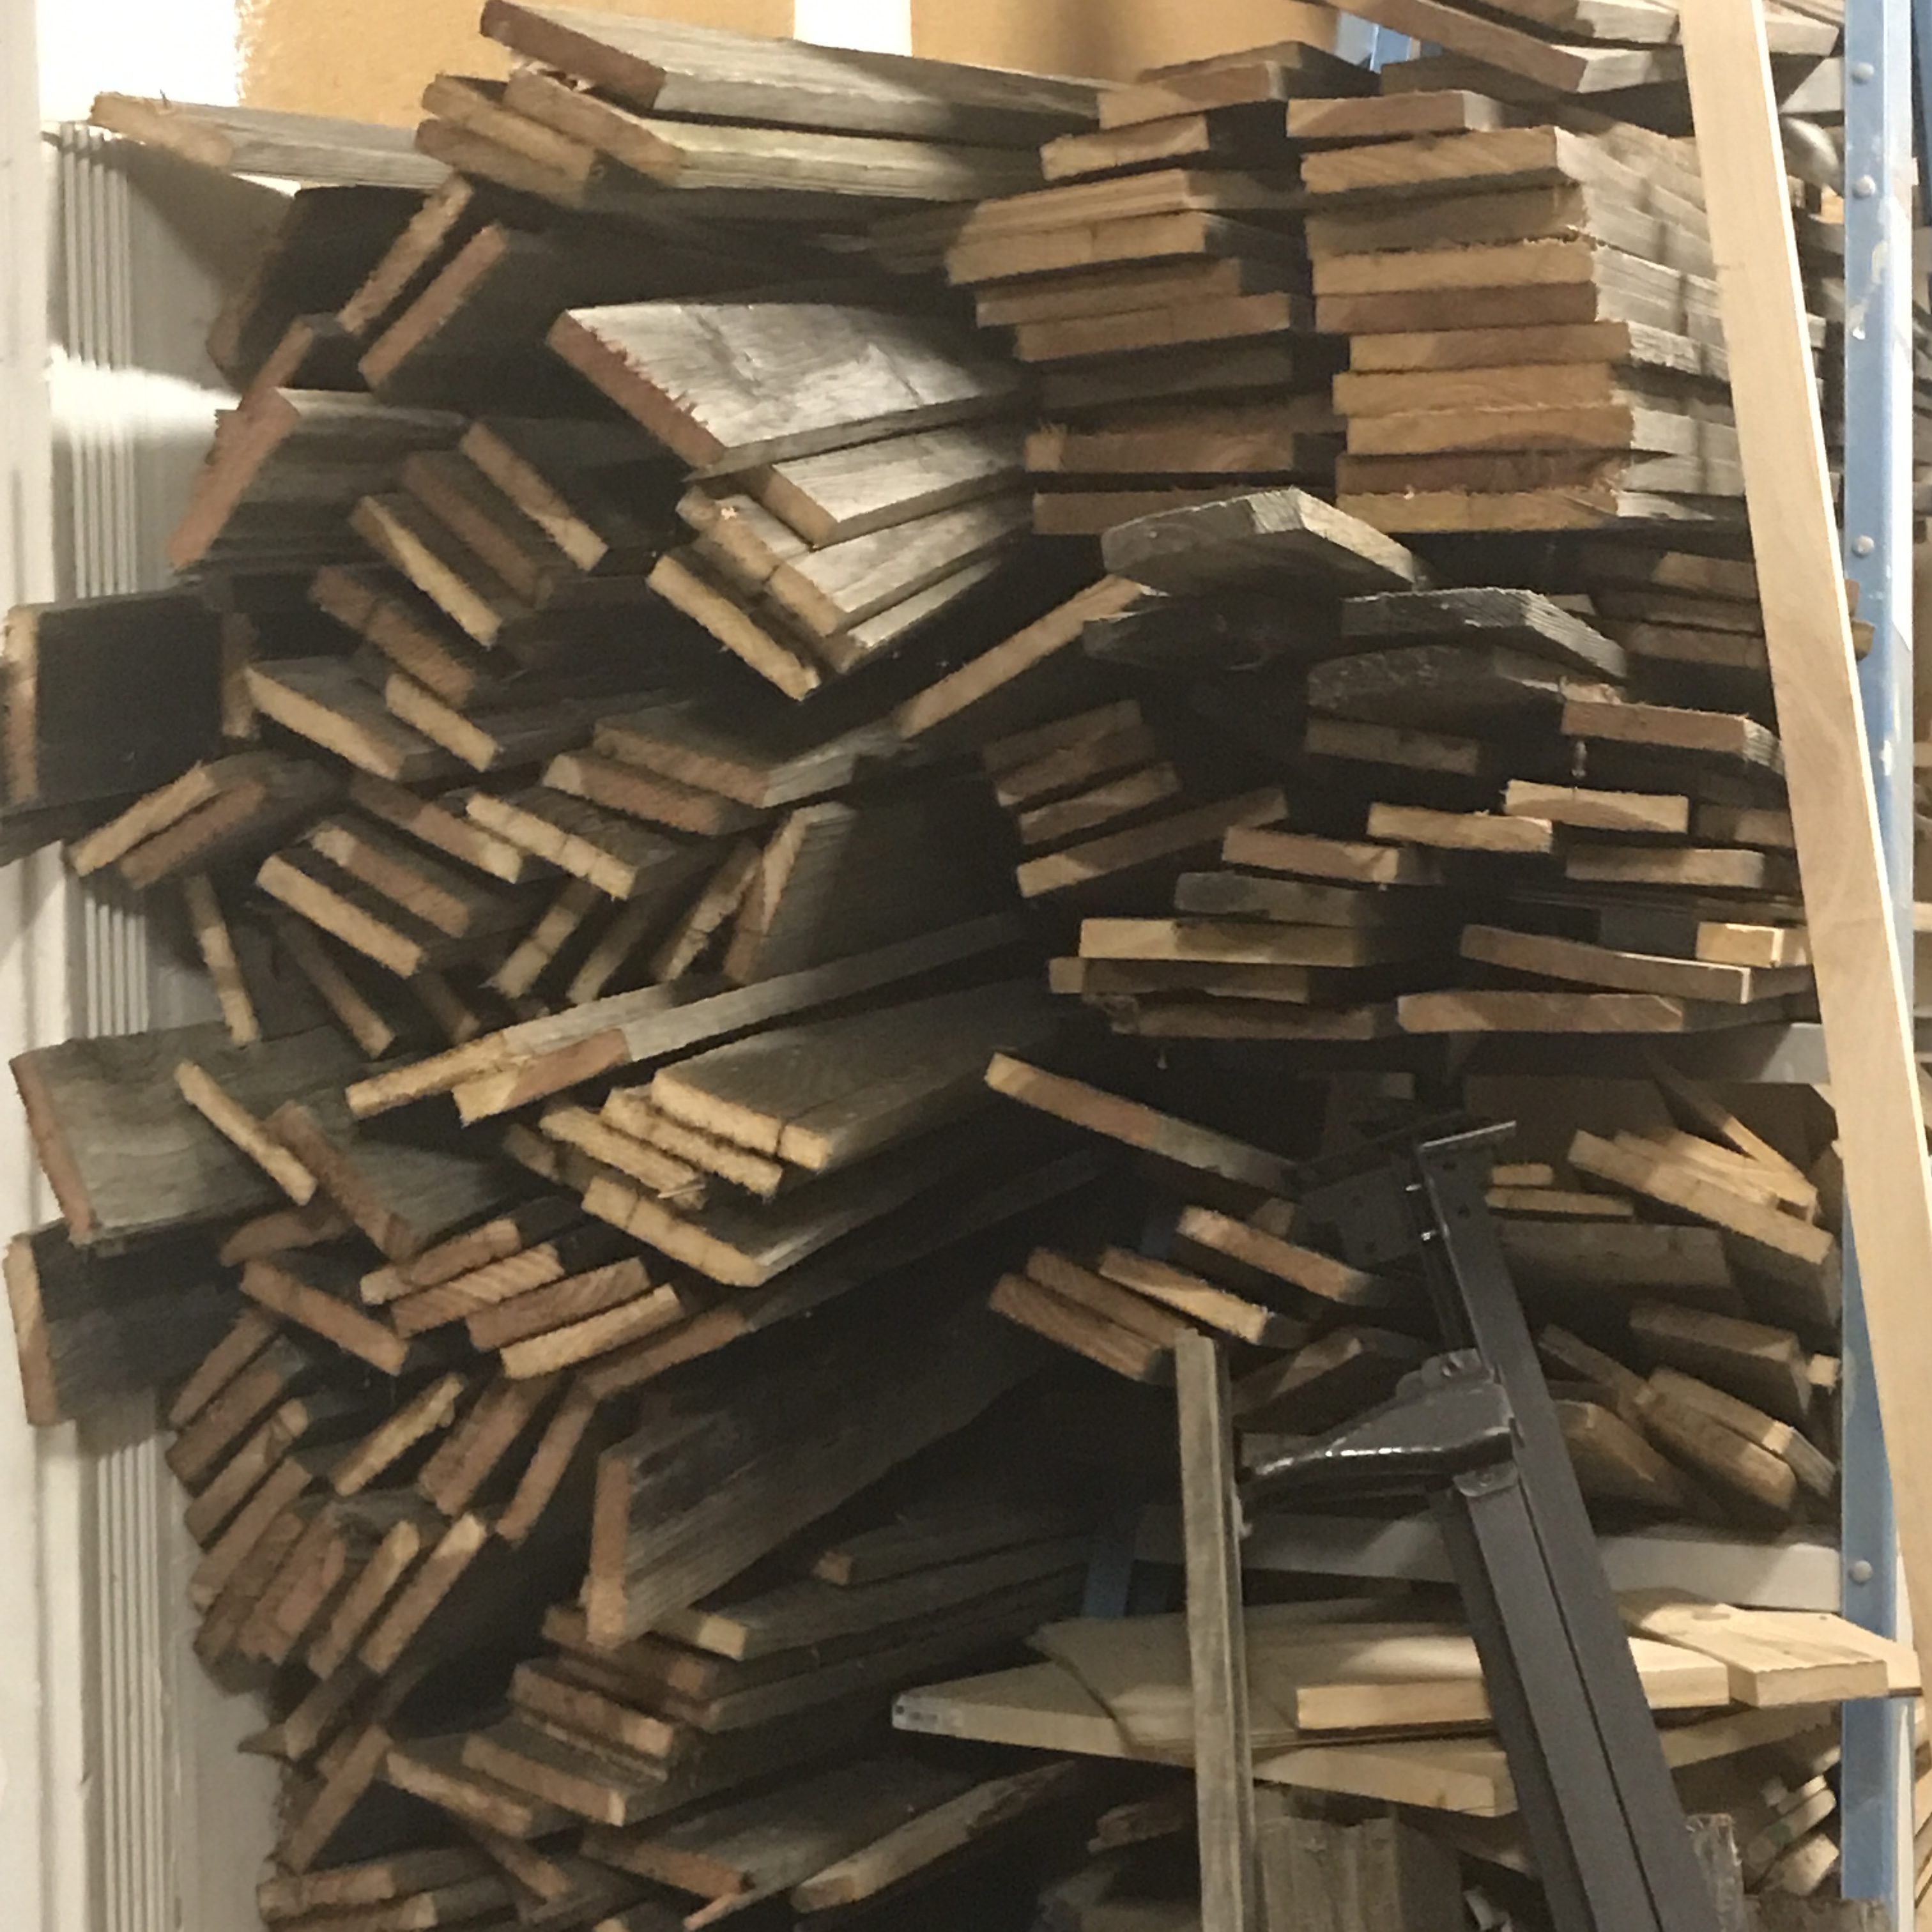
Lots of Angels coming your way:) Maybe some pumpkins, bunnies, and stockings too. I am LOVING this garland!
Making the Shape for our Rustic Angel and Copper Garland
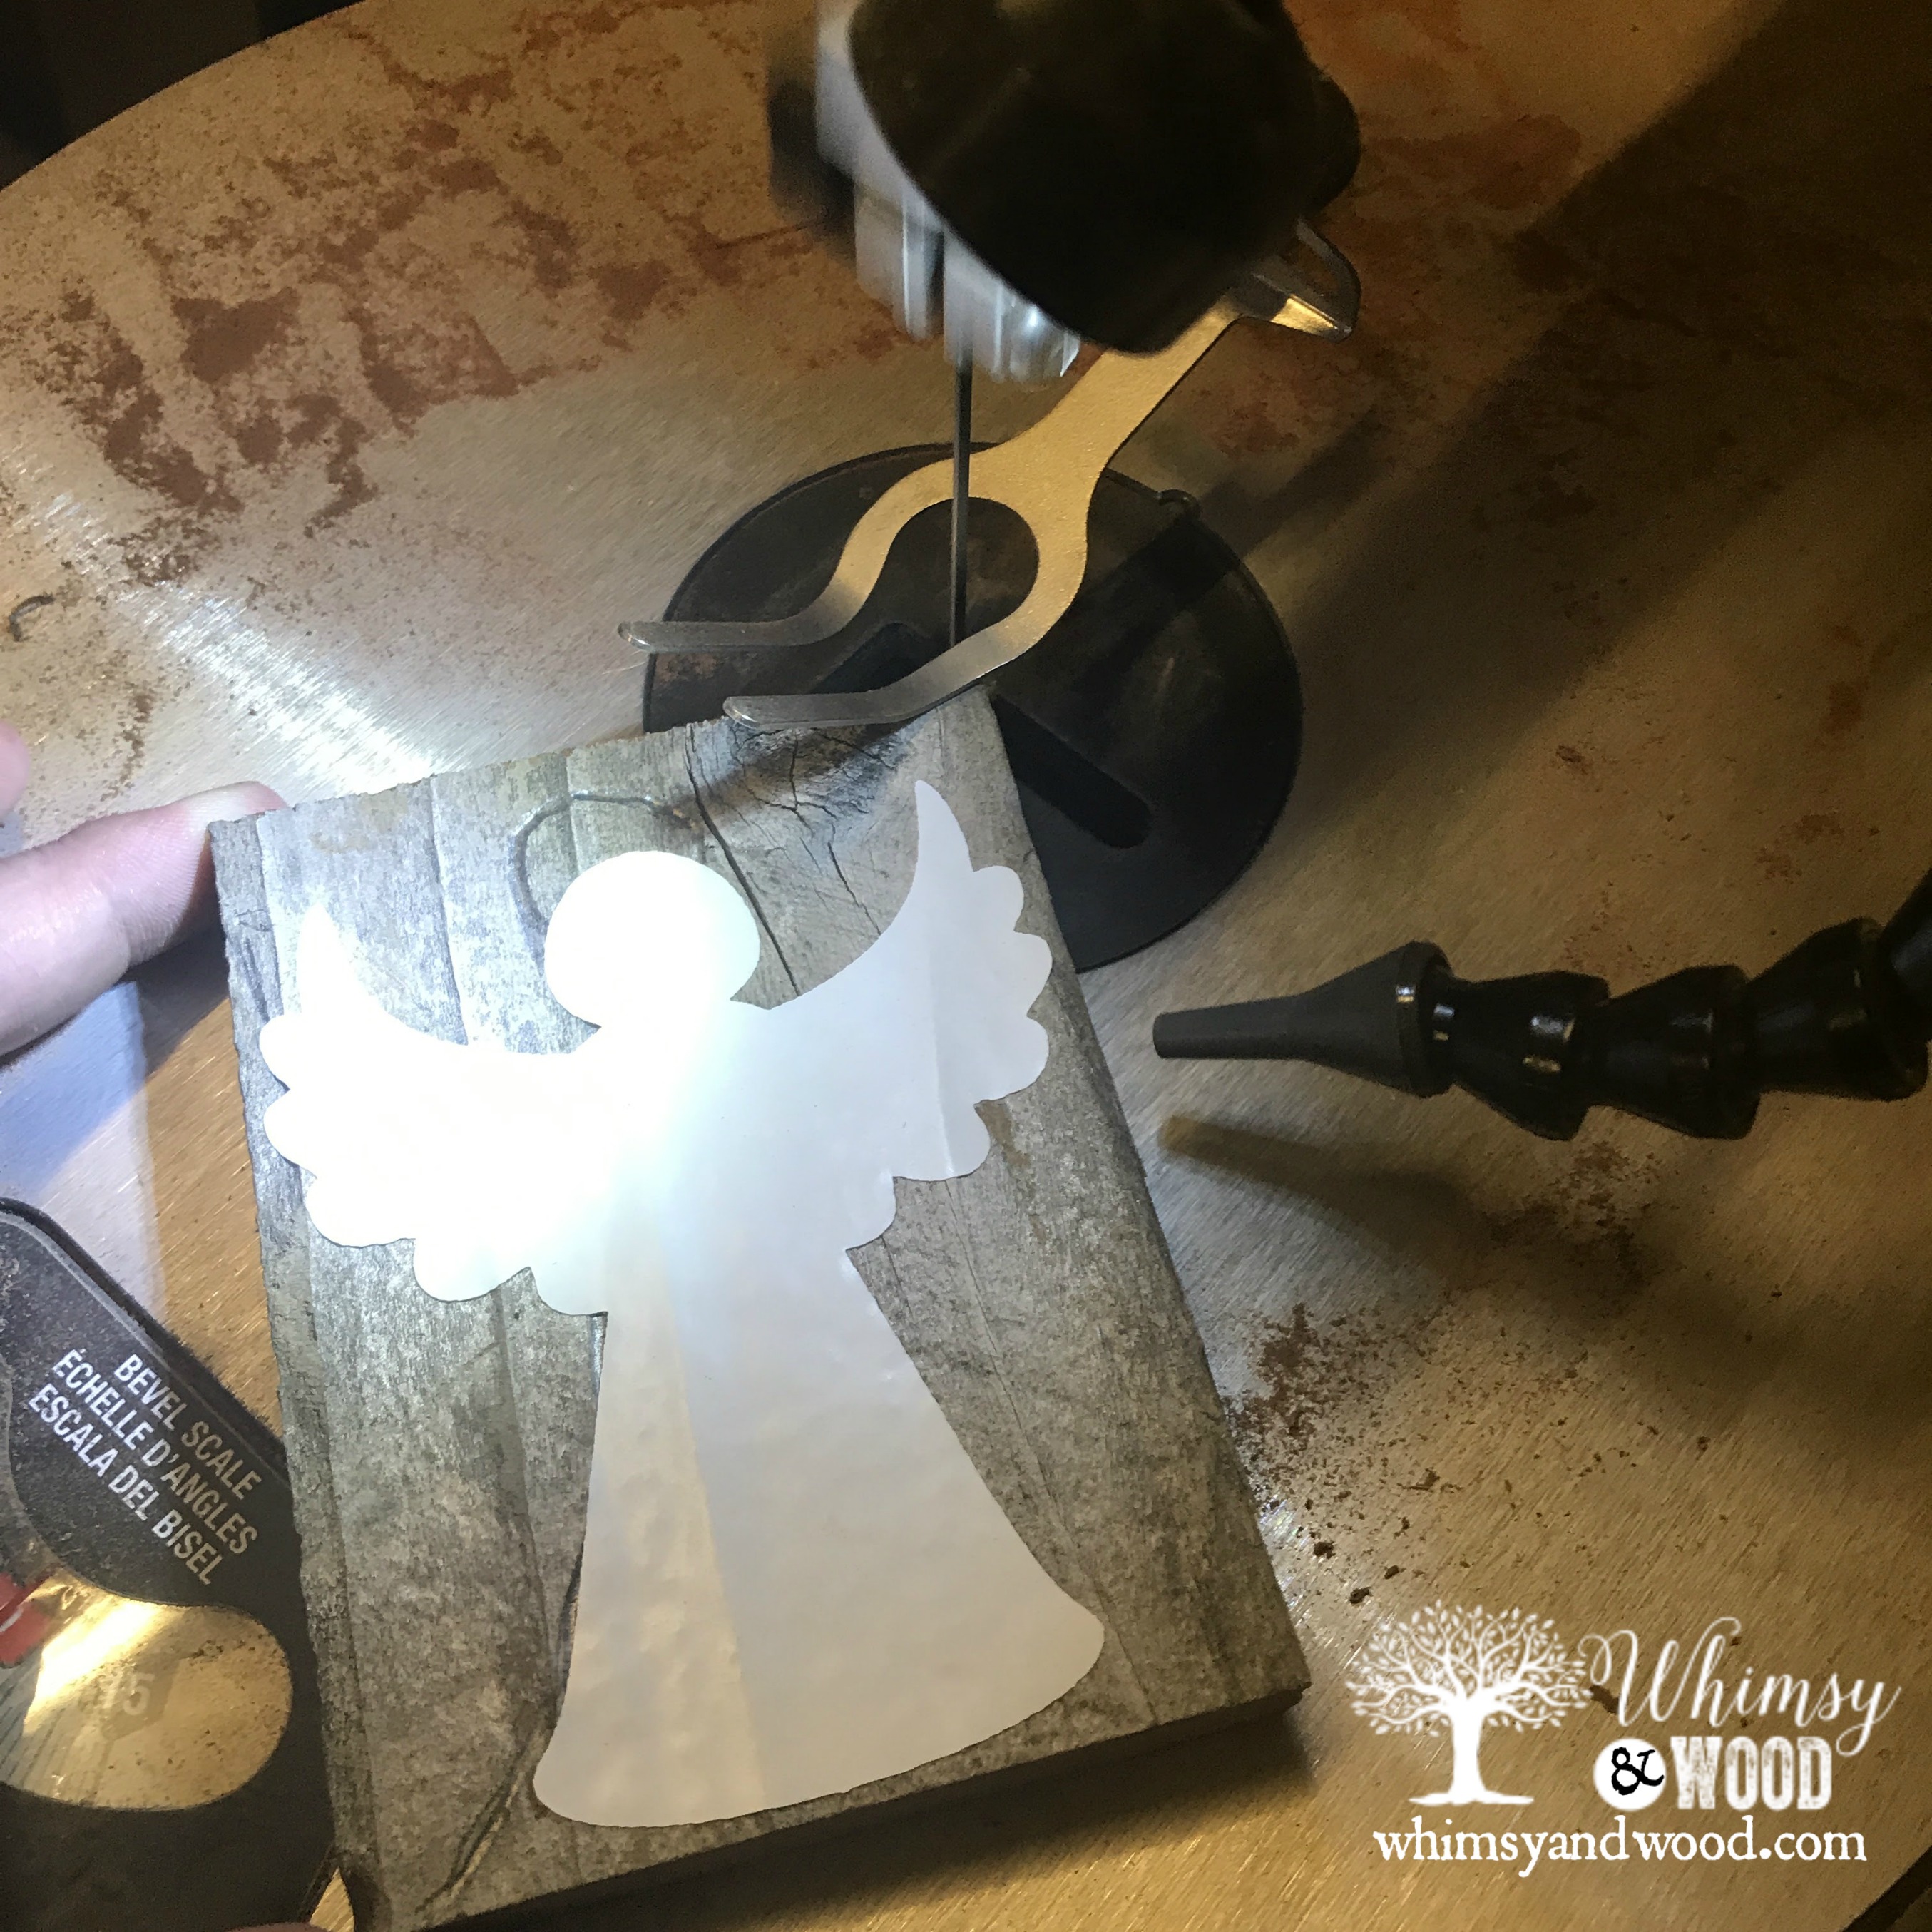
I wanted the rustic angel shape to be repeatable & symmetrical, this meant it could not be freehanded, at least not my me. My Silhouette design software was used to size my angel outline to the width that would bit my board. I wanted the grain to run vertically. I cut the pattern out of inexpensive shelf liner since it was for a temporary use. Once cut, I stuck the shelf liner shape onto a cut section of my wood fencing. Note: I had planned on using the first cut piece to trace onto the next pieces instead of cutting multiple stickers. This wasn’t easy enough. The shelf paper is cheap, I would recommend just cutting a sticker for each individual angel.\
Scroll Saw Cutting our Rustic Angel and Copper Garland
You can use a jigsaw for this part if that is what you have. If you are super fortunate and have a CNC router…then go for it. Since I don’t have a CNC router & was cutting them fairly small I chose to use my scroll saw.
I took my small wood block with the sticker in place and proceeded to cut it out. With either scroll saw or jig saw, I recommend cutting in sections. I cut away waste in sections and come in from different angles to work around curves.
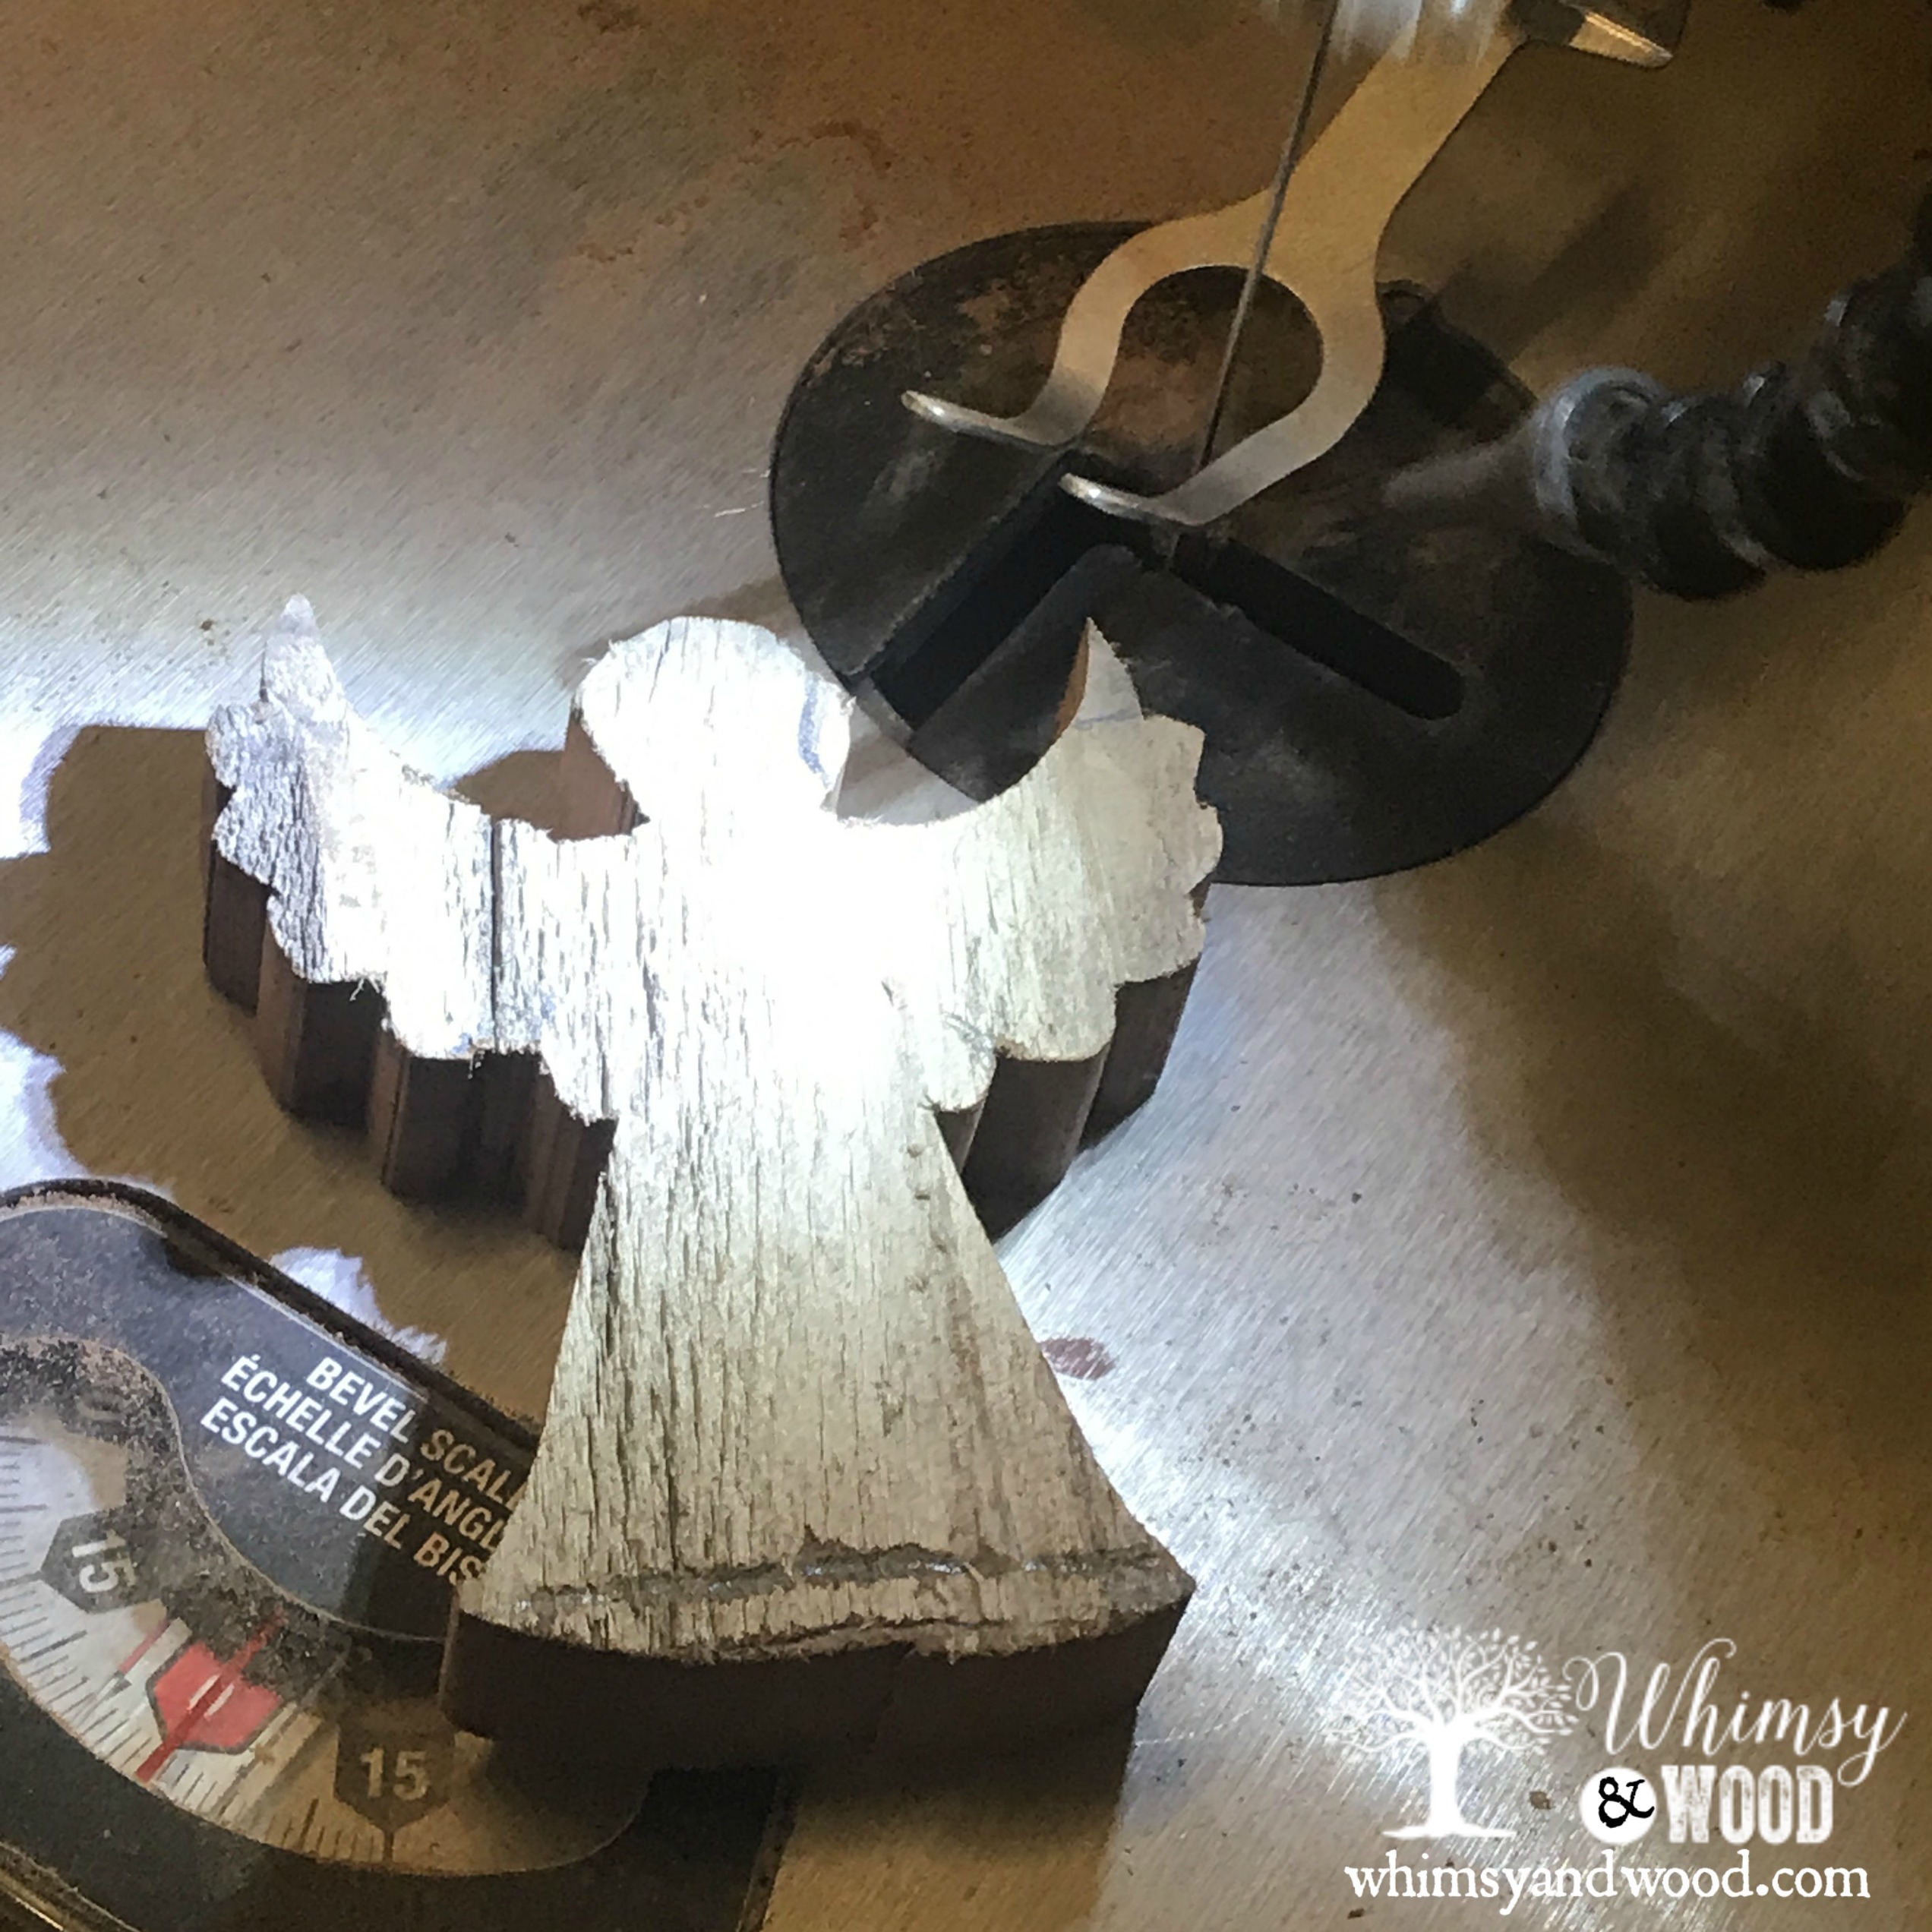
The scroll saw leaves a nicely cut edge & since these are rustic they really did not need any sanding after. If you go for a smoother finish you could hand sand with a flexible sand paper, or with a Dremel.
Painting our Rustic Angel and Copper Garland
Keeping these angels rustic. The painting is pretty simple. You want the finished piece to be rustic & to highlight those ridges in the wood boards. You know I only use Pure Home Paints products. We have stock to use and stock to retail. I would recommend that you use whatever paint or primer you have on hand. If you are an avid DIYer, I hope that happens to be Pure Home Paints, but totally would not suggest stocking up on paint for this little project.
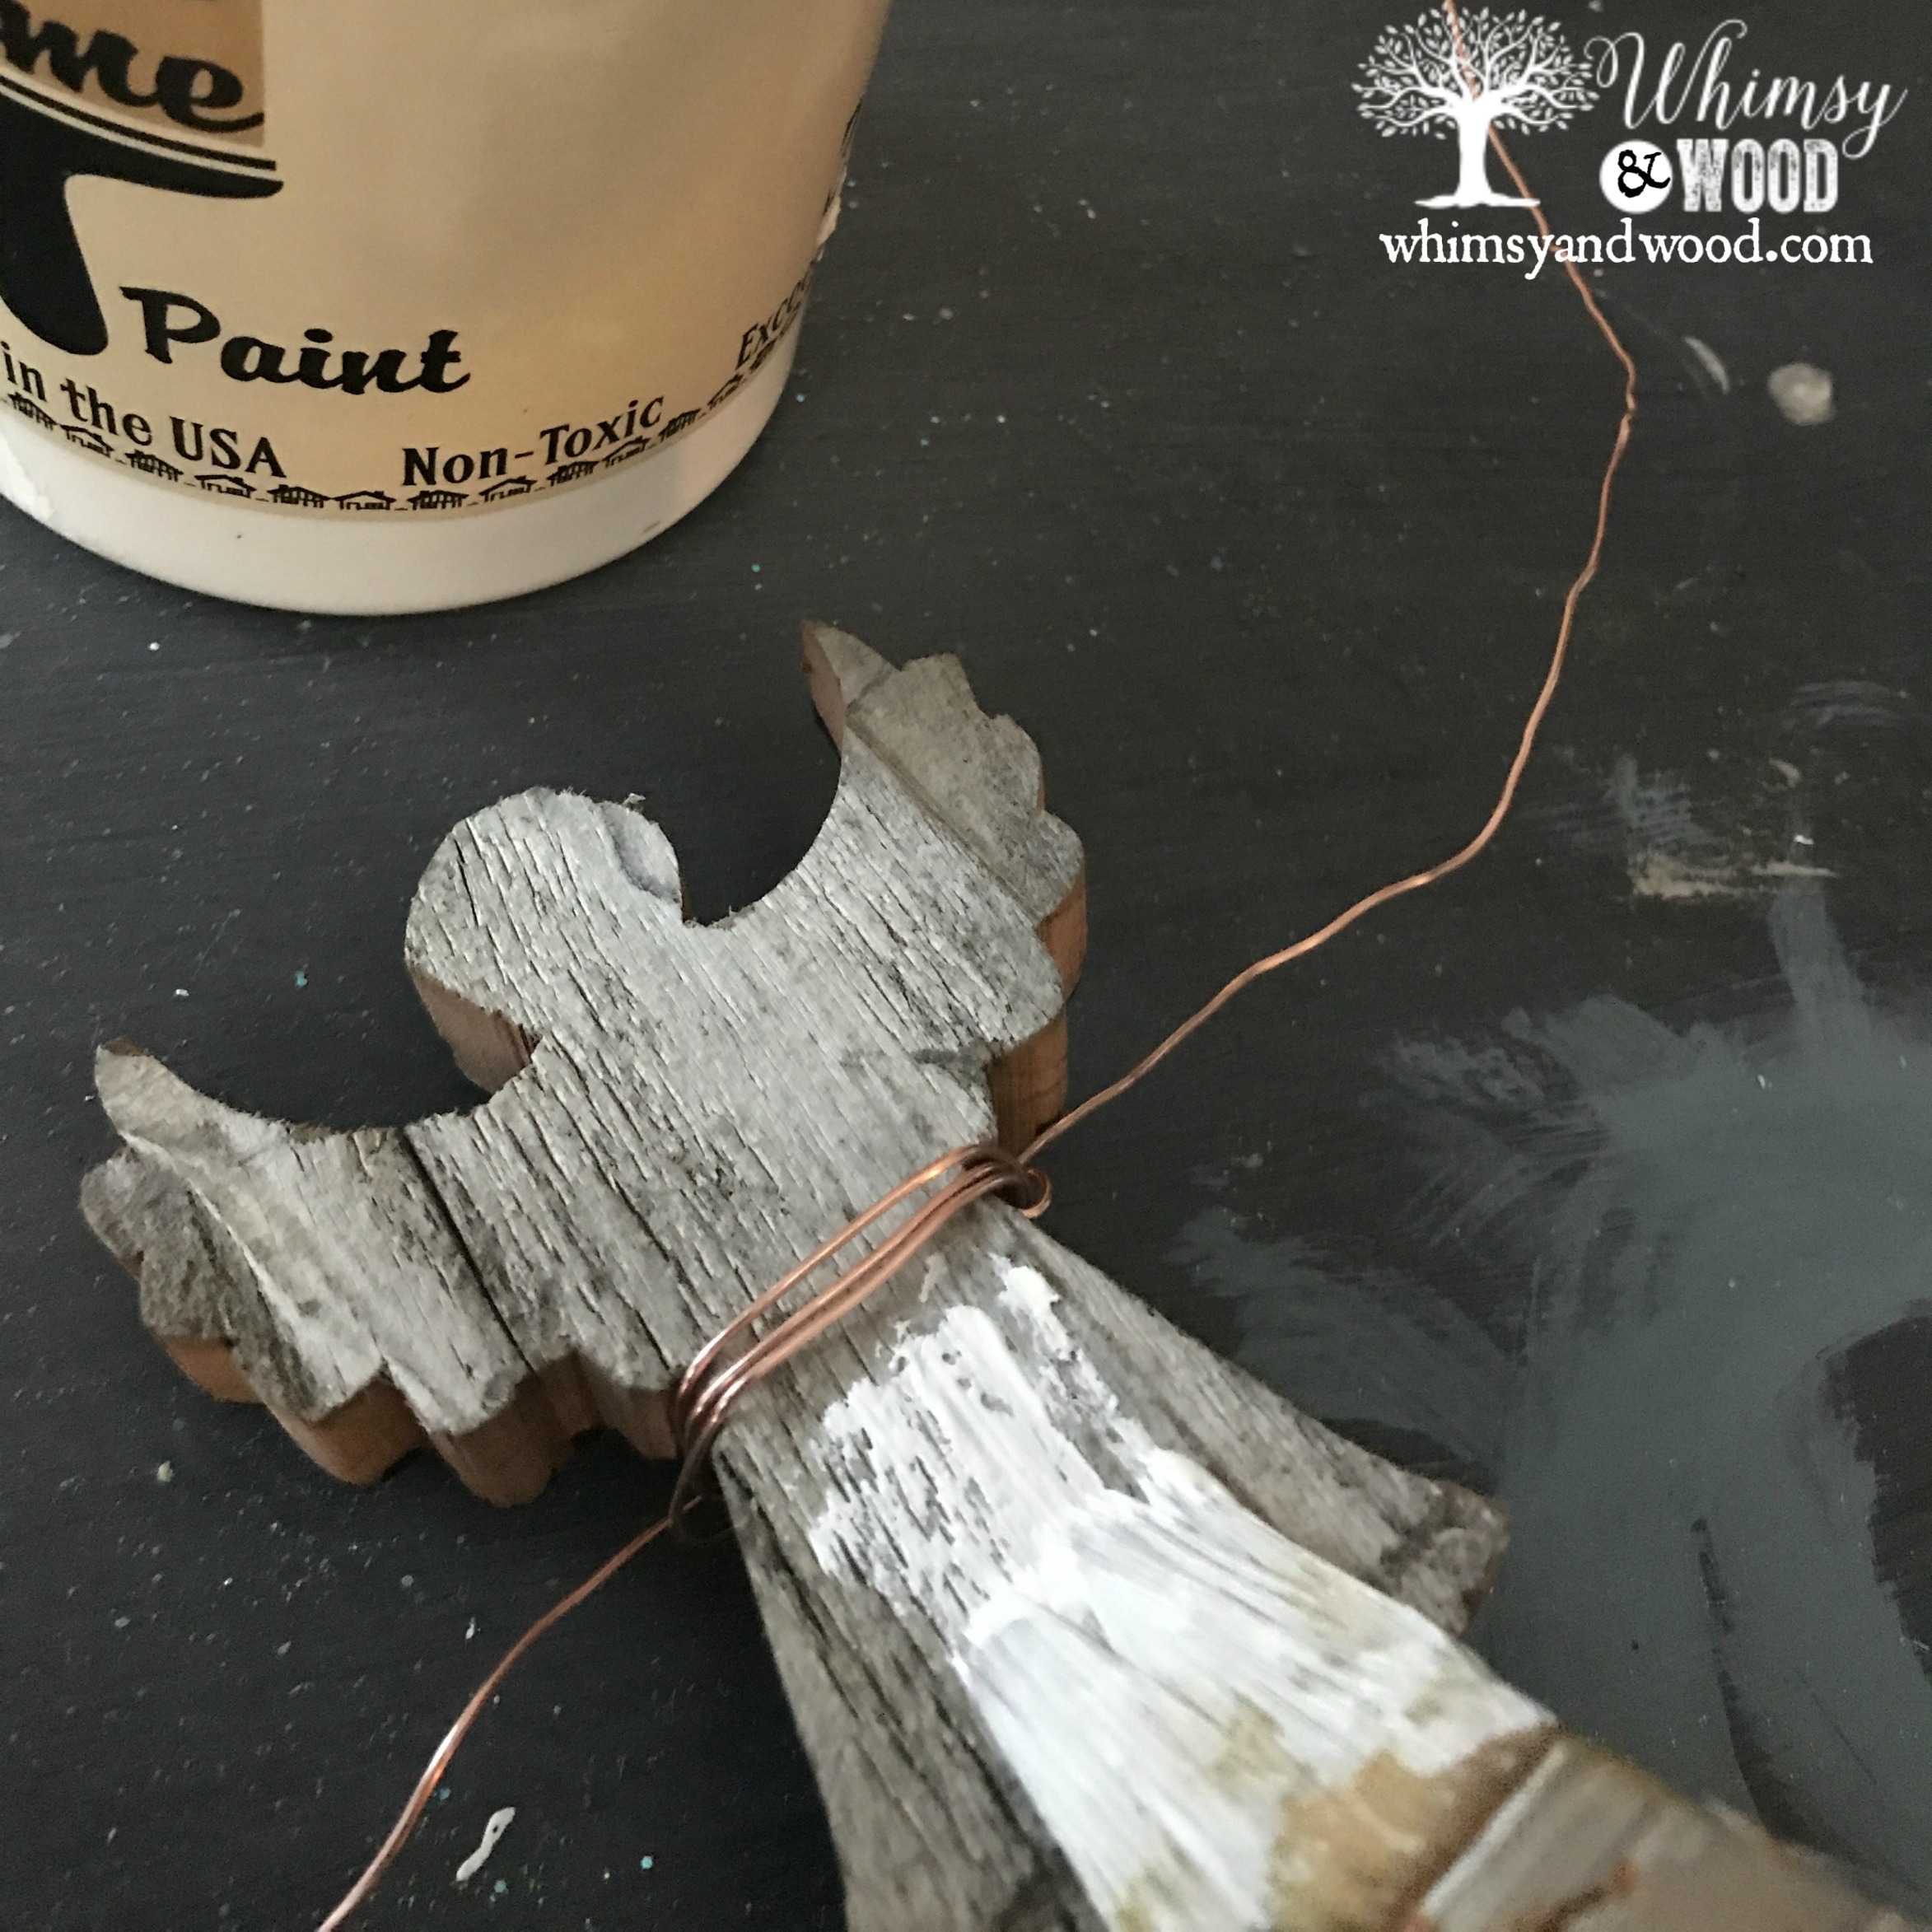
Best to paint before wrapping. This was our first go at the project and my thought was to leave rustic. It was too drab to be holiday without the paint.
The Copper in our Rustic Angel and Copper Garland
Copper is so gorgeous and so everywhere right now! I was super happy and may have scared the poor guy at Lowe’s putting screws back in place when I stumbled upon this package of copper wire, I think it was meant for hanging pictures…not entirely sure.
Here is a simple link to order copper wire on Amazon. I found this one at Lowe’s in the picture hanging aisle.
My first plan was to drill a hole through my angels waist and thread the copper wire through it. Immediately my angel was doing a wind stand as her top is heavier than her bottom. So I adapted and decided to wrap the angel at the waist with the copper wire. I did my best impression of wire wrapped jewelry to do this.
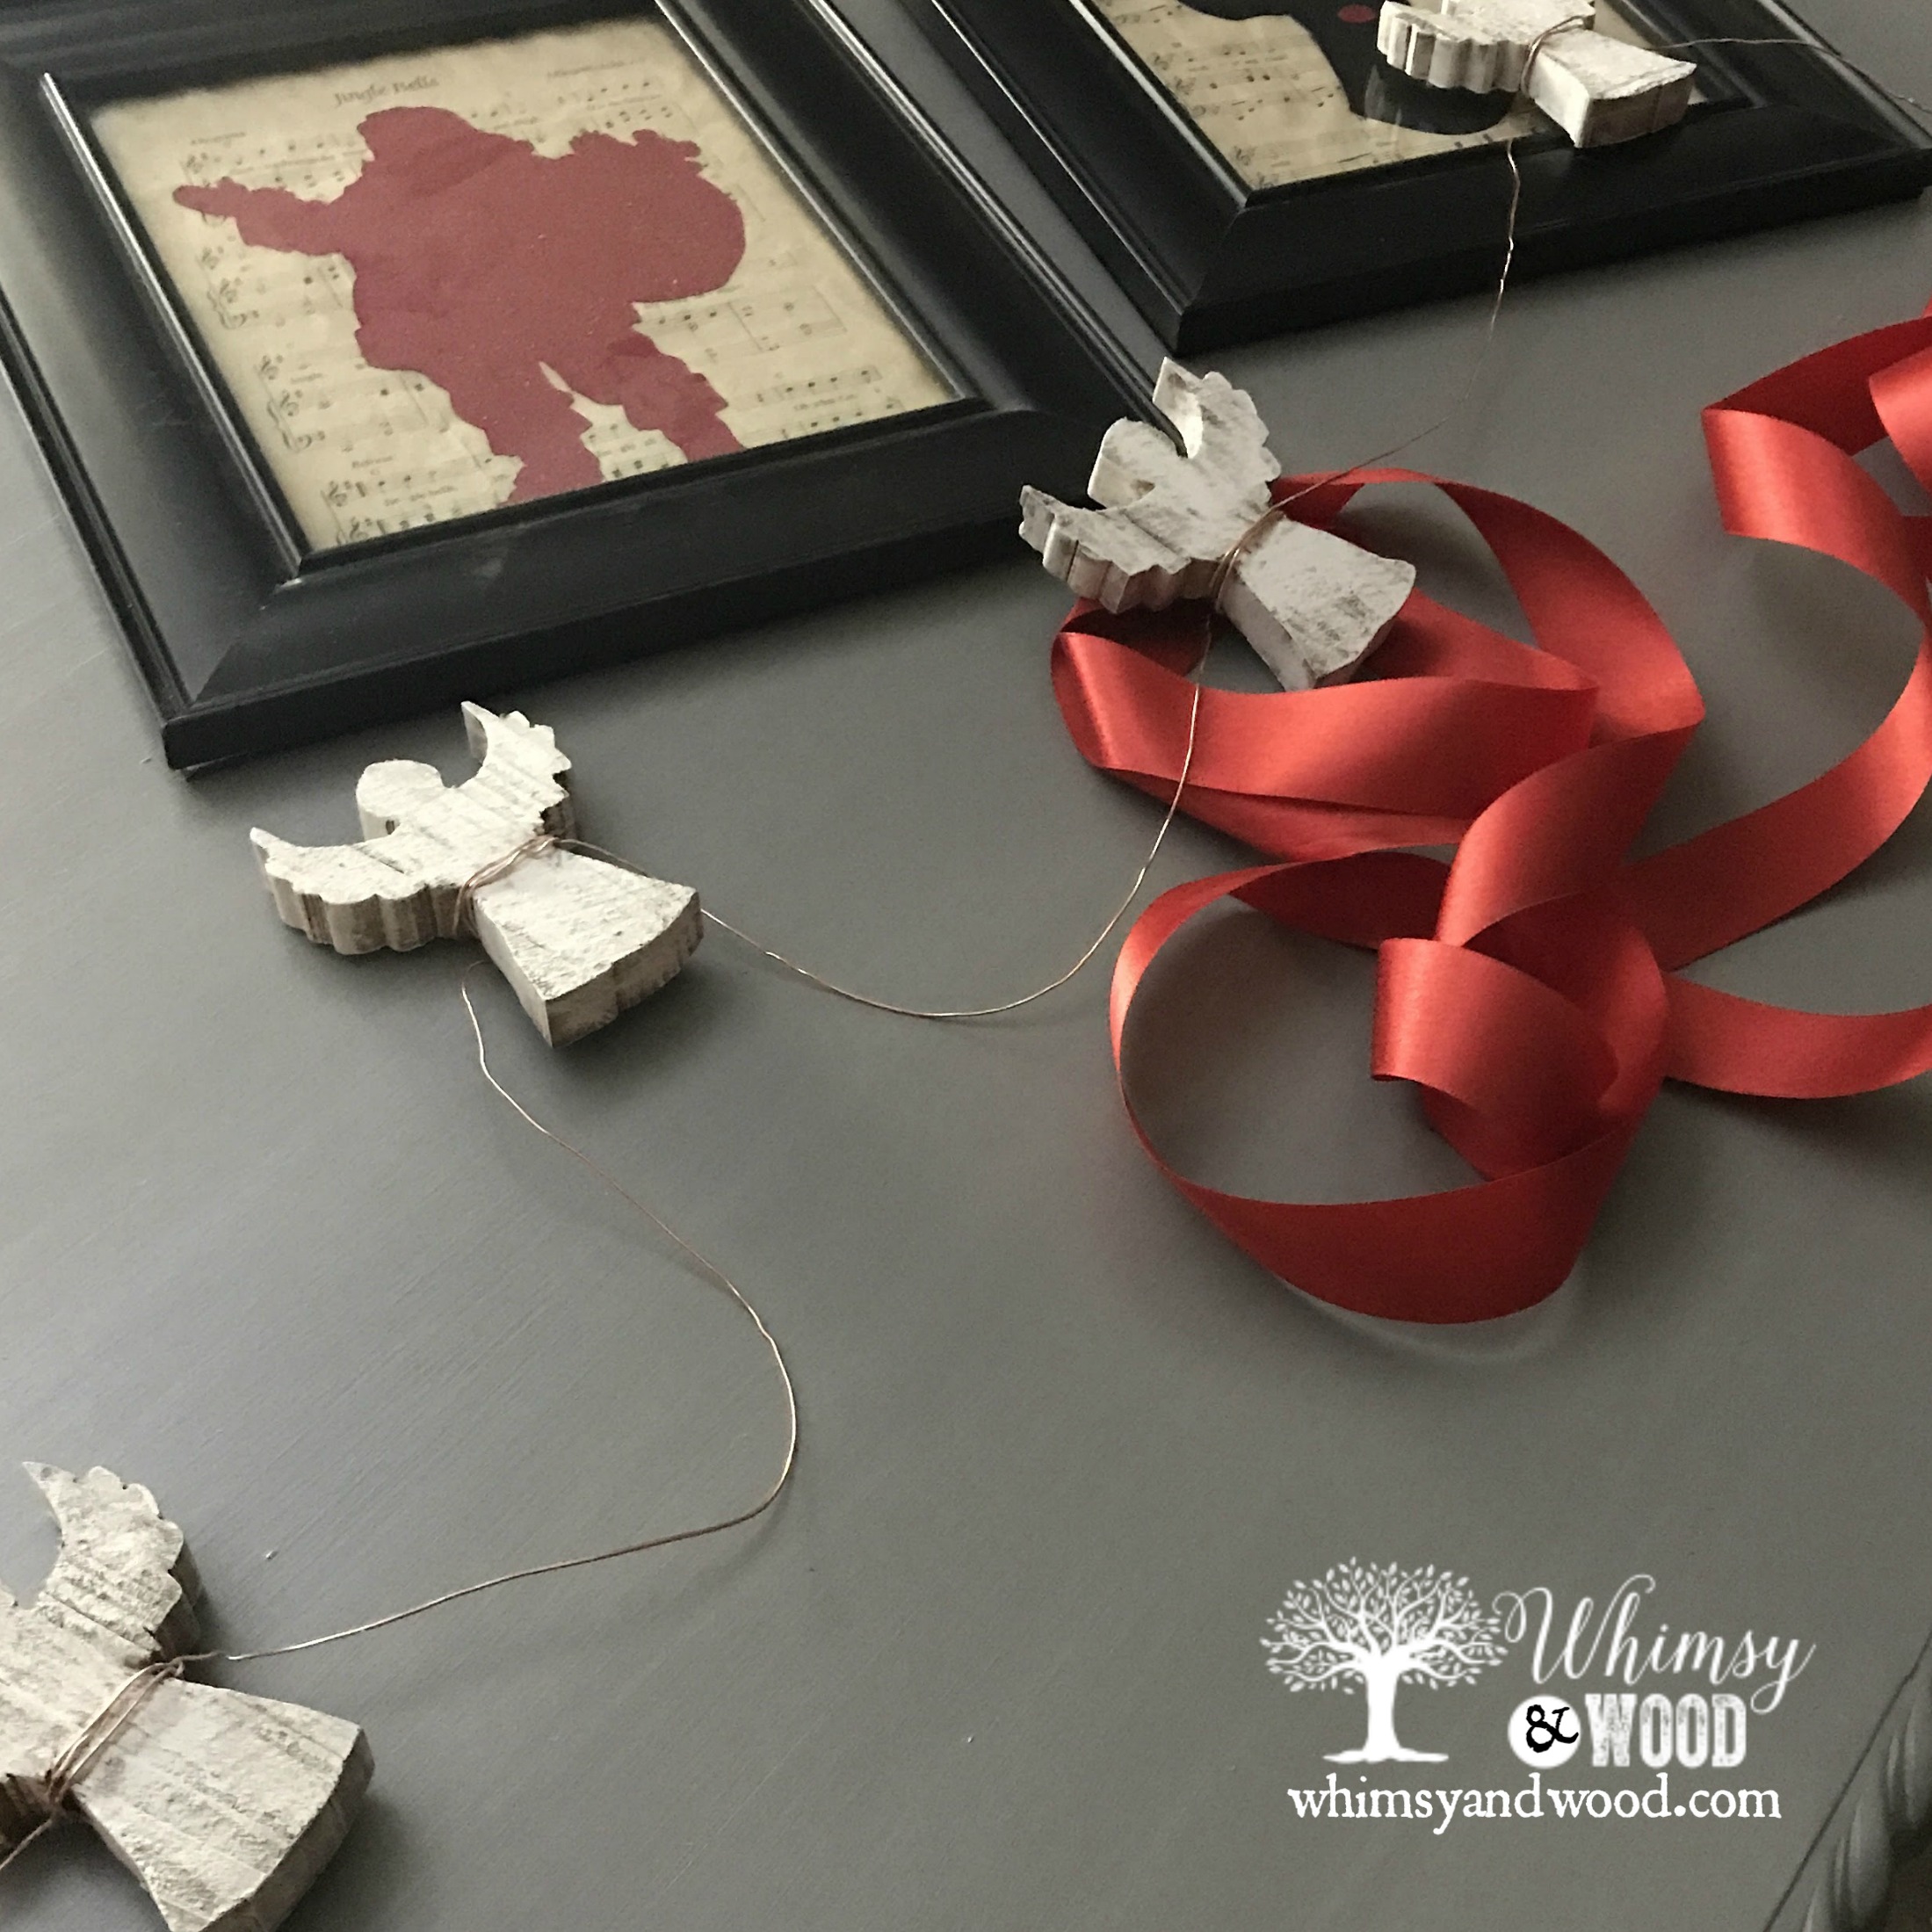
I put a loop in the beginning end of my copper wire. Then measured out 12″ from the end of my wire and wrapped the first angel. I used a pattern of three times around the waist and then threaded my wire up through this wrapped belt on the side nearest the next angel. So 12″ out, place the angel on the wire and proceed to wrap 3 times. On that third wrap take the end and push it under the 3 rows of copper and around them twice and pull tight. This cinches up the wire and creates a strong hold to support the angel figure. Then measure out another 12″ and repeat the process.
The wire used is stiff which I personally love. It allows you to bend your pieces to fall where you want them. I make my garland pieces with an odd number to create a true center in the drape. You can make your garland any length that you want. Ours are about 6′ long with 5 angels space about 12″ apart. This is a great length for dressing up a focal wall or mantle to set your holiday scene.
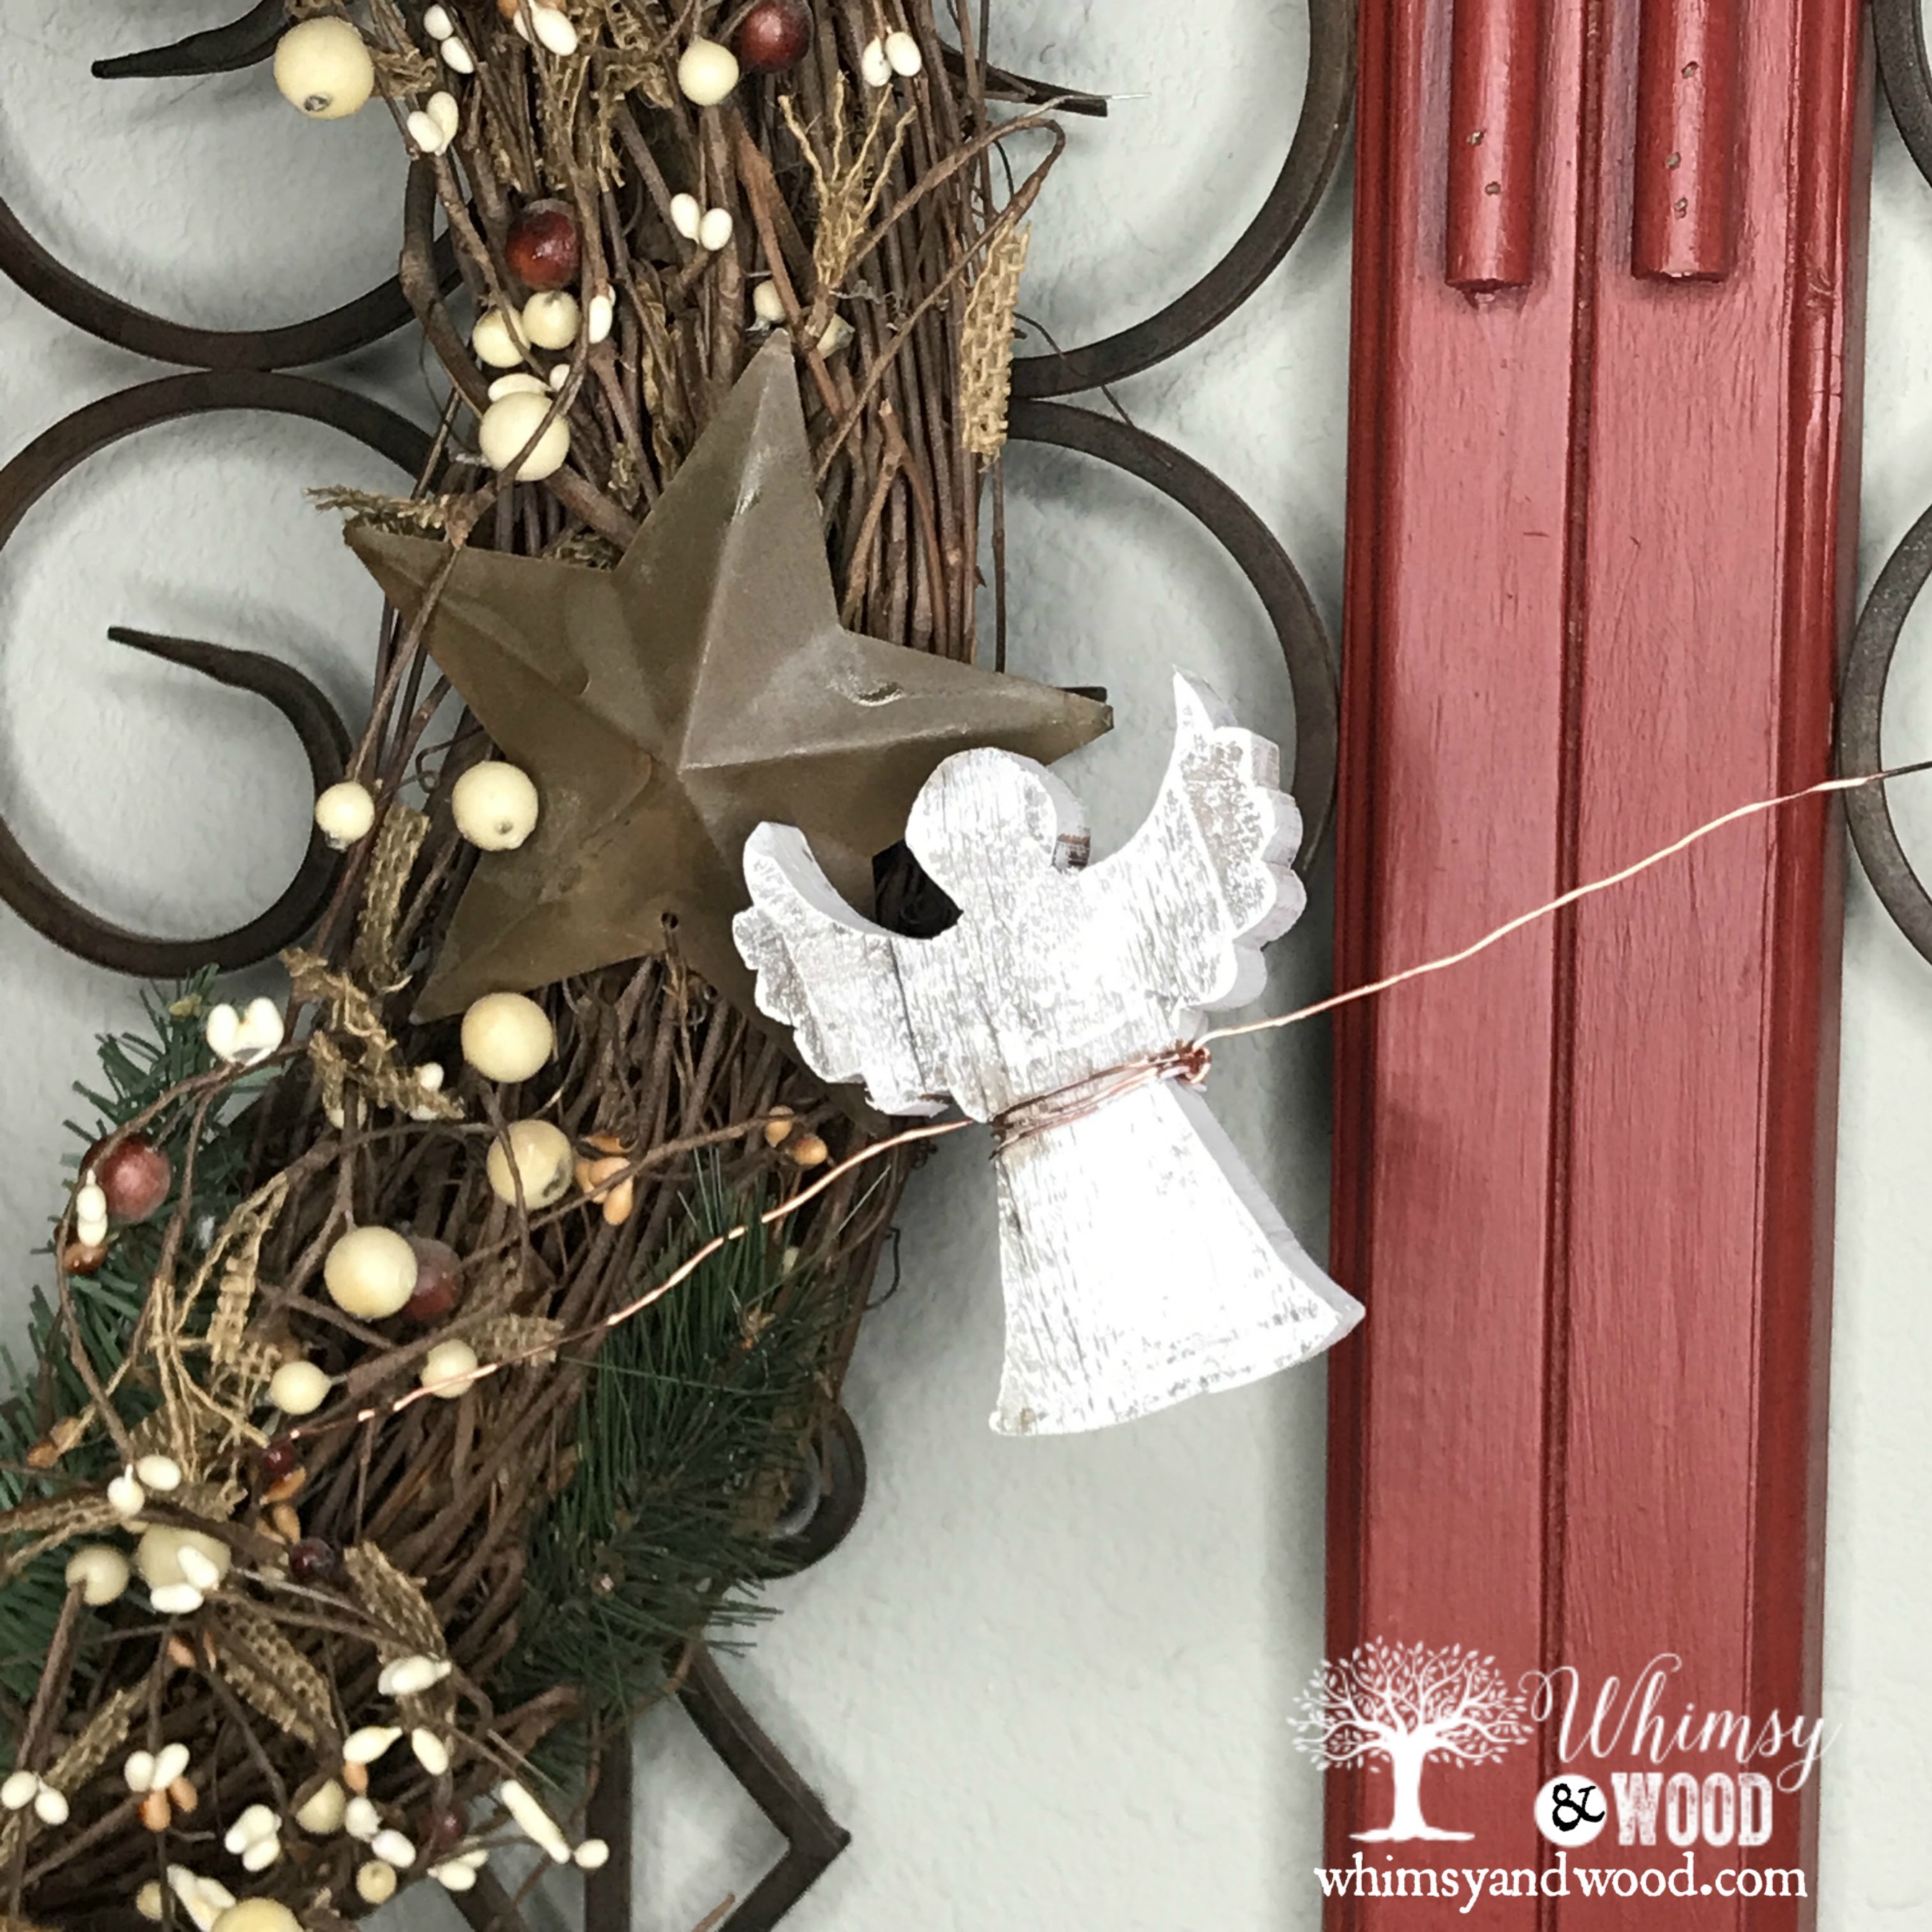
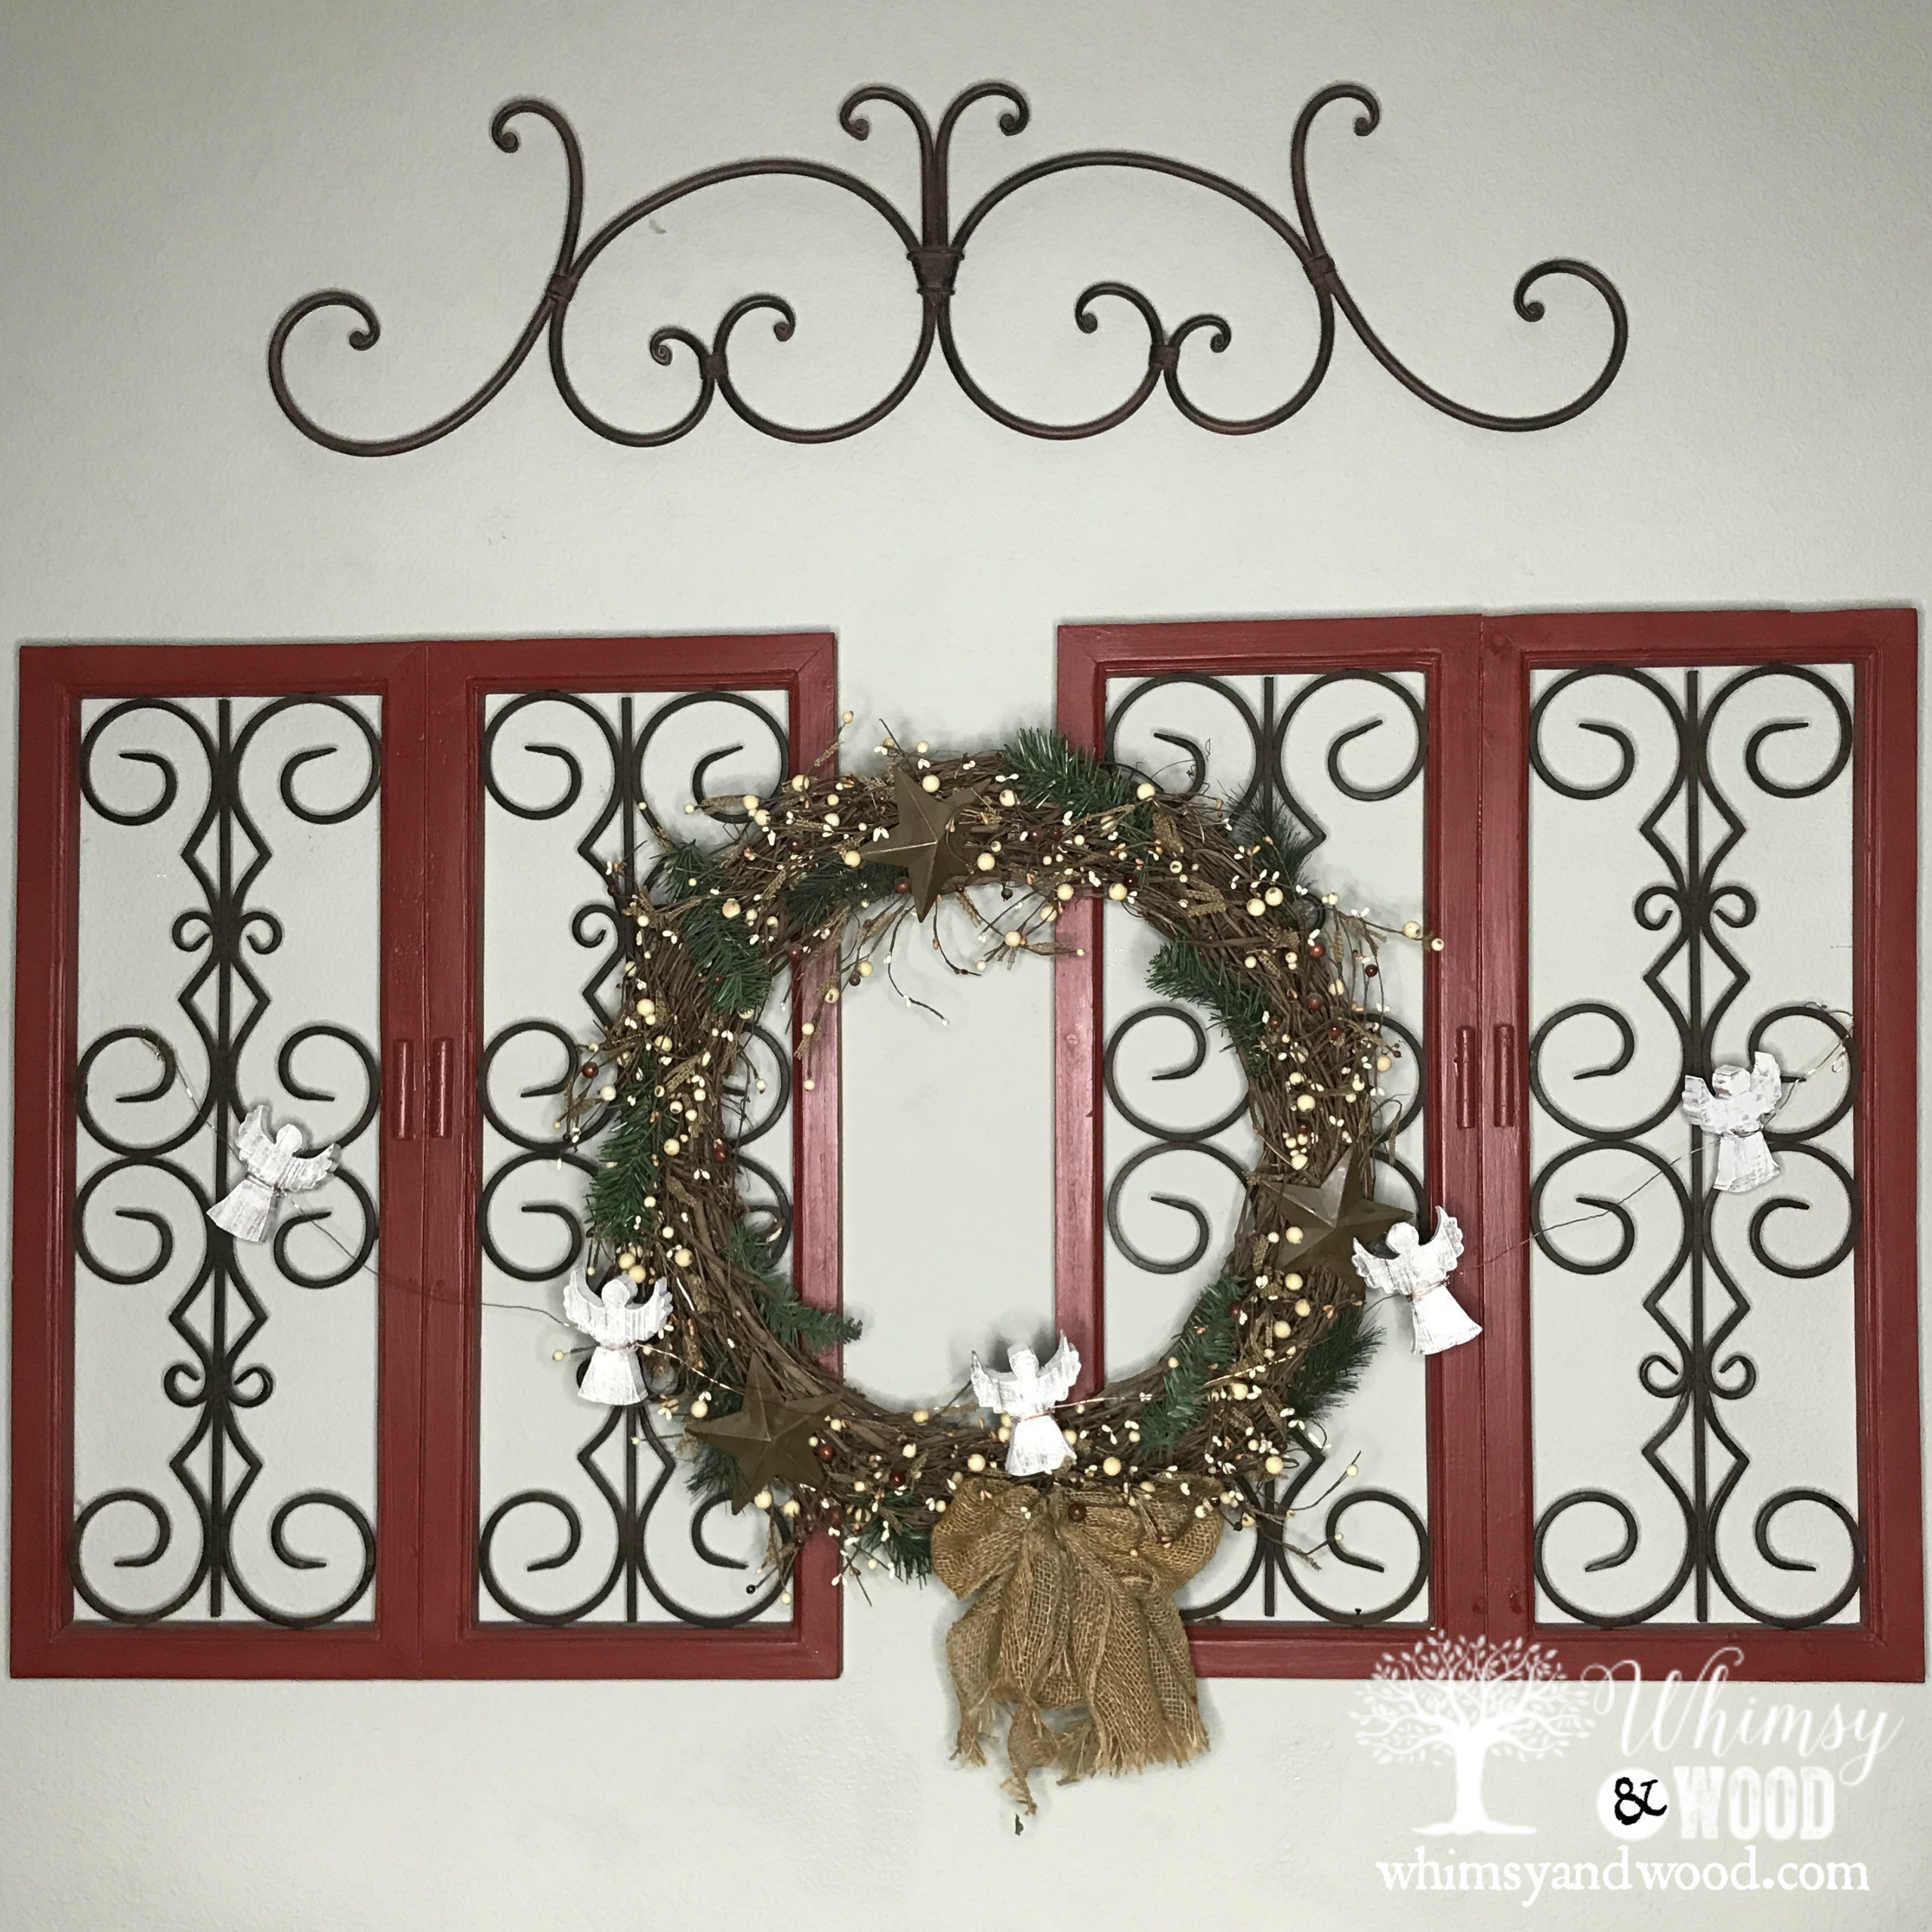
So…Do You Love our Rustic Angel and Copper Garland?
Originally this project was just for my house. I know, stingy of me;) We now have finished garland ready to ship in our shop. If you try this DIY please share your finished garland with me!! I love seeing what you do & hearing how our tutorials work for you!
Happy Crafting!

Leave a Reply