Why go painted faux leather
Have you ever Googled leather desk top replacements? If so, you will understand why I would chose to go with a painted faux leather for this desk top makeover. They are pricey. My Googling also led to learning that the leather was from an older time when they were using dipped ink pens. Let’s be honest, most of us are punching keys rather than writing on paper for most tasks.
Video posted at end of post.
Tools needed for this project
*Post contains affiliate links.
- Pure Home Paints Products used
- For the faux leather
- For the Desk
- Hardware
- Cling On! brush F40
- Tools & Miscellany
- Random Orbital Sander (used to sand desktop including leather before start)
- Sanding Disks
- Hand Sanding Blocks
- Frog Tape
- Daddy Vans Furniture Wax (Love this stuff for sticking drawers)
The basics
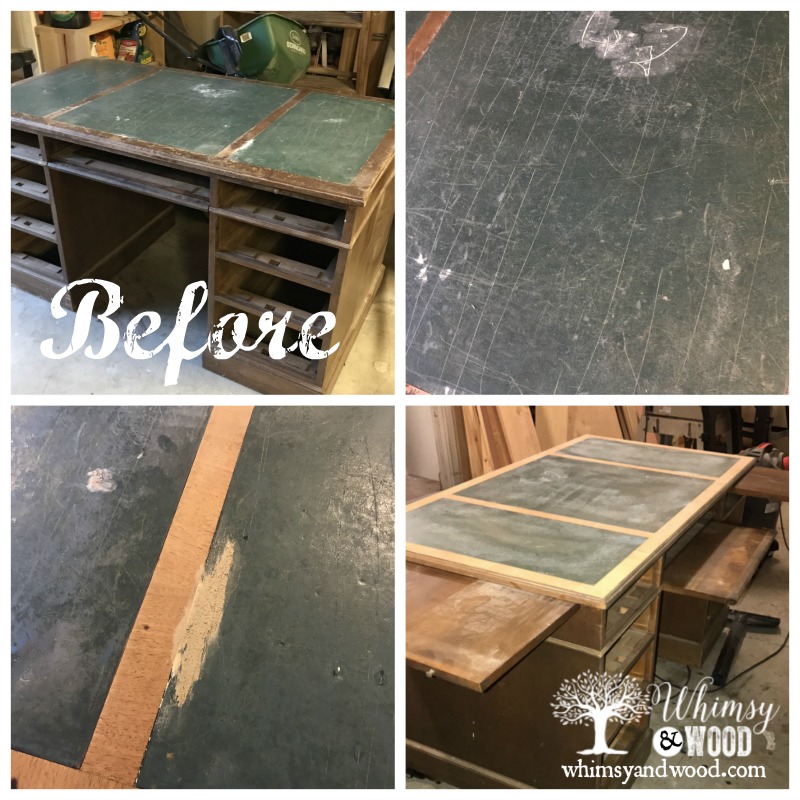
Refinishing furniture makes you get a little creative when working a rehab job. This desk was dirty, had a few dings, and the leather top felt more like wood than supple leather. The leather top had carvings in it and a space where a chunk had been ripped out. Luckily the carvings were all G rated.
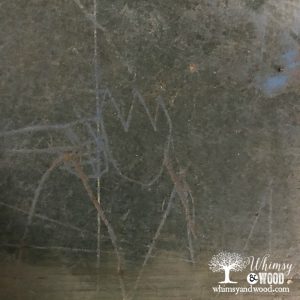
Since this leather top felt like wood, I decided to use our Magic Mud wood filler to fill the holes & the torn leather section. Once dry, I used a hand sanding block 120 grit to remove the excess filler and blend the patches to even. After patching the leather, the entire piece was also cleaned with our standard 50/50 Vinegar water mix, then rinsed, and dried. The leather is inset and has wood trim for the desk top all throughout the area. I used Frog Tape to mask off the area that I did not want to get any paint on.
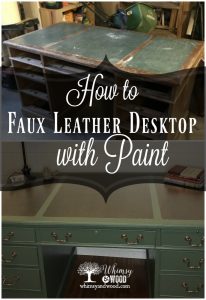
Faking leather, painting faux leather with Pure Home Paints.
This was not my first faux leather project. I also painted a faux leather desk top for another project, but using a green leather look. You can click to see it here, same process, different colors.


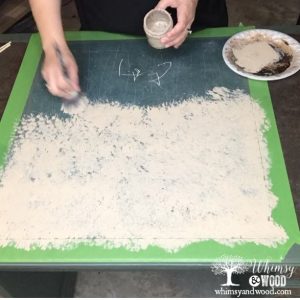
When painting faux leather start with a lighter color base. Real leather has variation of texture and color. Use an old worn out brush for this project, pouncing can be rough. Dip your brush in your light paint color, Cashmere in this case. Then pounce the leather inset to create an uneven coat and a little texture.
After that dries, follow with Swiss Miss & the same process. I like to add in a little Cashmere to this layer. (Chalk style paints can be very opaque and I wanted to make sure some of my light base was coming through.) This process was still a little experimental at this point.
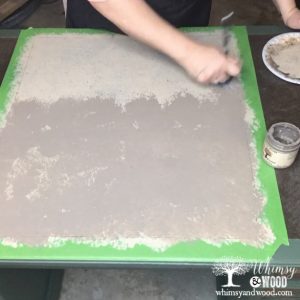
After this layer of our faux leather dries, Come back in with your 3rd paint color Tanner Brown. Follow the same process of pouncing the paint onto the leather area. Again go back in and randomly pounce in your base color cashmere. This should be more blended than blotchy
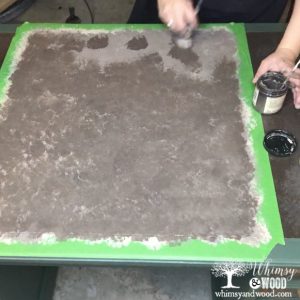
Now for the texture. With a fair amount of paint on the area, take a plastic grocery back and ball it up. Pounce the bag and use it to create texture and creases that resemble leather. This is a process that will be a little different every time. Add paint to the bag if it feels like you need a little more. Then just pounce it down over and over until you like the pattern. You will have to allow yourself a little freedom here. It is not an exact science.
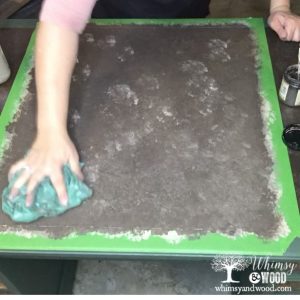
Adding richness and finish to the faux leather
At this point you are well on your way to faux leather. Your painted surface should be dry and will probably look a little dull. Now you will add a layer of our Pure Home Paints Chestnut Stain mixed with a little of our Matte Top Coat. (It is possible that the stain would have been enough, but I was trying to dilute the color a little). Brush this on like you would any normal paint layer. (1 direction, do not pounce this part.) Allow about 15 minutes of dry time & do light hand sanding with a 200 grit sanding block. Next… I brushed on just the stain. (This is why I say you may not need the matte for this step).
The faux leather was looking great you can gauge if you stop here or go further. I wanted a little more richness still, so I finished with one final 3rd coat of stain brushed on. PERFECTION! Adding the extra layers of our stain added richness and a little more of the leather feel.
The body & drawers of this desk were painted Dusk, this color is a gorgeous deep earthy green. To me the color is deep and rich like you think of a wine color…but green, if that makes sense to anyone but me. All hardware was painted Tanner Brown, and followed with Bronze Opulence.
Watch Video for Painted Faux Leather Desk Top here
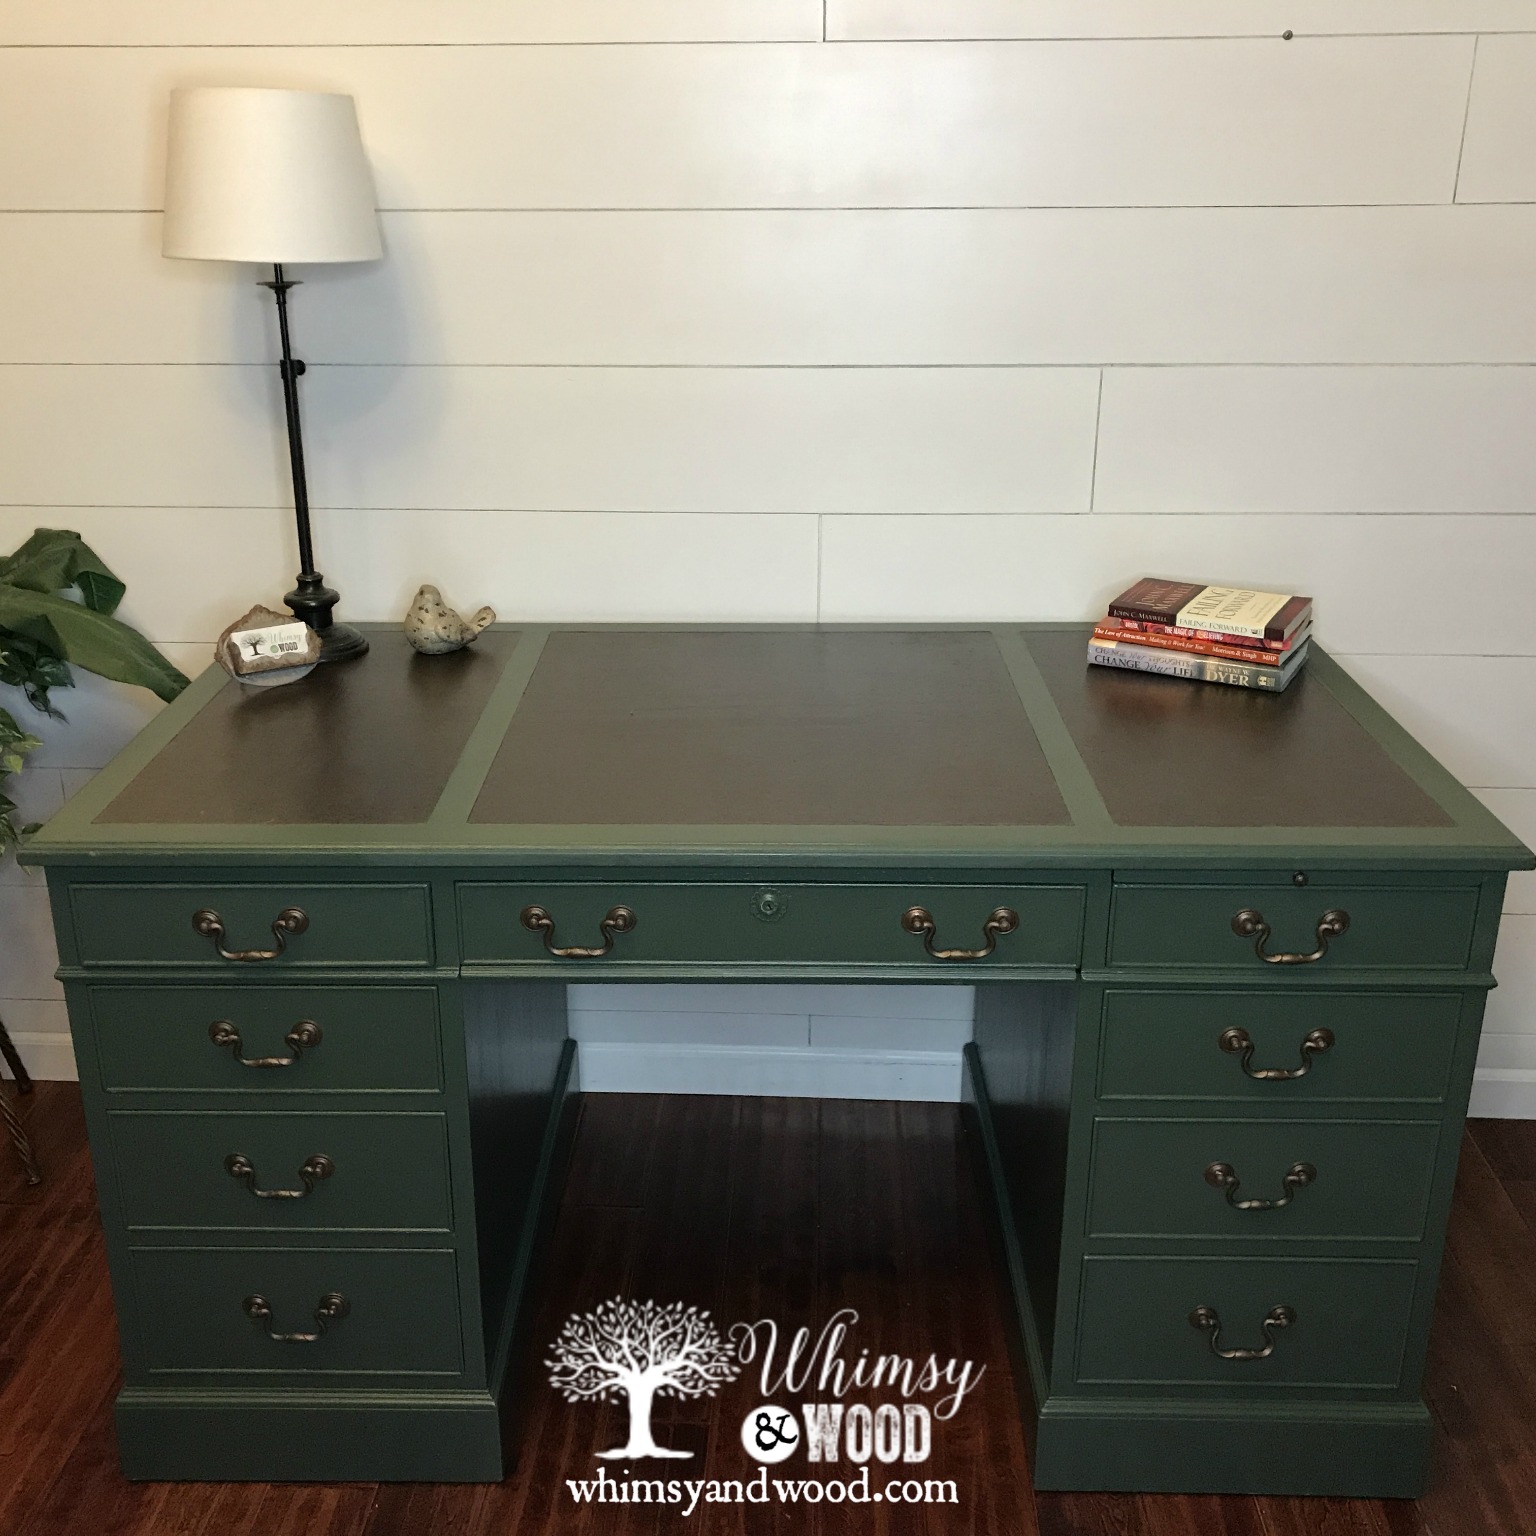
Pin this image for future reference.
Leave a Reply